Portrait Photography Tips – Settings, Composition, Colour & Lighting
Here we’re going to show you portrait photography tips to turn your portraiture from beginner to pro. After teaching tens of thousands of photography students, what I know is that most beginners can create a landscape but creating a good portrait is much more challenging.
So, in this tutorial, I’ll share tips from the pros and show you how easy it is to do portrait photography once you apply that little bit of knowledge. Download the free guide below and work along with me.
Portrait Photography Tip 1 – Practice on a model that wants to be photographed
Might sound obvious but you’ll be surprised what a difference this makes. A pro can work with anyone as they’ve done it 100 times before but as a beginner, you’ll turn up and fumble around with all sorts of poses you’ve seen on a YouTube video. If your model is used to being photographed it will make your life a lot easier in getting good looking portrait poses.
If you can get an experienced model, great, but if not try using someone you know who isn’t afraid of being in front of a camera. Don’t just pick an amateur model from the local Facebook group. Ask friends, family and other photographers for someone who will be willing to work with you.

Tip 1 - Being comfortable with the model
Portrait Photography Tip 2 - Share your vision with the model
As with any shoot, do not go in blind. Do some research and have an idea of the look you want to achieve in the portrait. Then share this vision with the model, show them some examples of poses you’ve found for example. This will put them at ease and give them an understanding of what you want to achieve in your photography.
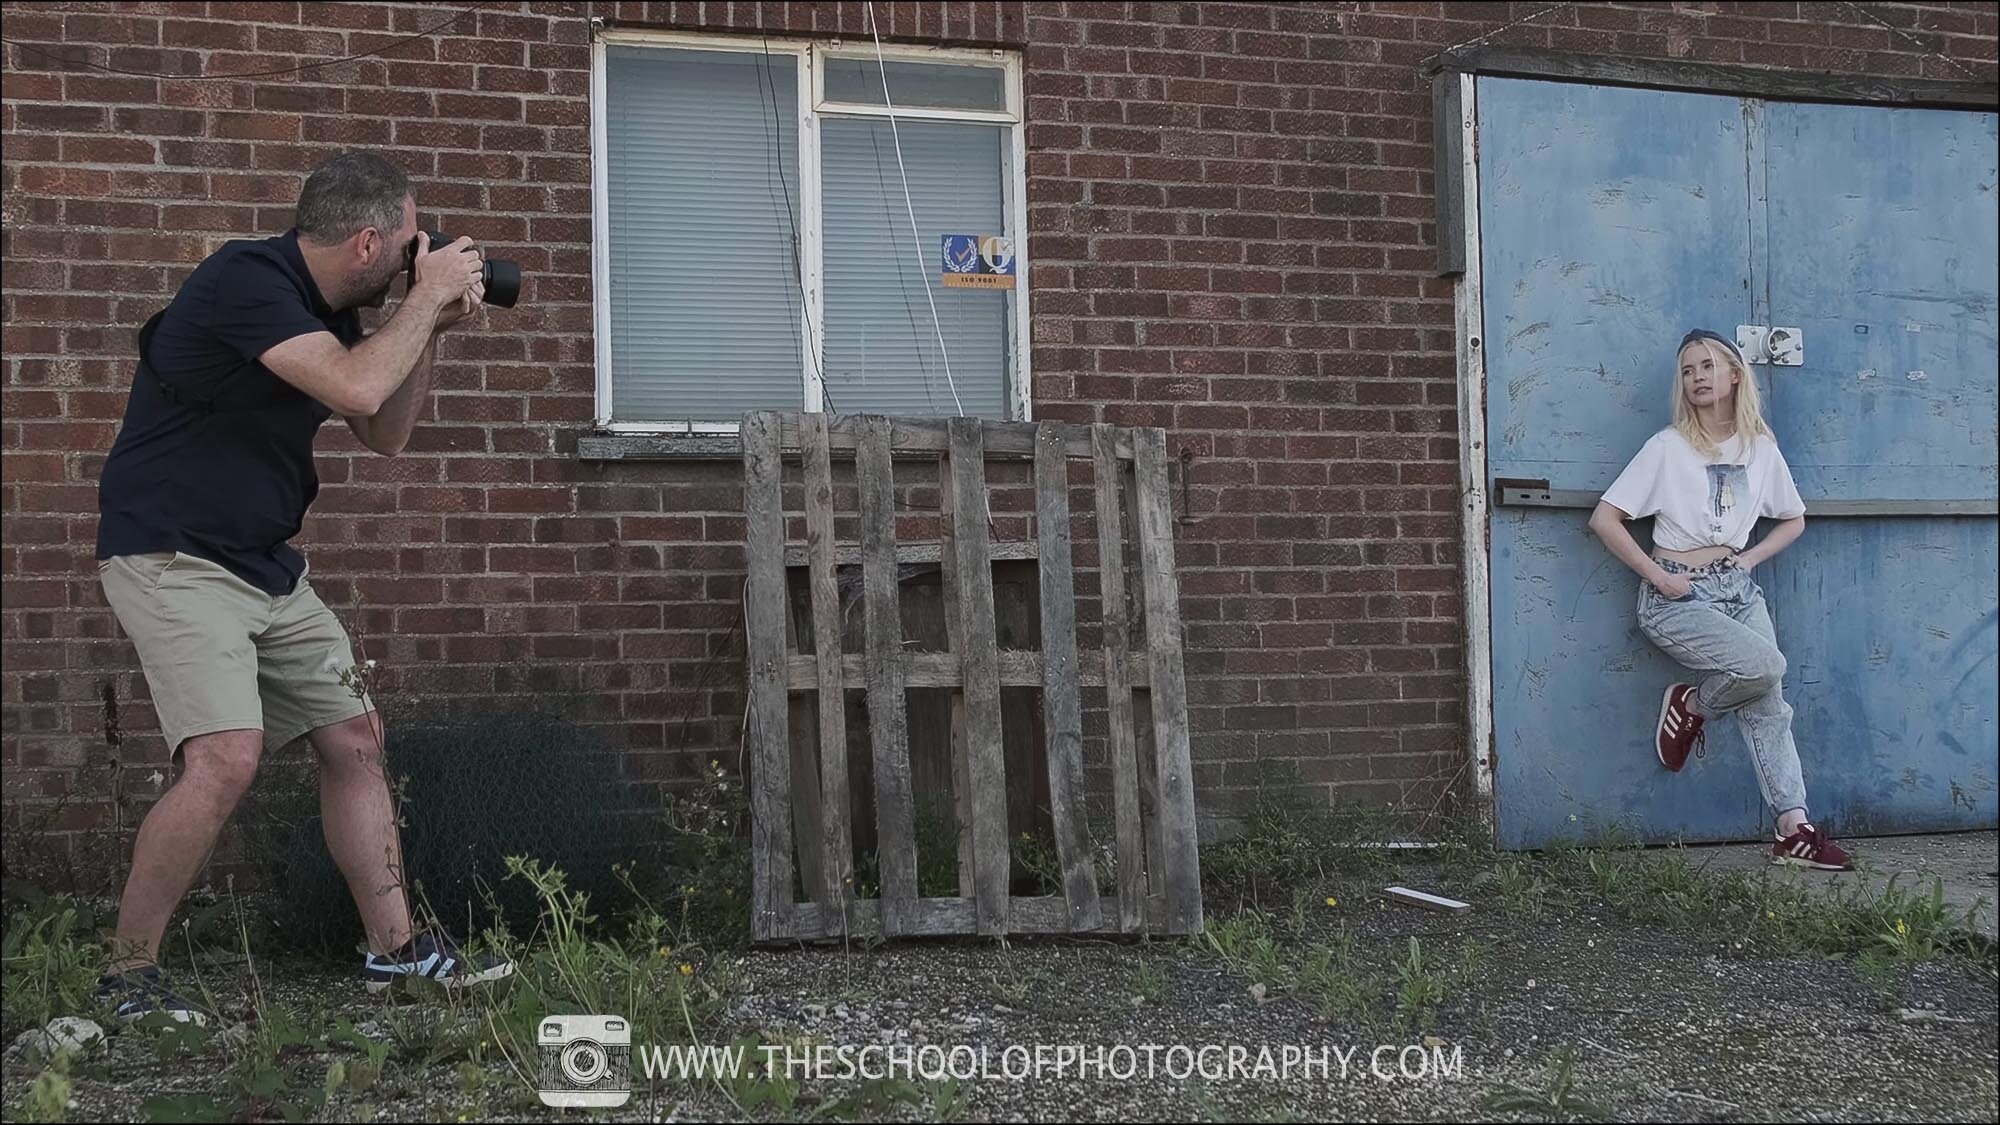
Setting up the portrait.

Final portrait - Camera Settings: 85mm Focal length - 1/400 Second - F 2.8 - ISO 100
Portrait Photography Tip 3 - Location
The next thing to consider is not the location as such, but how you will use the location to enhance your portrait photography. In the video I didn’t go to a pretty or epic location, I purposely went to an uninspiring place which is just down the road to our office. I went there because I want to show you that it’s not about where you go but how you use the place to enhance your photography.
Treat the location as a set of lines and shapes that will help you create interesting compositions to frame your portraits. Add foreground interest, use lines to create dynamic compositions, frame the model with background interest etc. As with all photography, you need to think about the whole frame not just the pose of the model.
To learn about using composition and framing correctly, click here.
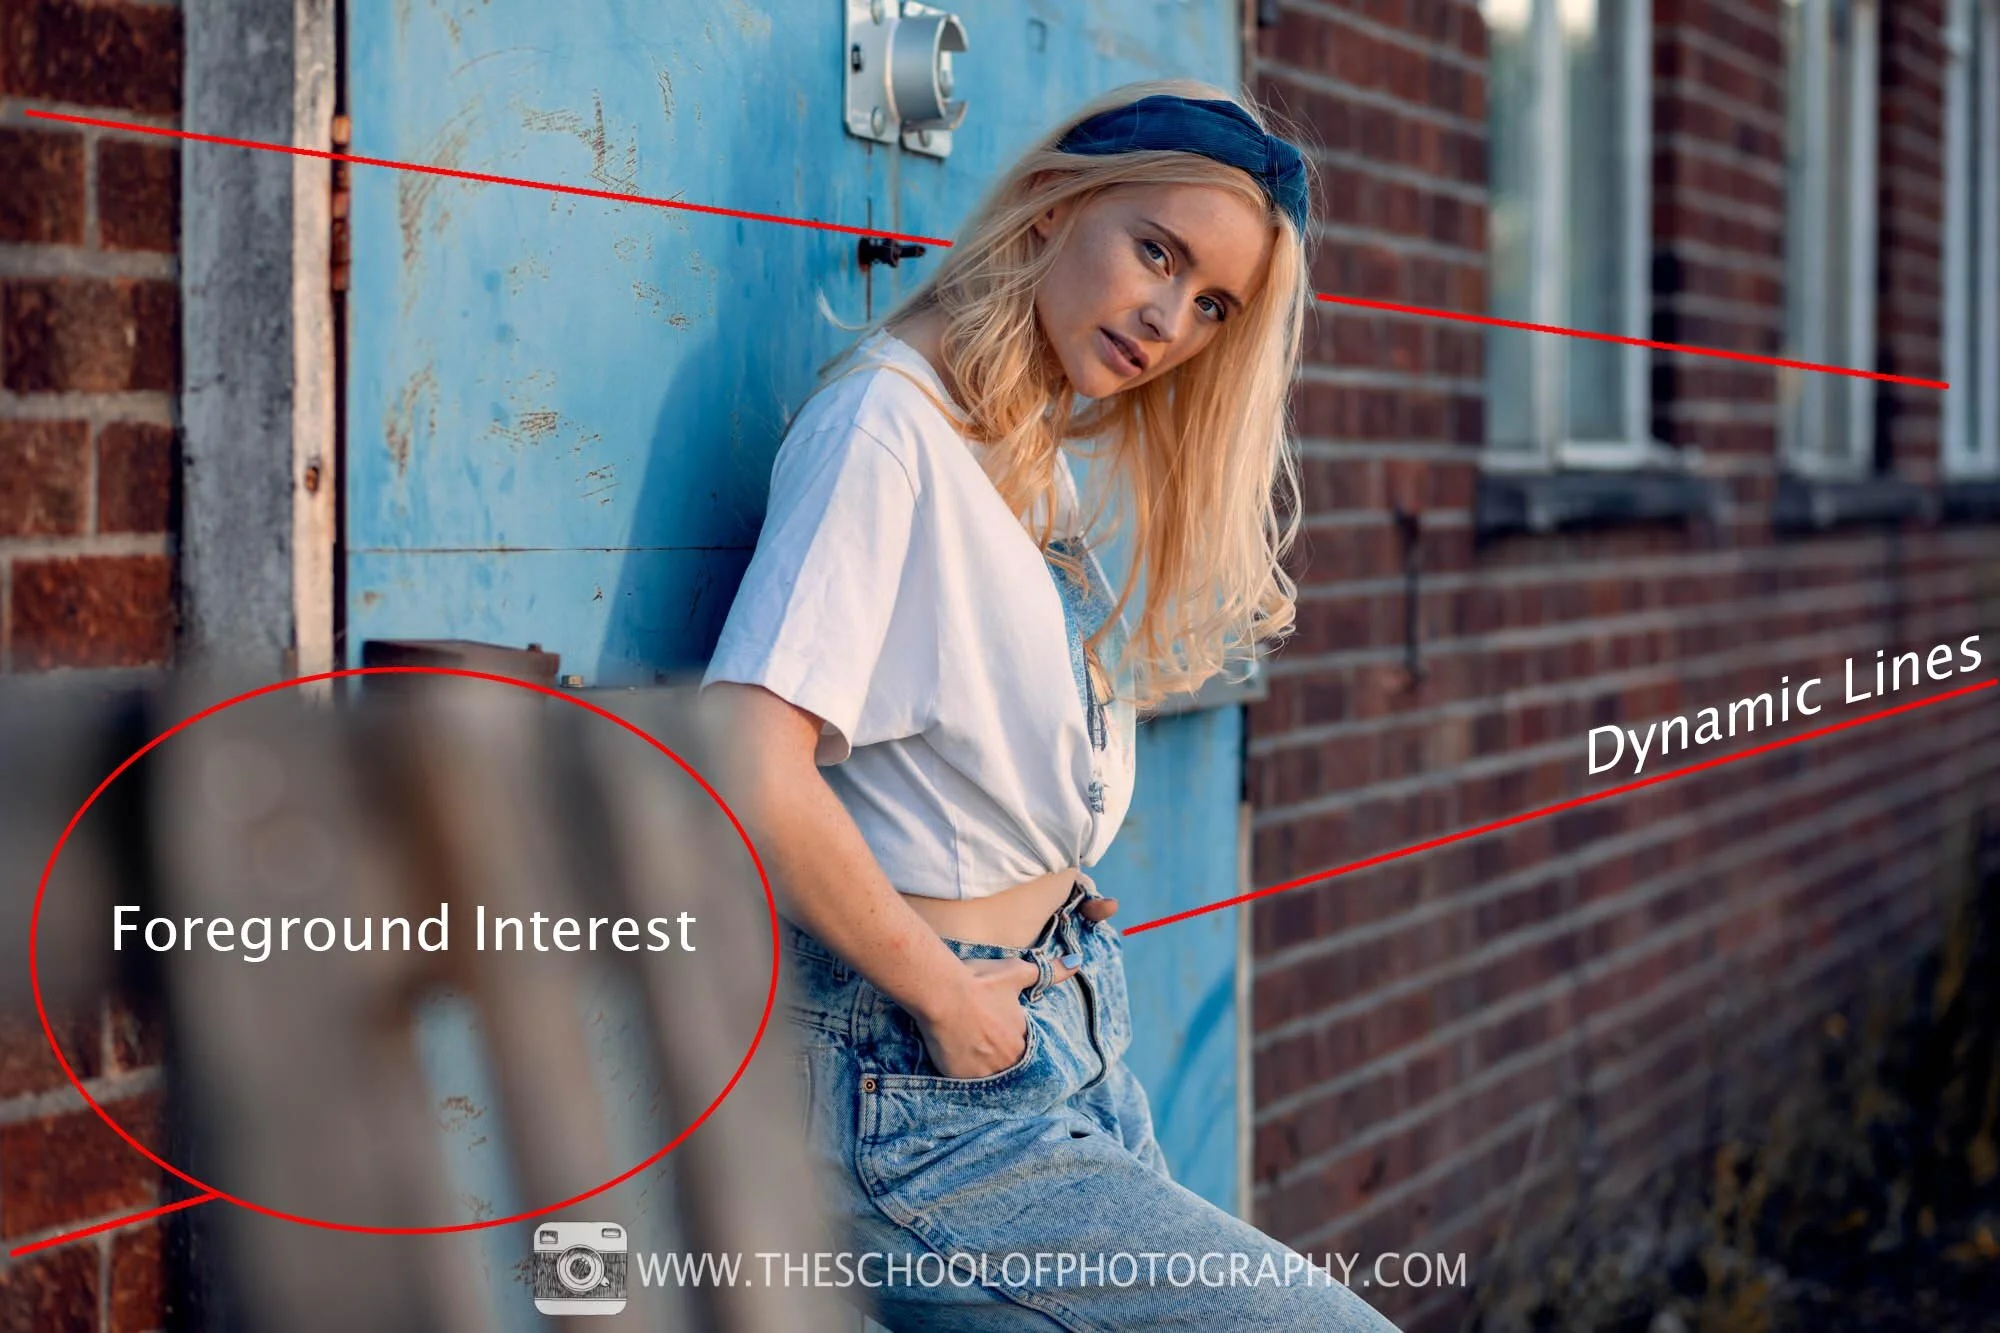
Tip 3 - Use the location to enhance the composition of the portrait

Framing with background interest
Get access to ALL our online courses - 1000’s of videos, worksheets, critiques of members work, personalised support and much more with our monthly membership.
Portrait Photography Tip 4 - Colour Scheme
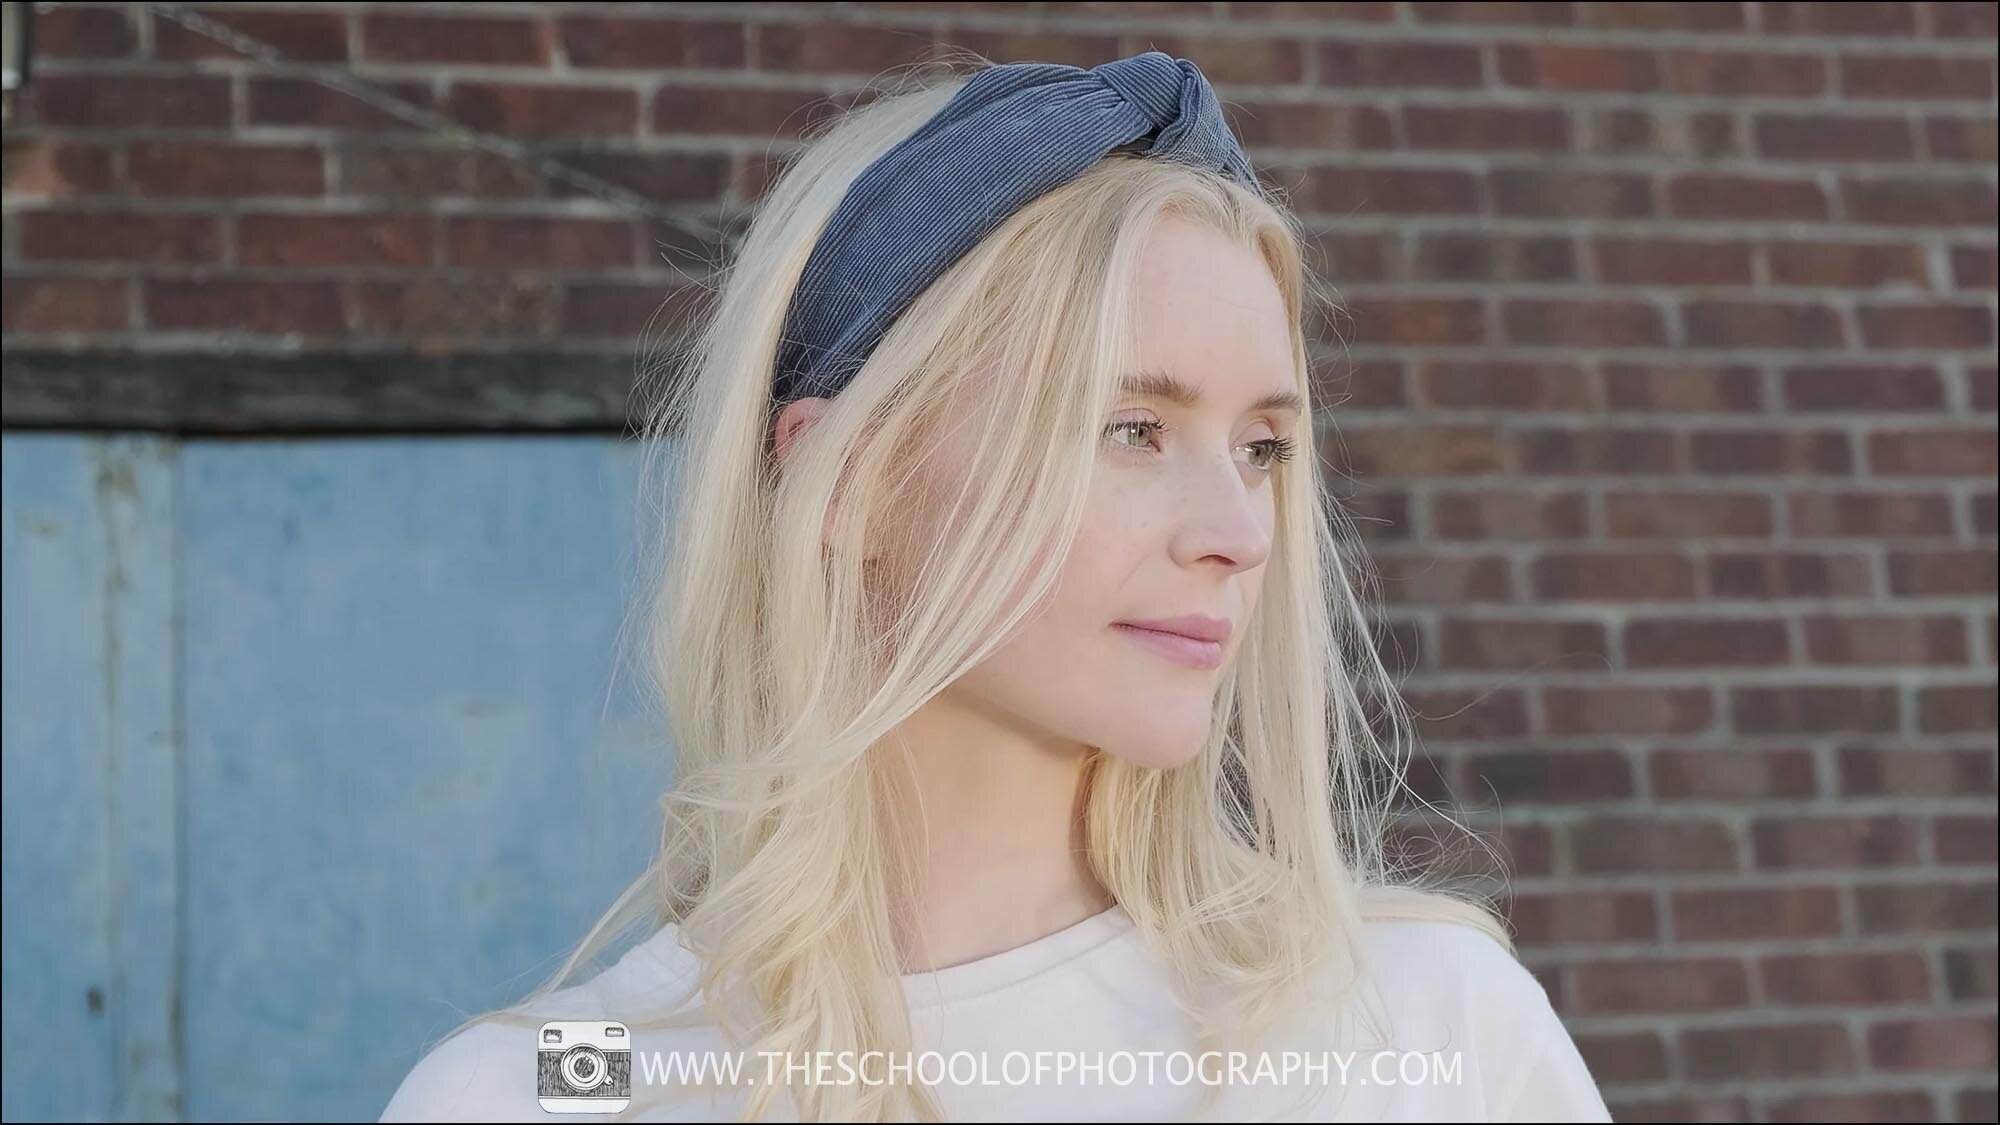
As with all art, you need to think about a colour scheme and portrait photography is no different. Some basic knowledge of colour really helps here and as a quick tip, opposites on the colour wheel generally work well. In portrait photography, this is known as a complementary colour scheme and the most common complementary colours to use is oranges and blues.
This location we are in has oranges in the bricks, blues in the doors and there’s also whites in the window frames.

Armed with this knowledge, I asked Rosie to wear blue and white. This was to harmonise the clothing with the colours of the background. Then, in Photoshop or other post-processing programs, you easily add some colour grading to harmonise the colours further.
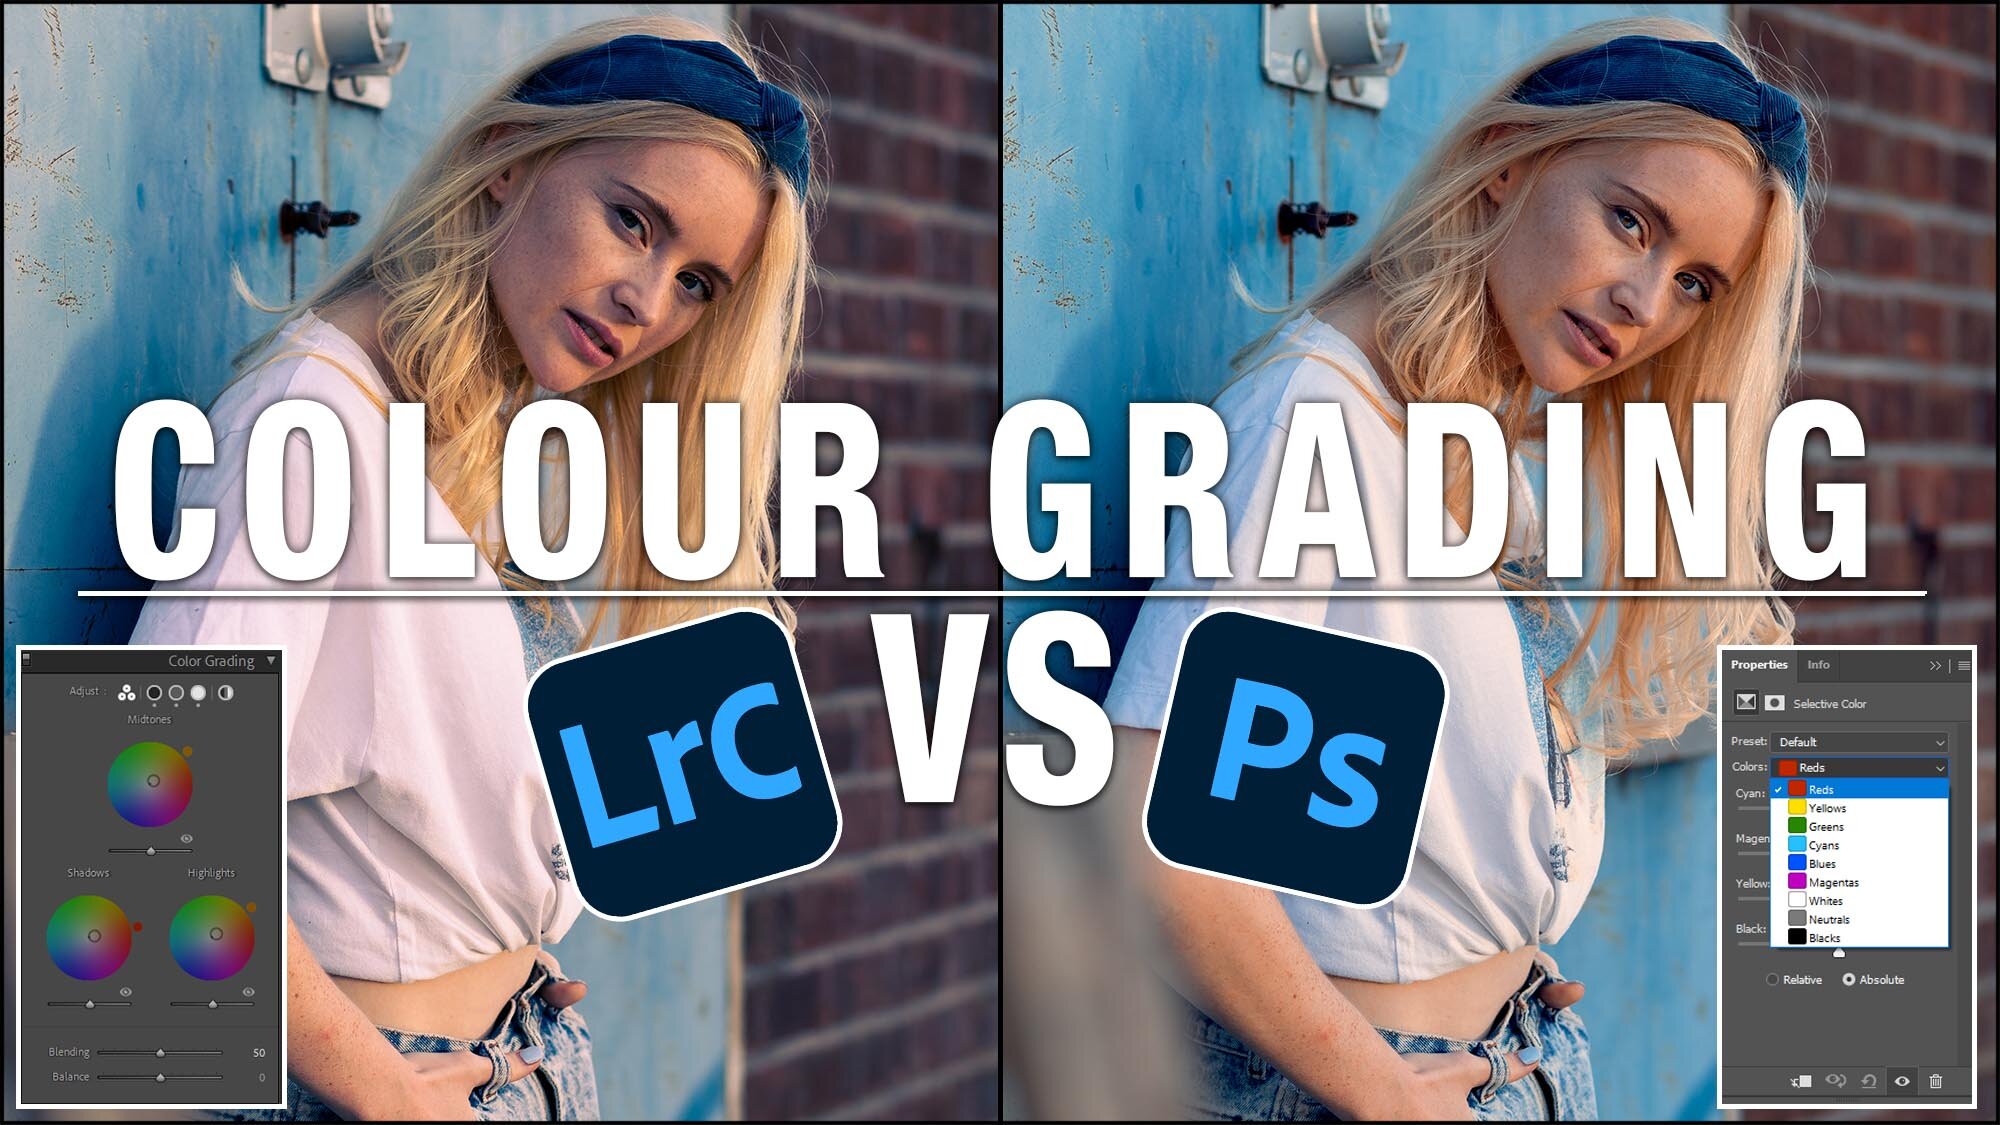
Planning a good colour scheme before you do your shoot is really important. Try not to use colours that clash. If you are a beginner, sticking to the orange and blue look is a really good tip. As mentioned before, it's also going to make your life a lot easier when it comes to post-processing your portraits. To learn more about colour grading in portrait photography, click here.
In the portrait below, colours have been enlarged so you can see how the colours are working together. The orange/browns of the bricks and orange light on the skin compliment well with the blues of the door and clothing of the model.
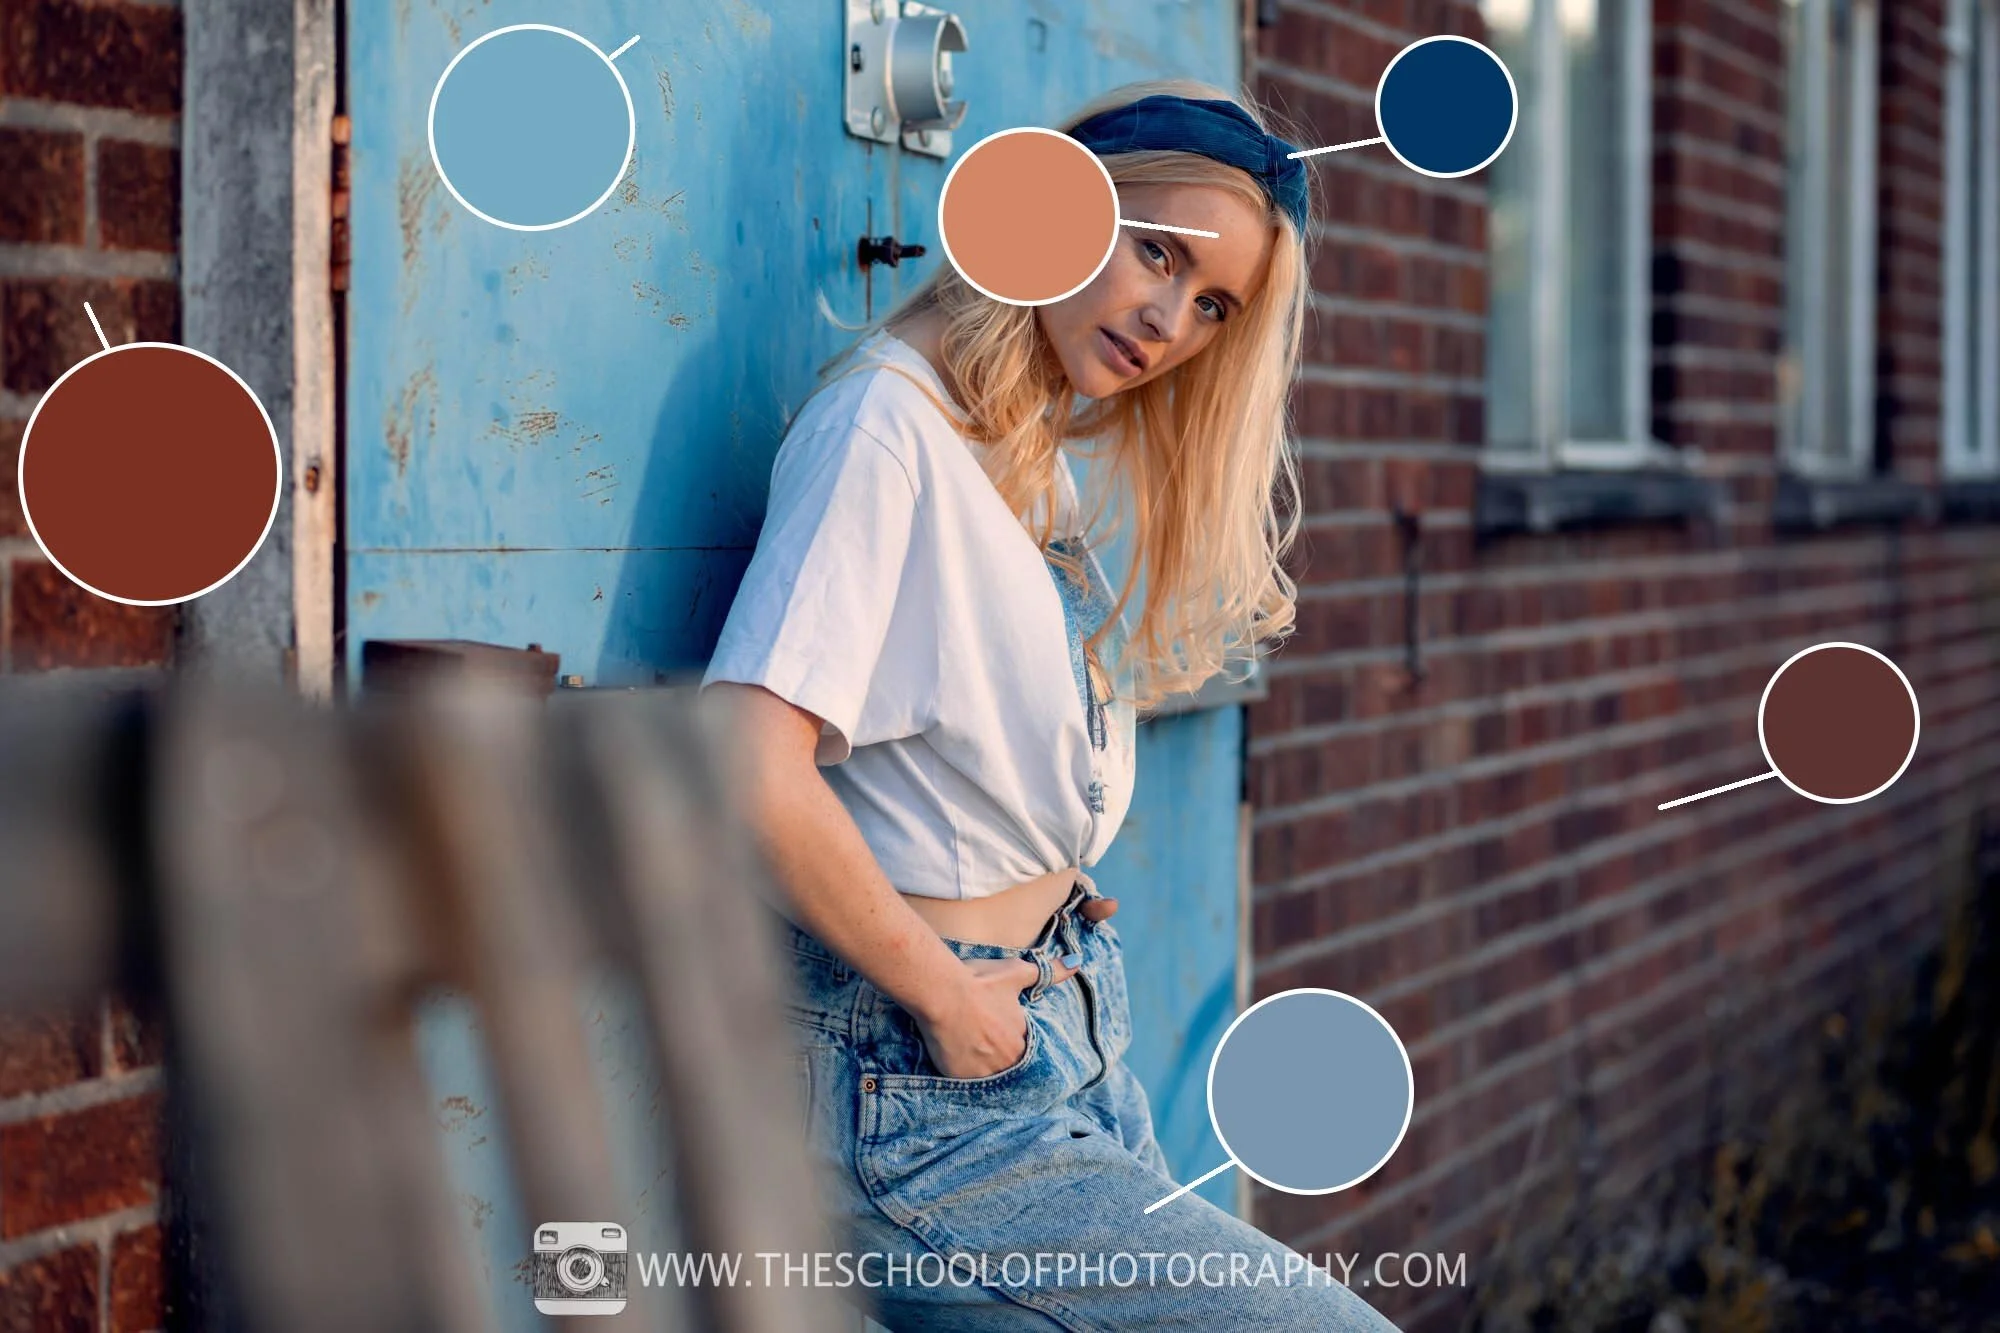
Portrait using the orange and blue complimentary colour scheme

Complimentary colours are opposite colours on the colour wheel
Portrait Photography Tip 5 - Camera settings
There is no one camera setting for portrait photography. The lighting and effect you want will dictate the camera settings you use. However, below is a general guide to what will create a good portrait.
Focal length – 85mm (Full-frame), 50mm (Crop sensor), 40mm (Micro 4:3). This will compress the face slightly and blur the background. By far my favourite focal length for portrait photography.
Aperture f/2.8 – This will give you a blurry background.
Use aperture priority as long as there is enough light. This will help you be more free when moving and taking portraits.
ISO set to 100 – This will reduce noise and give a clearer image.
White balance set to AWB – This will give a good middle ground and can be adjusted very easily in post anyway.
To learn all about camera settings click here.
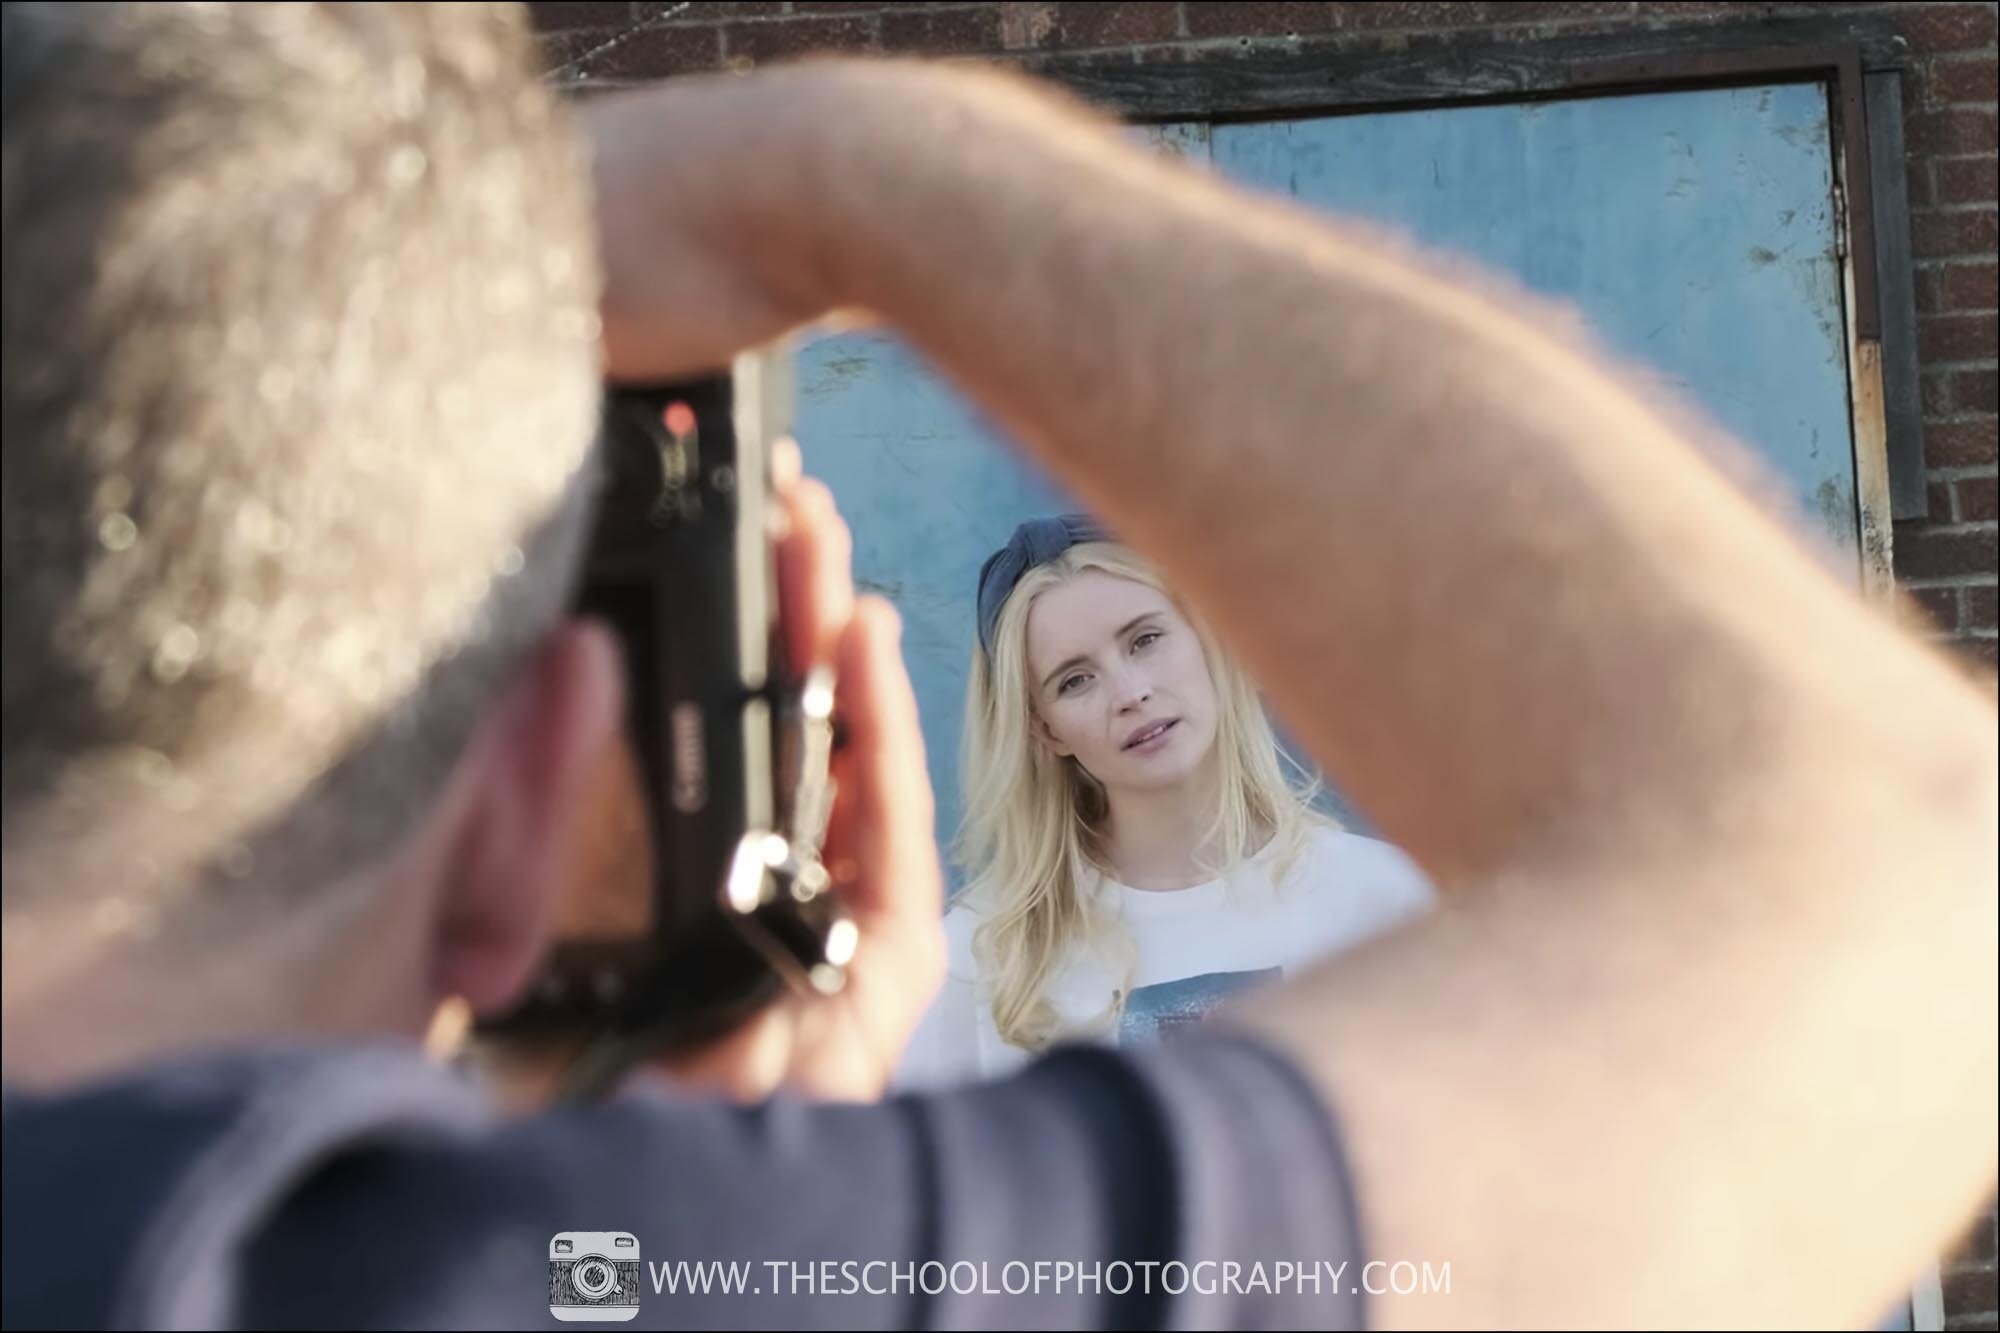
Portrait Photography Tip 6 - Lighting
Clearly, lighting is very important in photography and especially so in portraits. The middle of the day is not the best time to take pictures as the light is too white and too harsh. Try to take portraits during sunrise or sunset. If this is not possible, try to find some shade to make the light softer.
In this shoot, we are at sunset which gives a lovely warm, orange light and helps with the colour scheme mentioned above. We're actually in the shade but I use a silver reflector to bounce orange light back into the scene to highlight the model and add a catchlight to the eyes.
The importance of lighting in portrait photography cannot be underestimated and you don’t need expensive lighting equipment to achieve a good effect. A simple silver reflector which costs approx. £20, will do the trick fine.
Below is two images, one showing the model without the reflector and one showing the model with the reflector. As you can see, there is a dramatic difference between the two. A very easy tip to enhance your portraiture.
To learn about studio lighting click here.

Portrait without reflector
Portrait with silver reflector
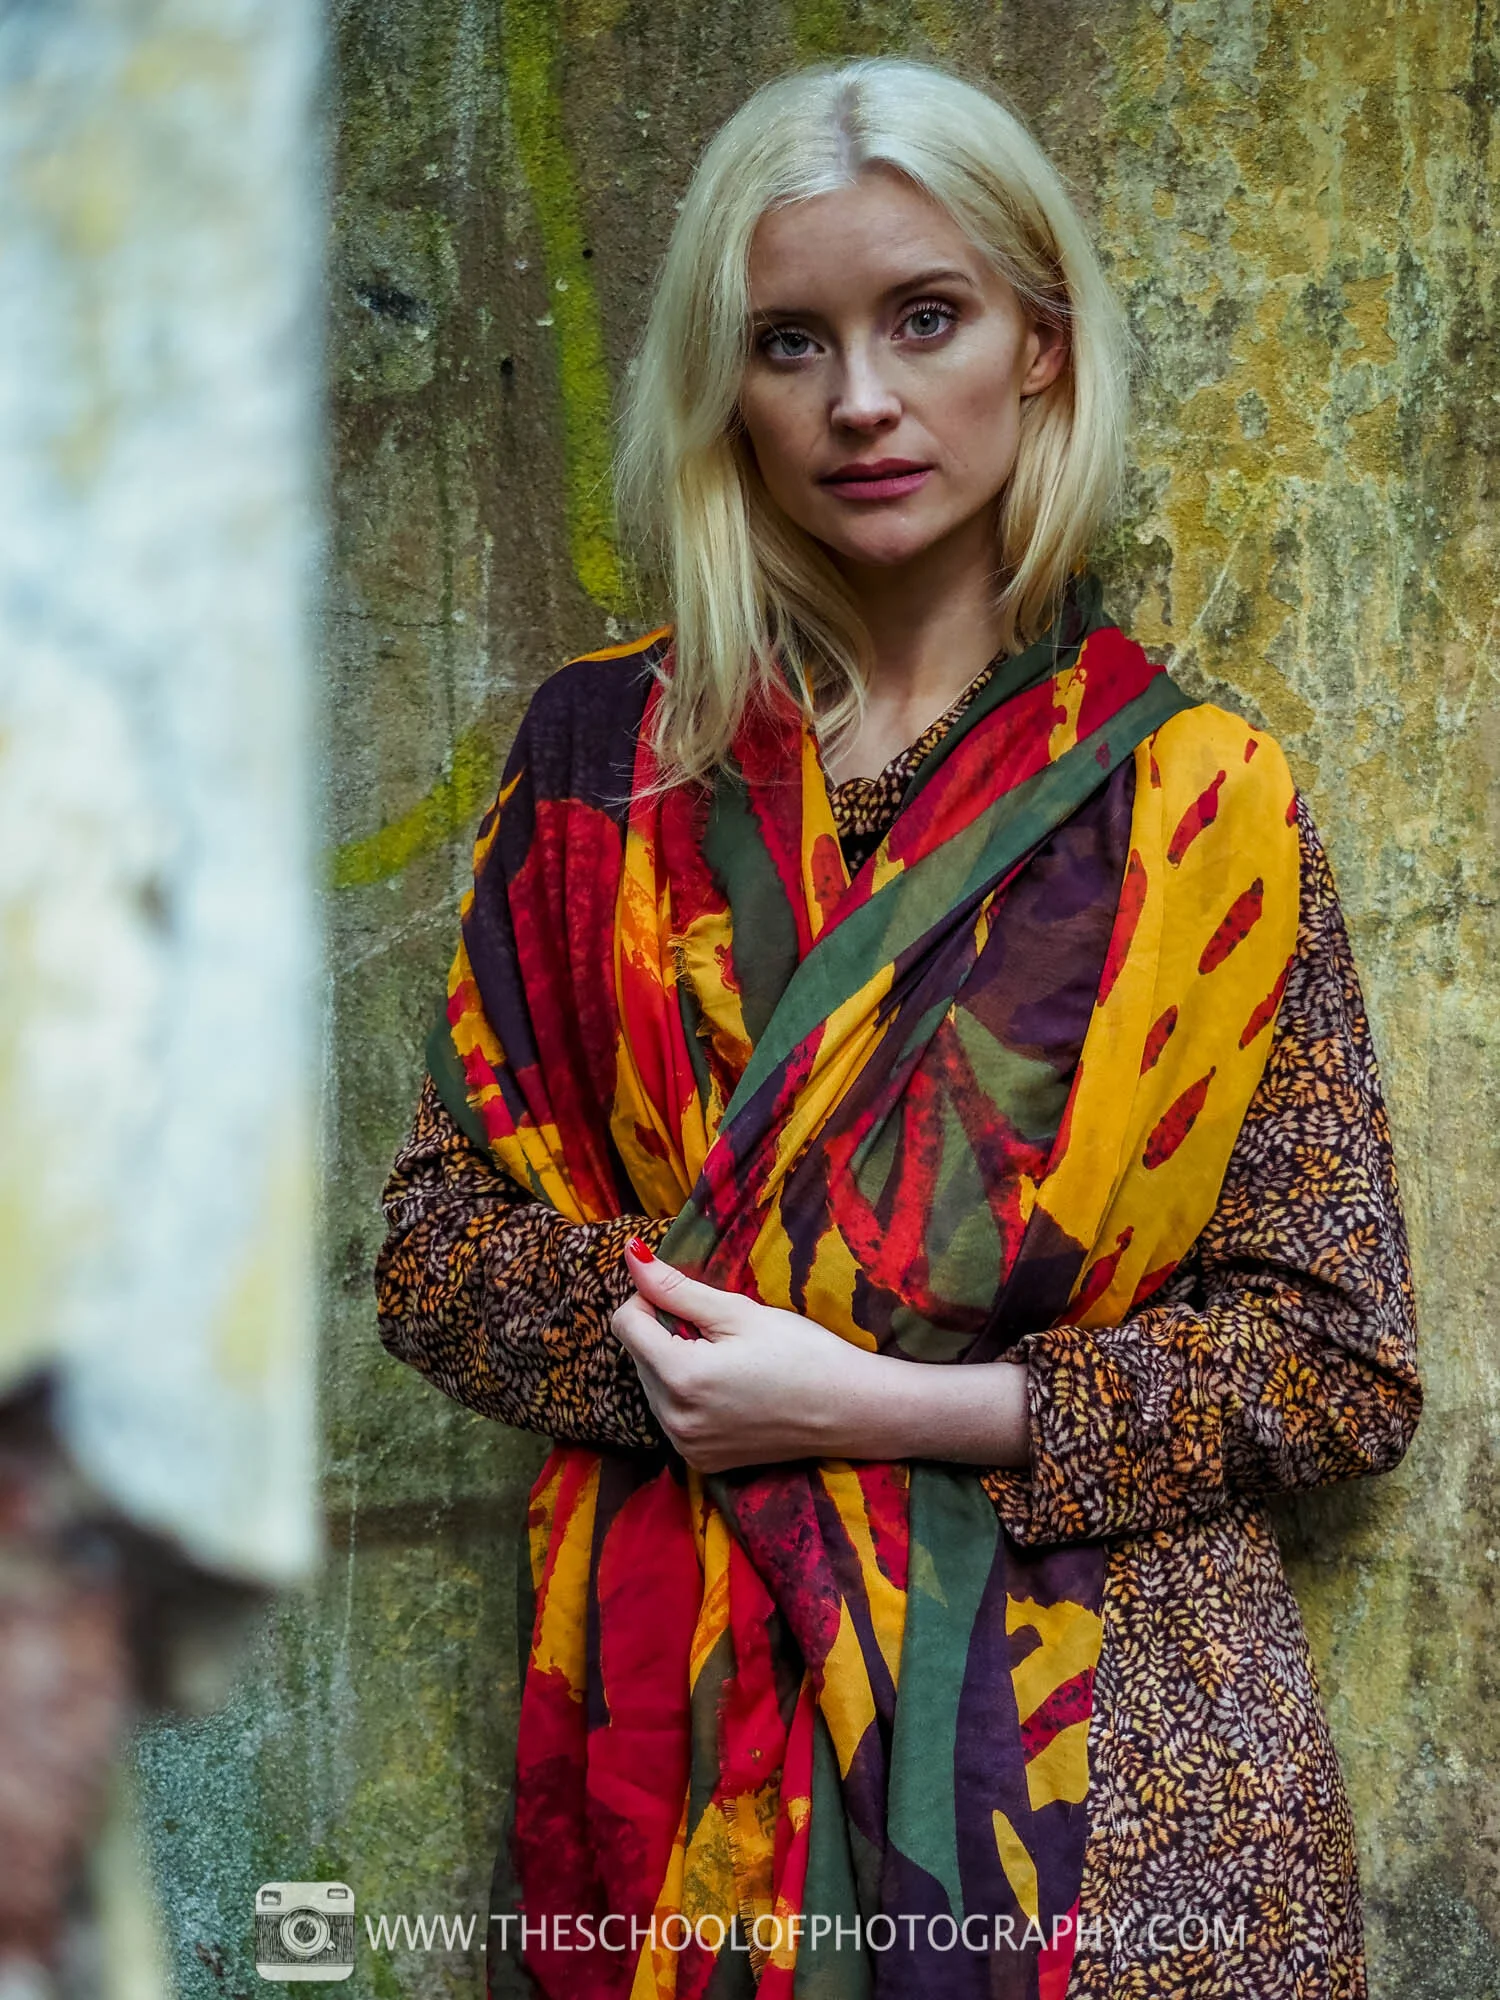
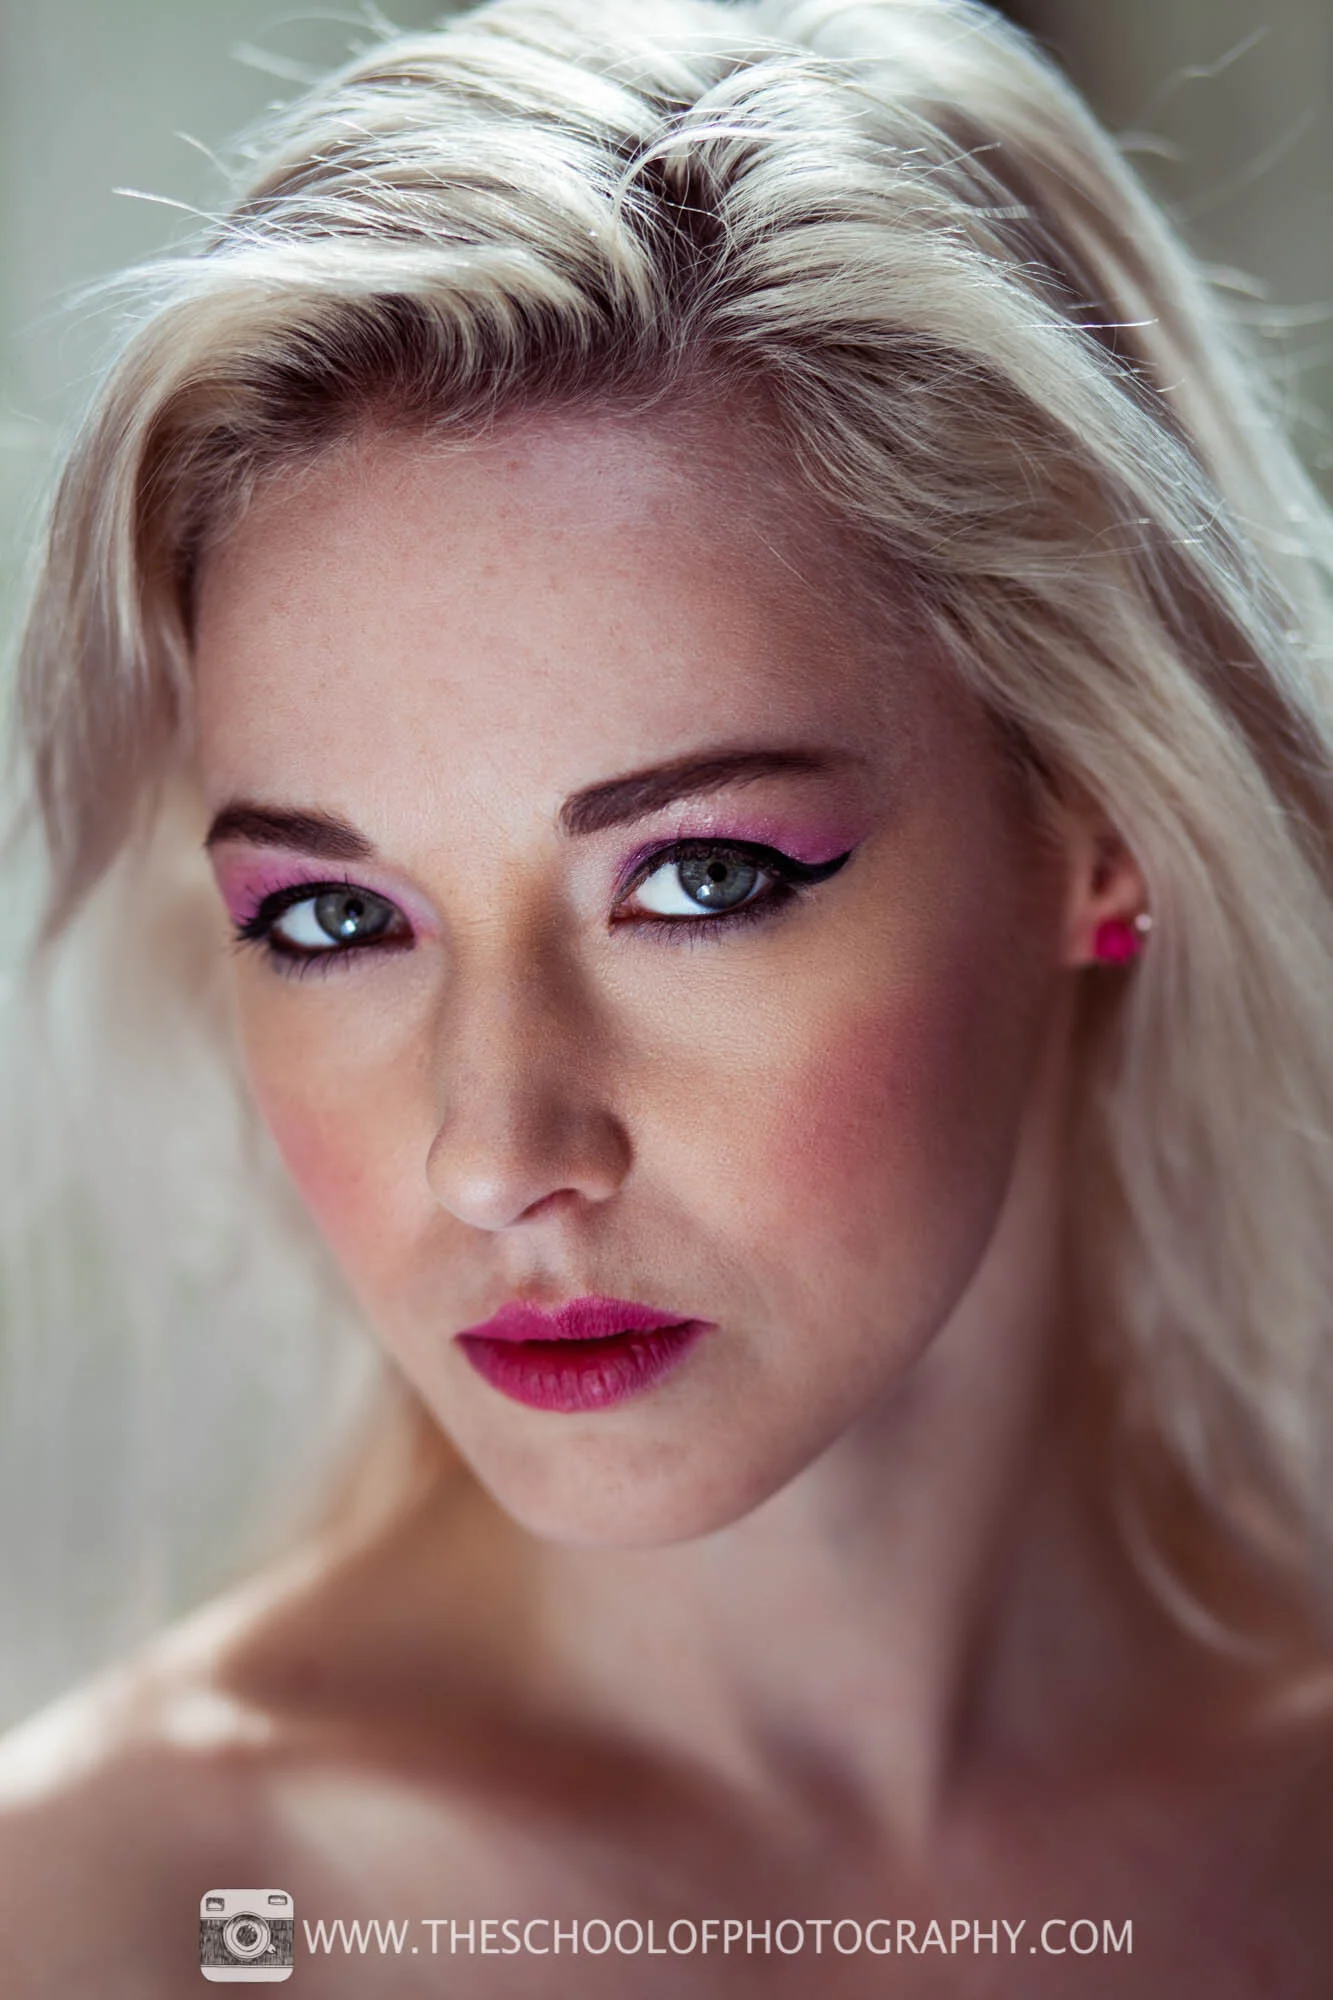
Examples of Portrait Photography
Camera Settings: 40 mm Focal Length ( Mirco 4/3) - 1/125 Second - F2.8 - ISO 400
Camera Settings: 85mm Focal Length - 1/200 Second - f2.8 - ISO 100

Camera Settings: 32mm Focal Length - 1/125th Second - F2.8 - ISO 200
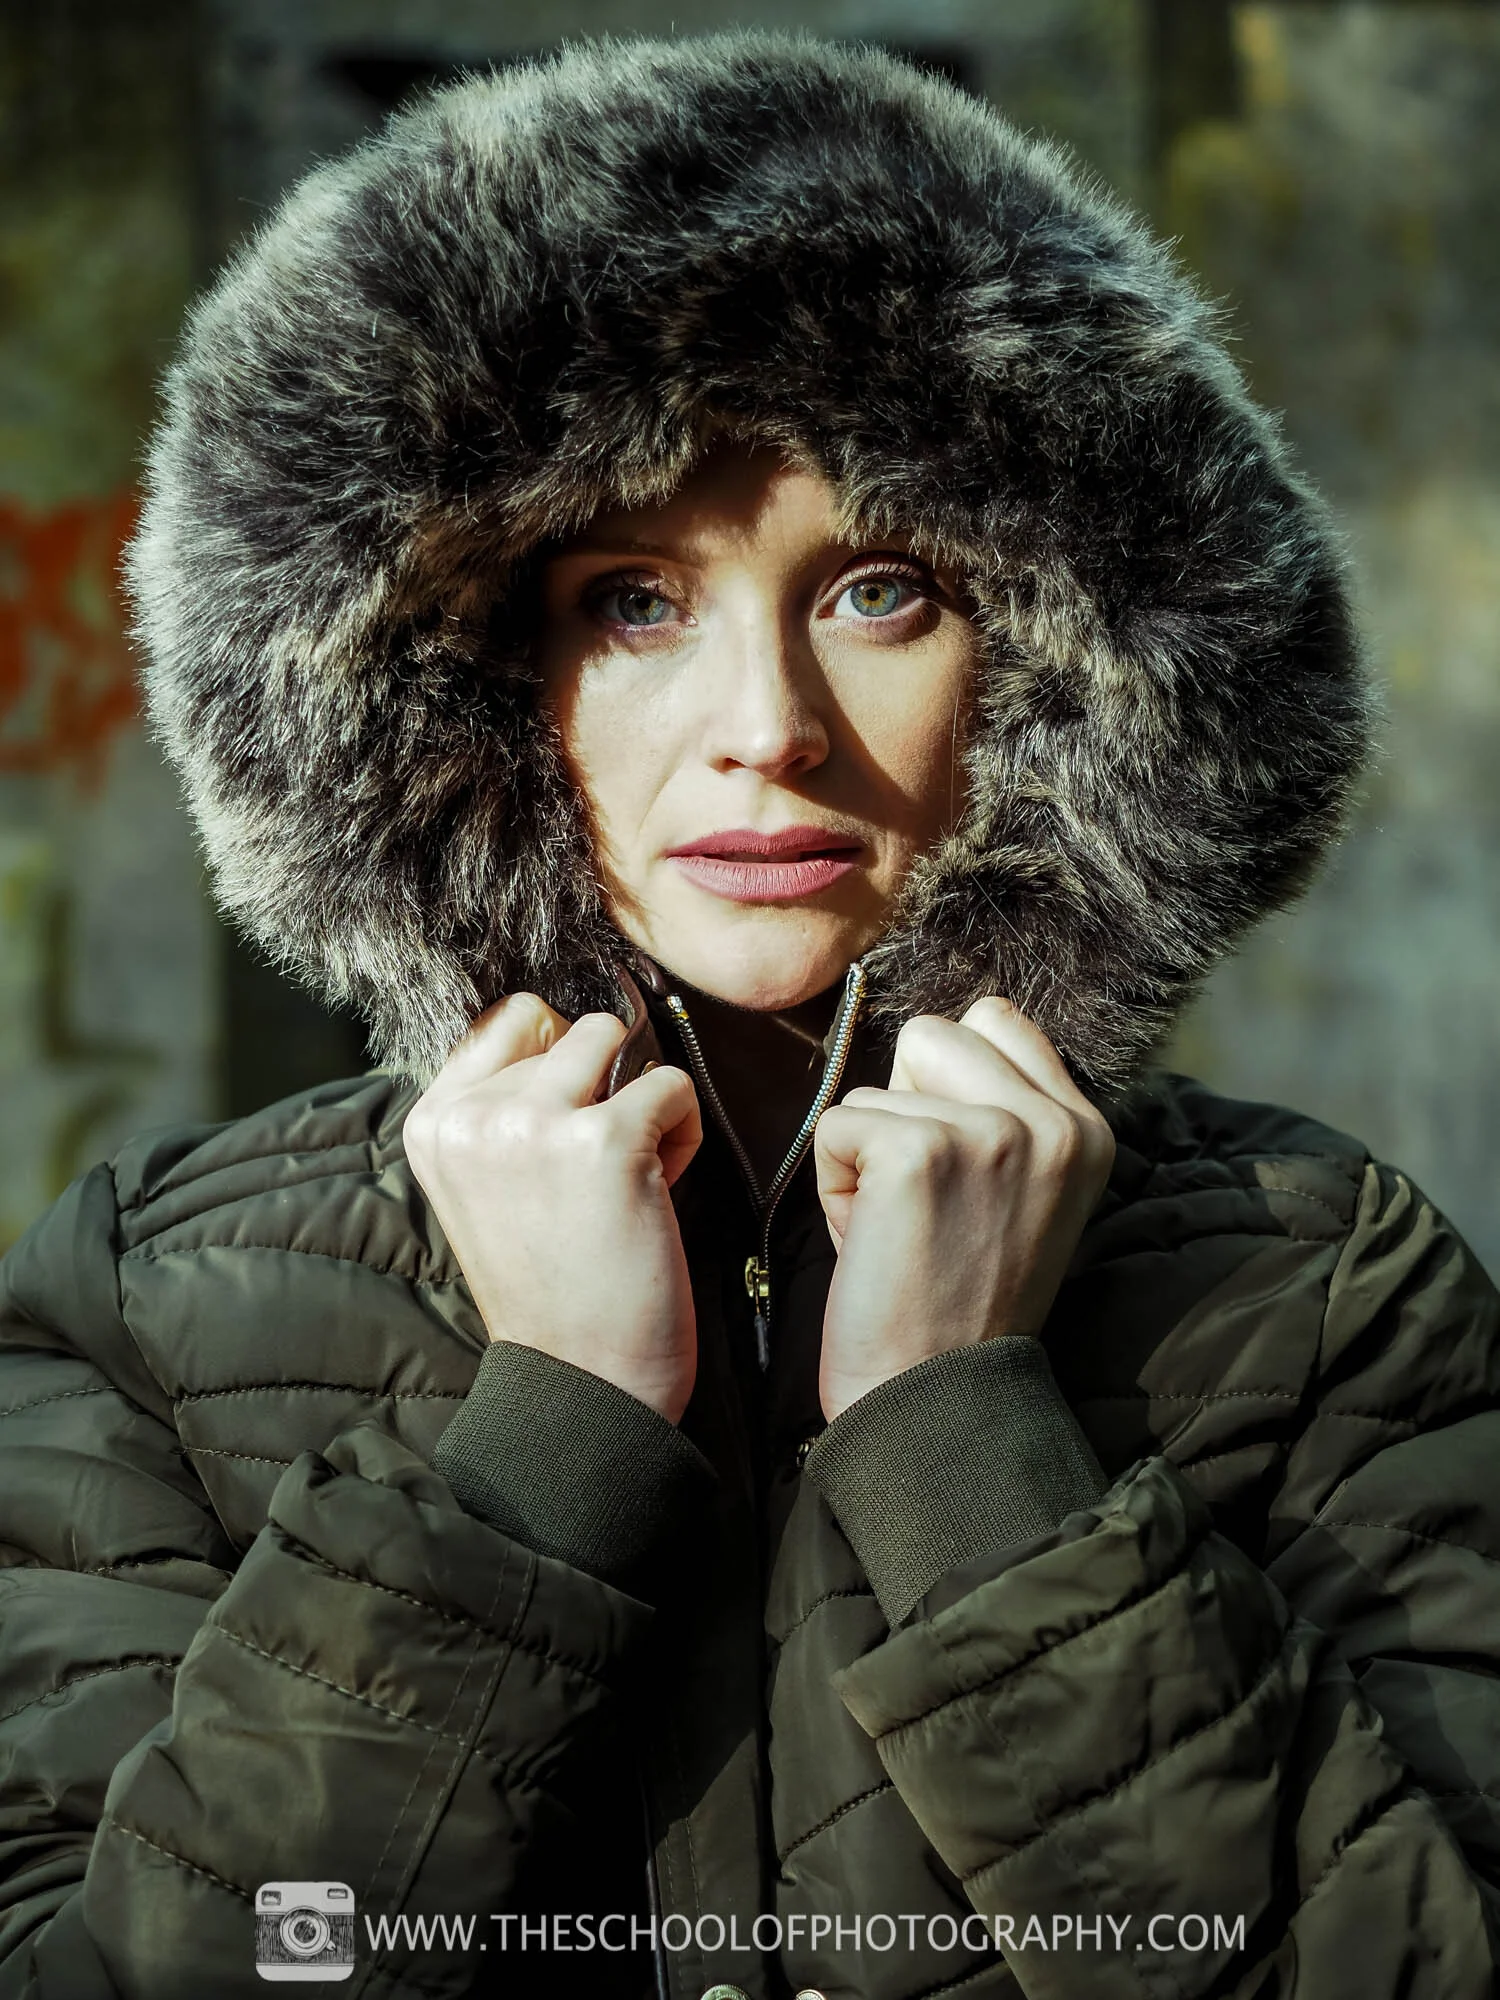
Camera Settings: 40 mm Focal Length ( Mirco 4/3) - 1/500 Second - F2.8 - ISO 400
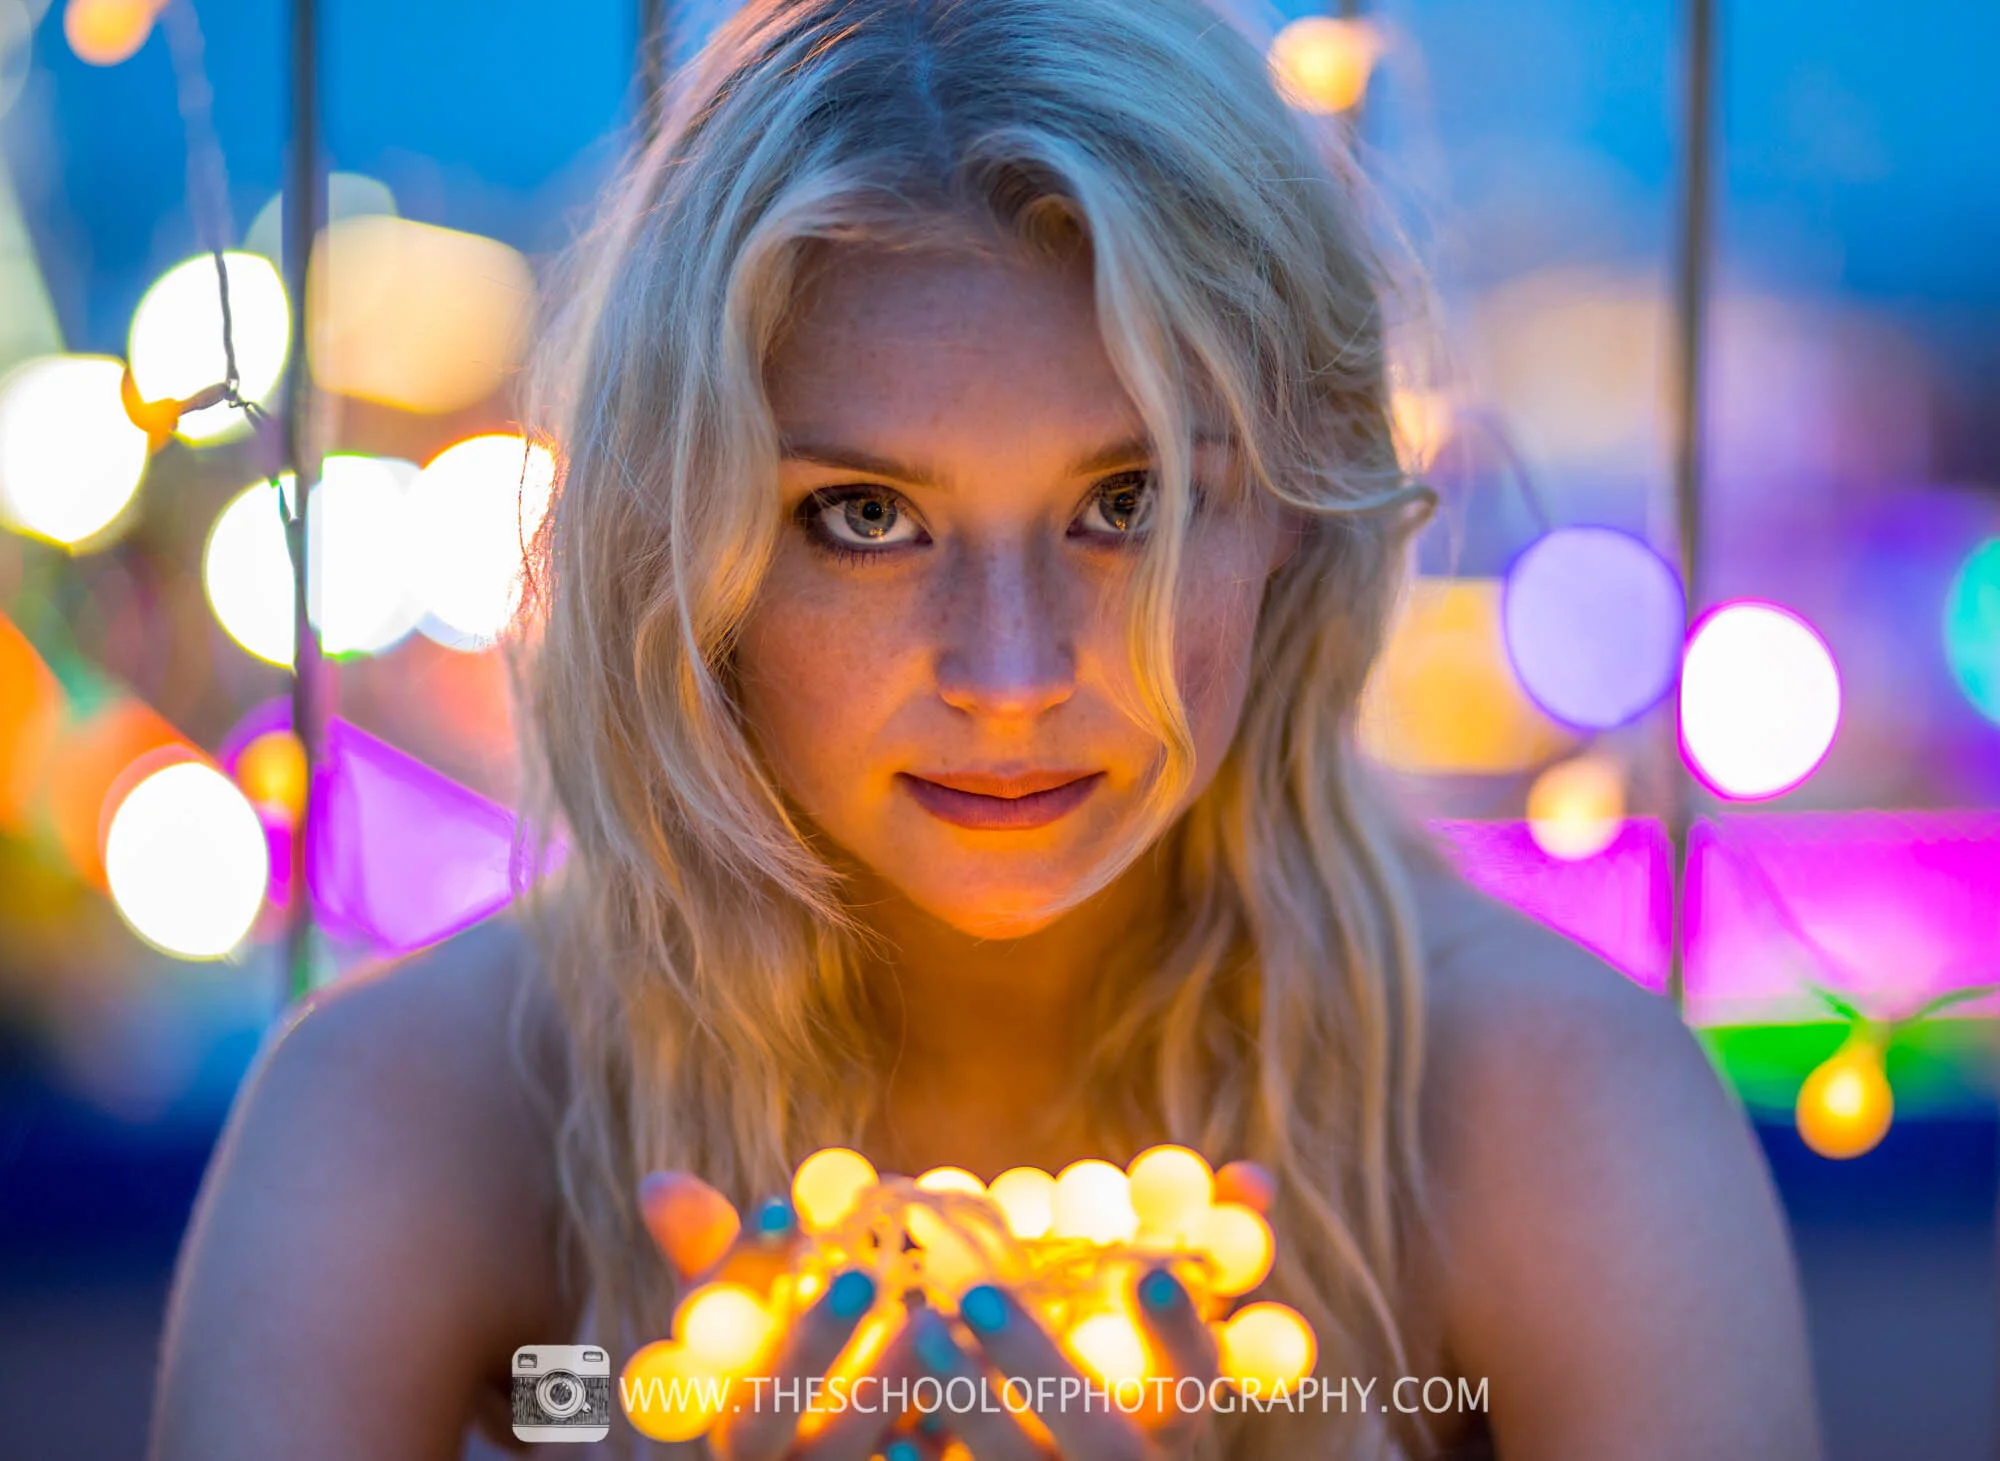
Camera Settings: 85mm Focal Length - 1/80th Second - F1.8 - ISO 800

Camera Settings: 85mm Focal Length - 1/500 Second - F 2.8 - ISO 100
Like this? - Check out similar tutorials below
I hope you liked this video, please leave us a comment and support us by sharing it with your friends and subscribe to our newsletter at the bottom of this page for more.
We also have an excellent learning community on social media so please join us there as well.
Thanks for watching and remember – Learn more at The School of Photography.
