5 Pro Portrait Lighting Setups – On a Budget!
Starting studio portraiture is hard and to get pro results you need to practice portrait lighting setups which give totally different looks. And, as all of us start-up, we need to do this on a budget. So here at TSOP, we’re giving you 5 professional portrait lighting setups you can do with one light, in fact, the whole kit we use costs around £120!
This is an in-depth portrait lighting tutorial with videos, diagrams and examples to enable you to get pro results on a budget, using only one light.
Plus, to help you create these portraits in your own studio, you can download the lighting diagrams, detailed equipment descriptions and camera settings for free below.
Get access to ALL our online courses - 1000’s of videos, worksheets, critiques of members work, personalised support and much more with our monthly membership.
Timestamps
00:29 – About the equipment used
01:51 – Shot 1 – Low Key Setup
06:08 – Shot 2 – Softbox Setup
08:40 – Shot 3 – White Brolly and Silver Reflector Setup
12:15 – Shot 4 – Diffuser Brolly Setup
15:05 – Shot 5 – Rim Lighting Setup
17:45 – Conclusion of lighting for Studio Portraits with one light
Equipment used to create the portraits
Before we talk about the portrait lighting setups, let’s talk about the equipment you’ll need. At the time of making this tutorial, a complete kit with the exact light on all the accessories I use was selling on eBay for £240 second hand. As I only use one light in these setups you can assume the kit I use is even cheaper! Below is the lighting equipment and accessories used to create the portraits.

Manual Settings
You’ll need a camera that goes into full manual mode. An easy way to check if your camera has this function is to look at the top of the camera and see if it has a dial with the letter M (for manual) on it. If yours has this, it will be fine.
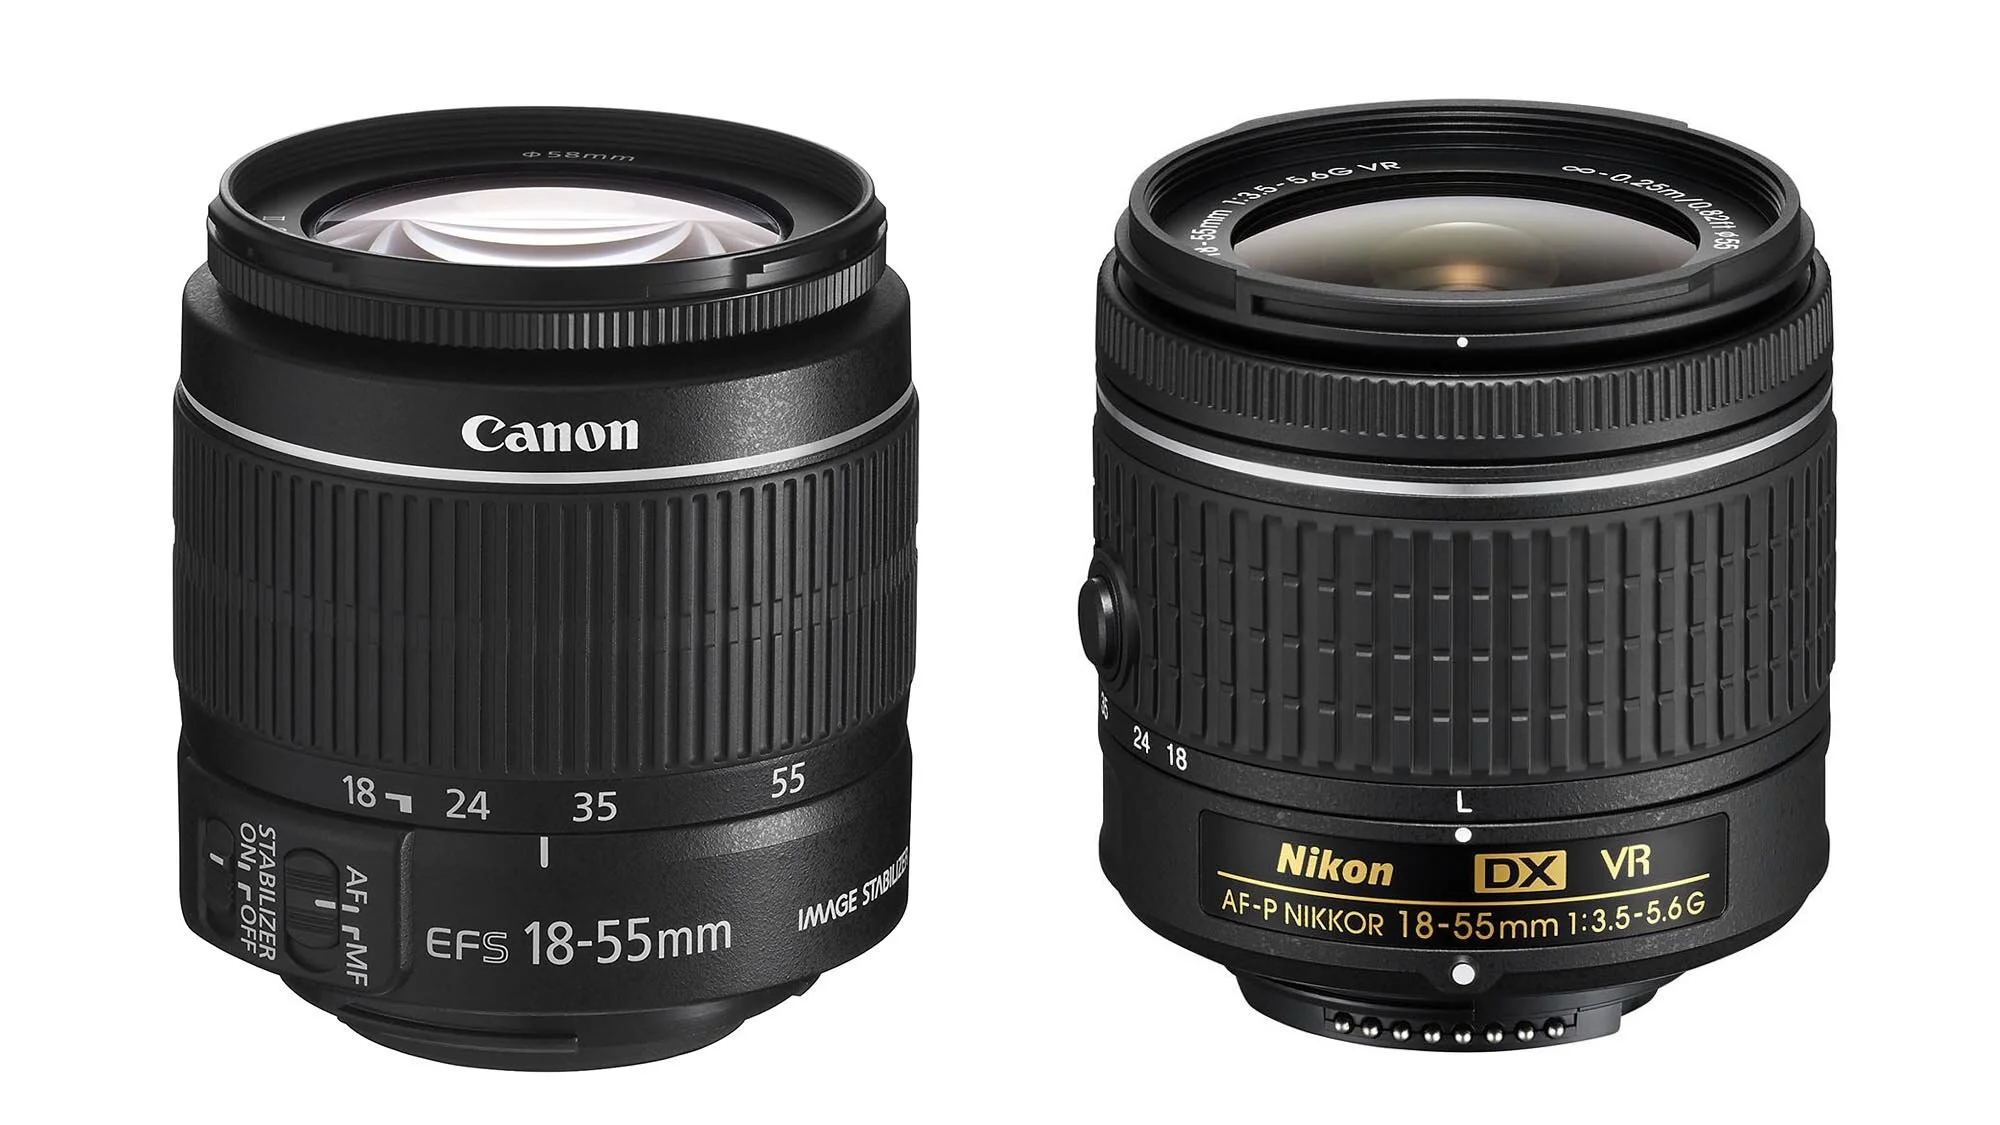
Standard zoom and a prime lens
A standard zoom lens is fine for this type of photography but if you have them, prime lenses with wide apertures will help you get that blurry background look.
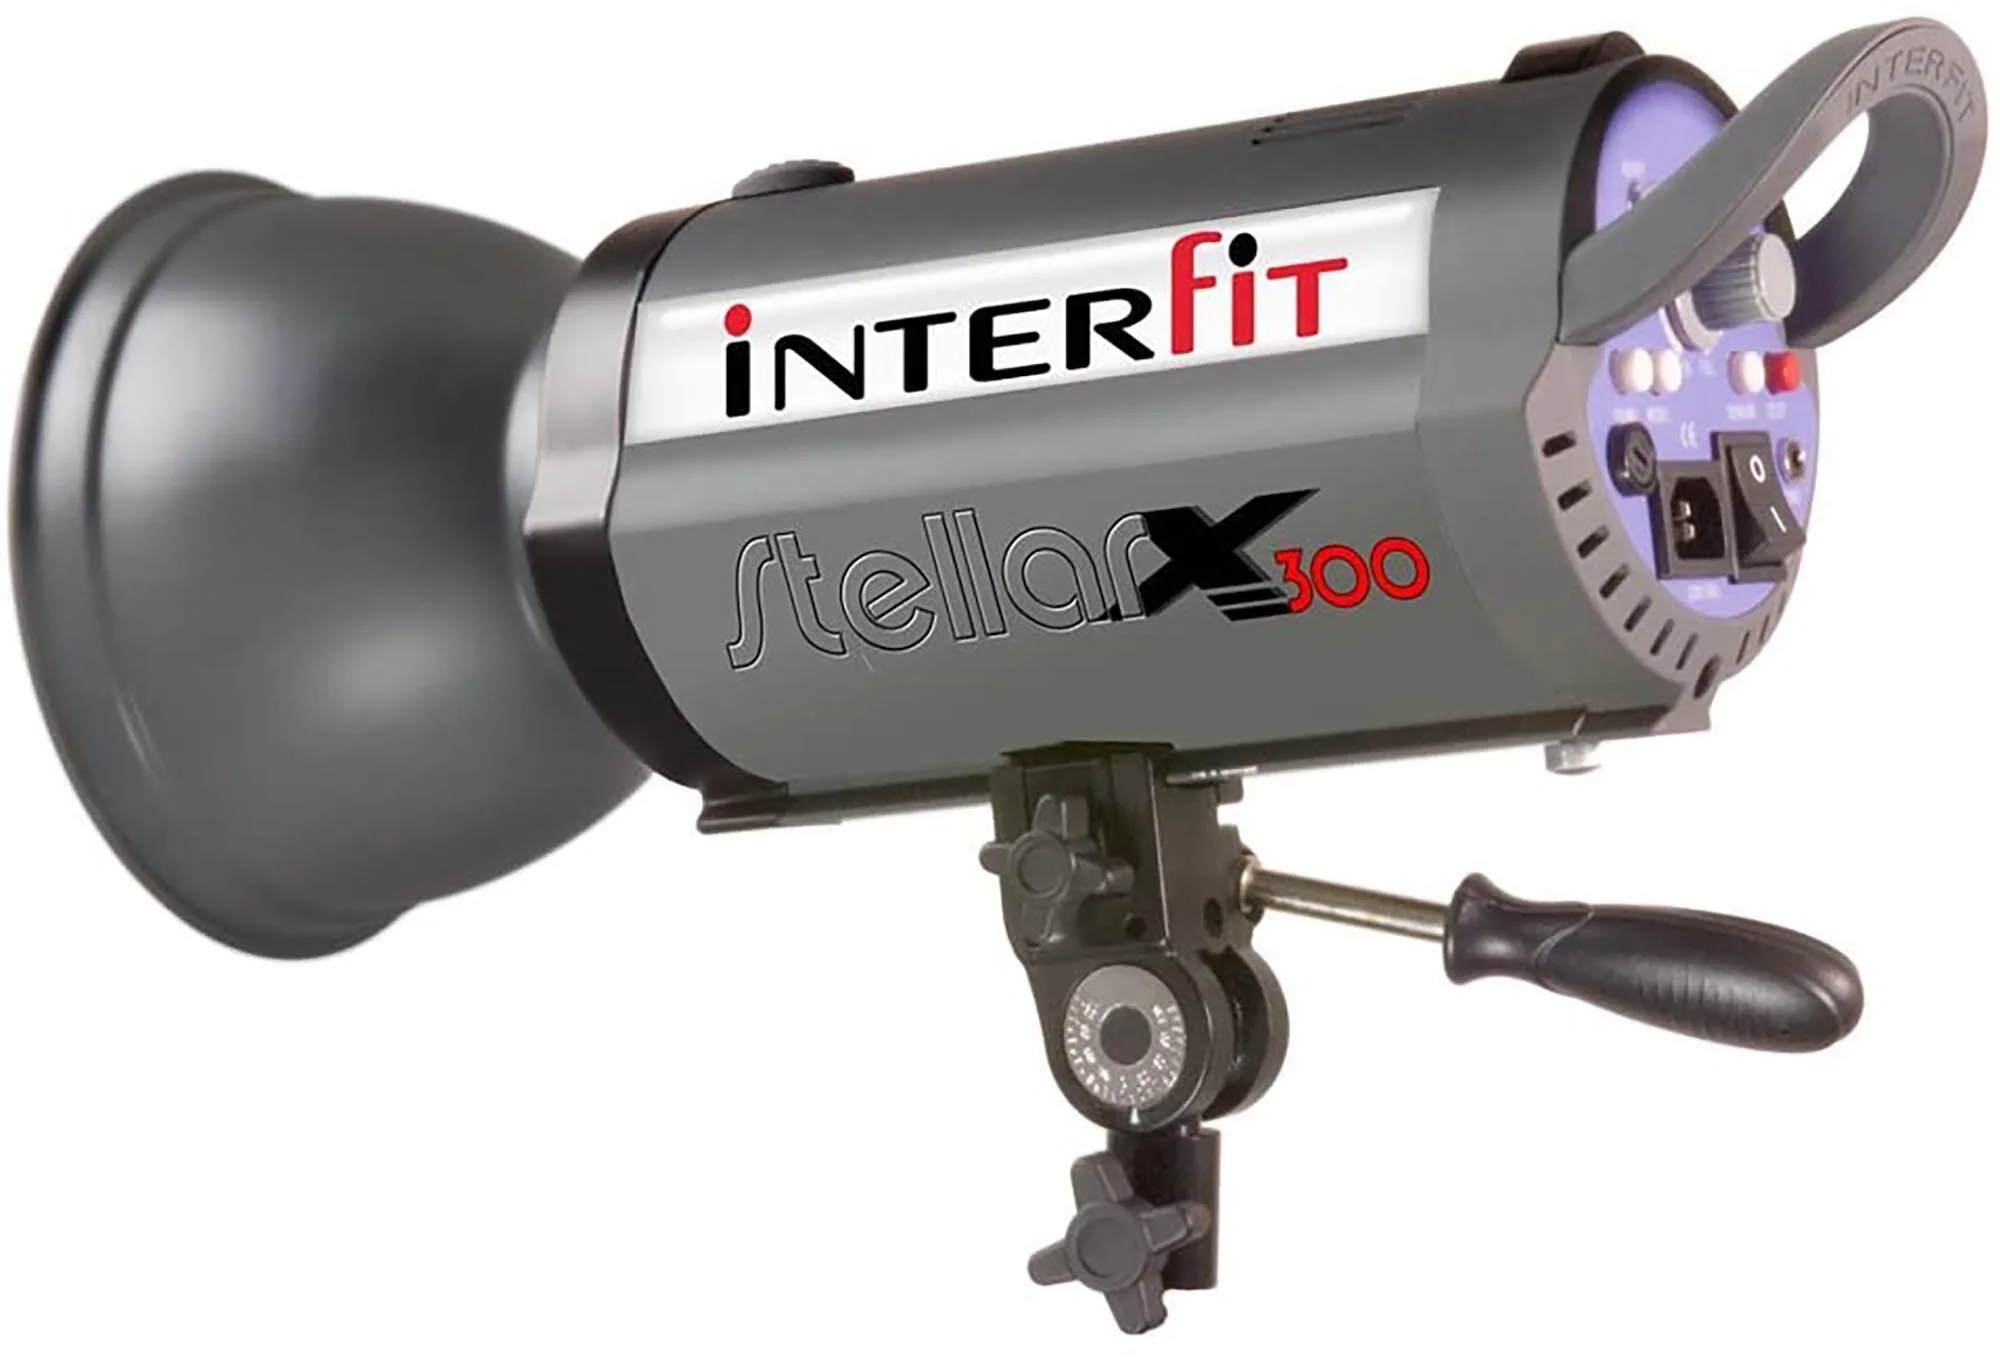
A Studio Flash Head
A Studio Flash Head is a powerful and portable flash lighting with a modelling lamp. The higher the Wattage, the more powerful the light. 300 – 500W power is average.

Reflectors
Reflectors come in many different shapes and sizes. Used generally to reflect white, gold or silver light back into your shot. You can also use card or poly boards.

A Brolly
A Brolly is used to reflect light. You can get gold, silver and white inserts to reflect different types of light and you can also get diffuser brollies to shine the light through (similar to a soft box).
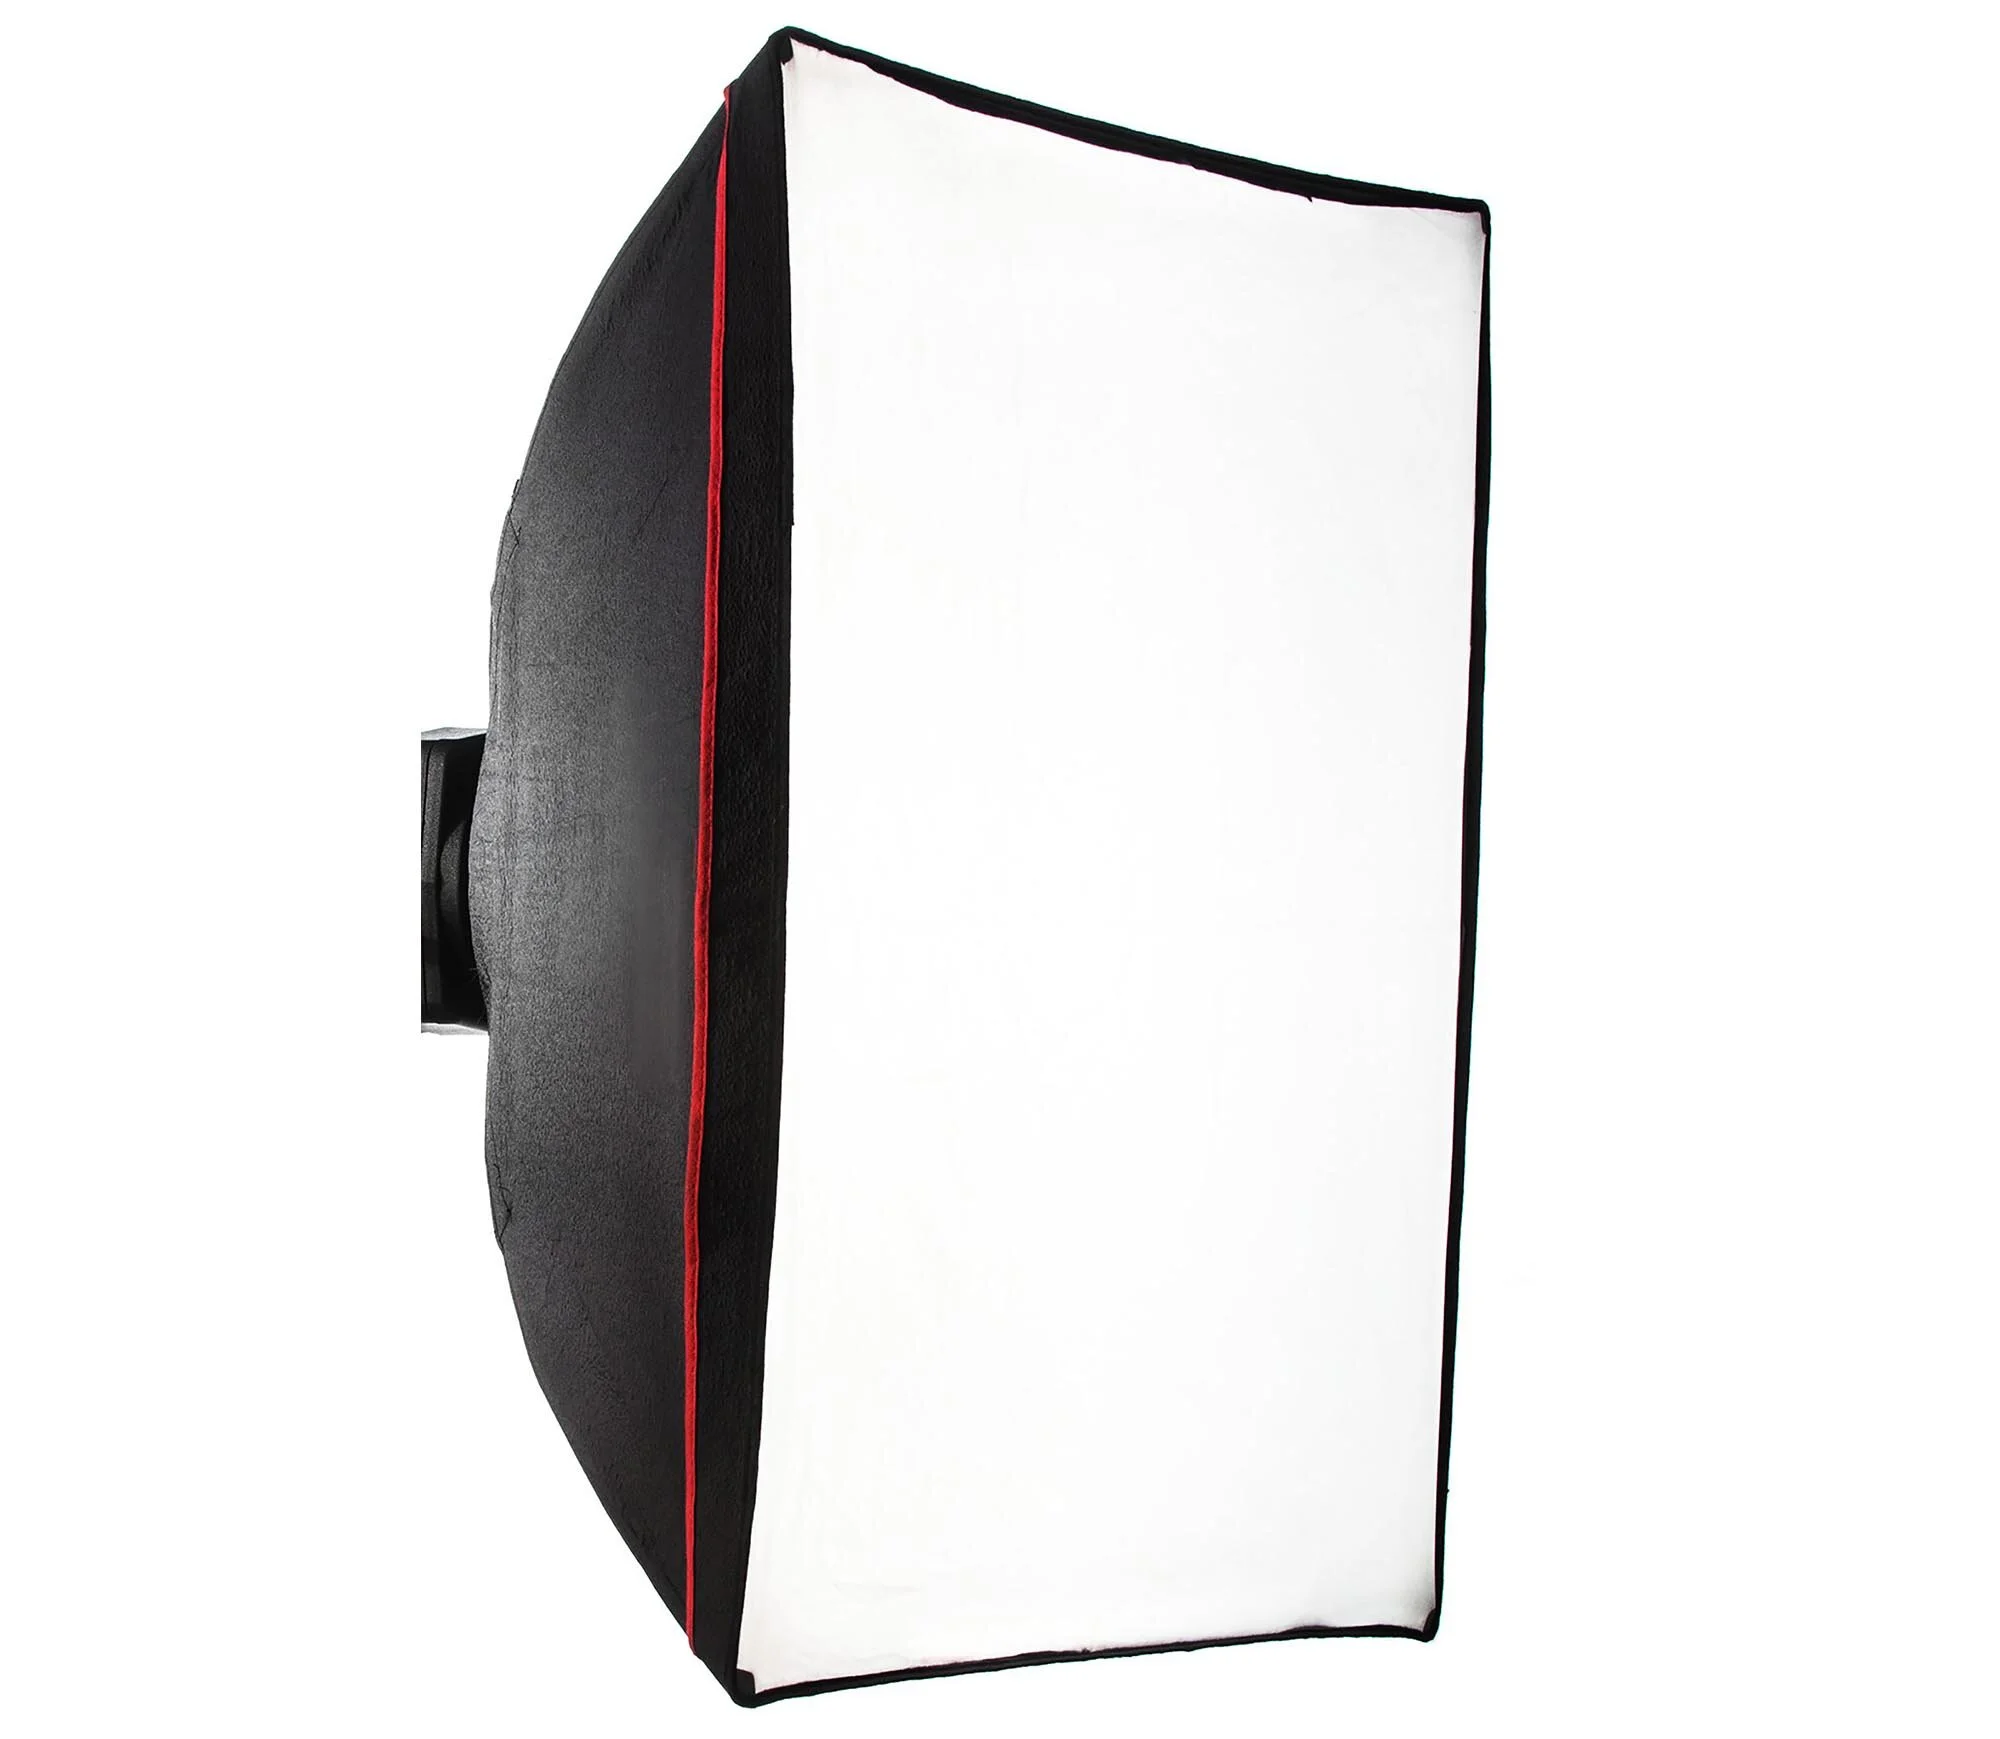
A Soft box
A Soft box comes in many different shapes and are used to give a diffused light.
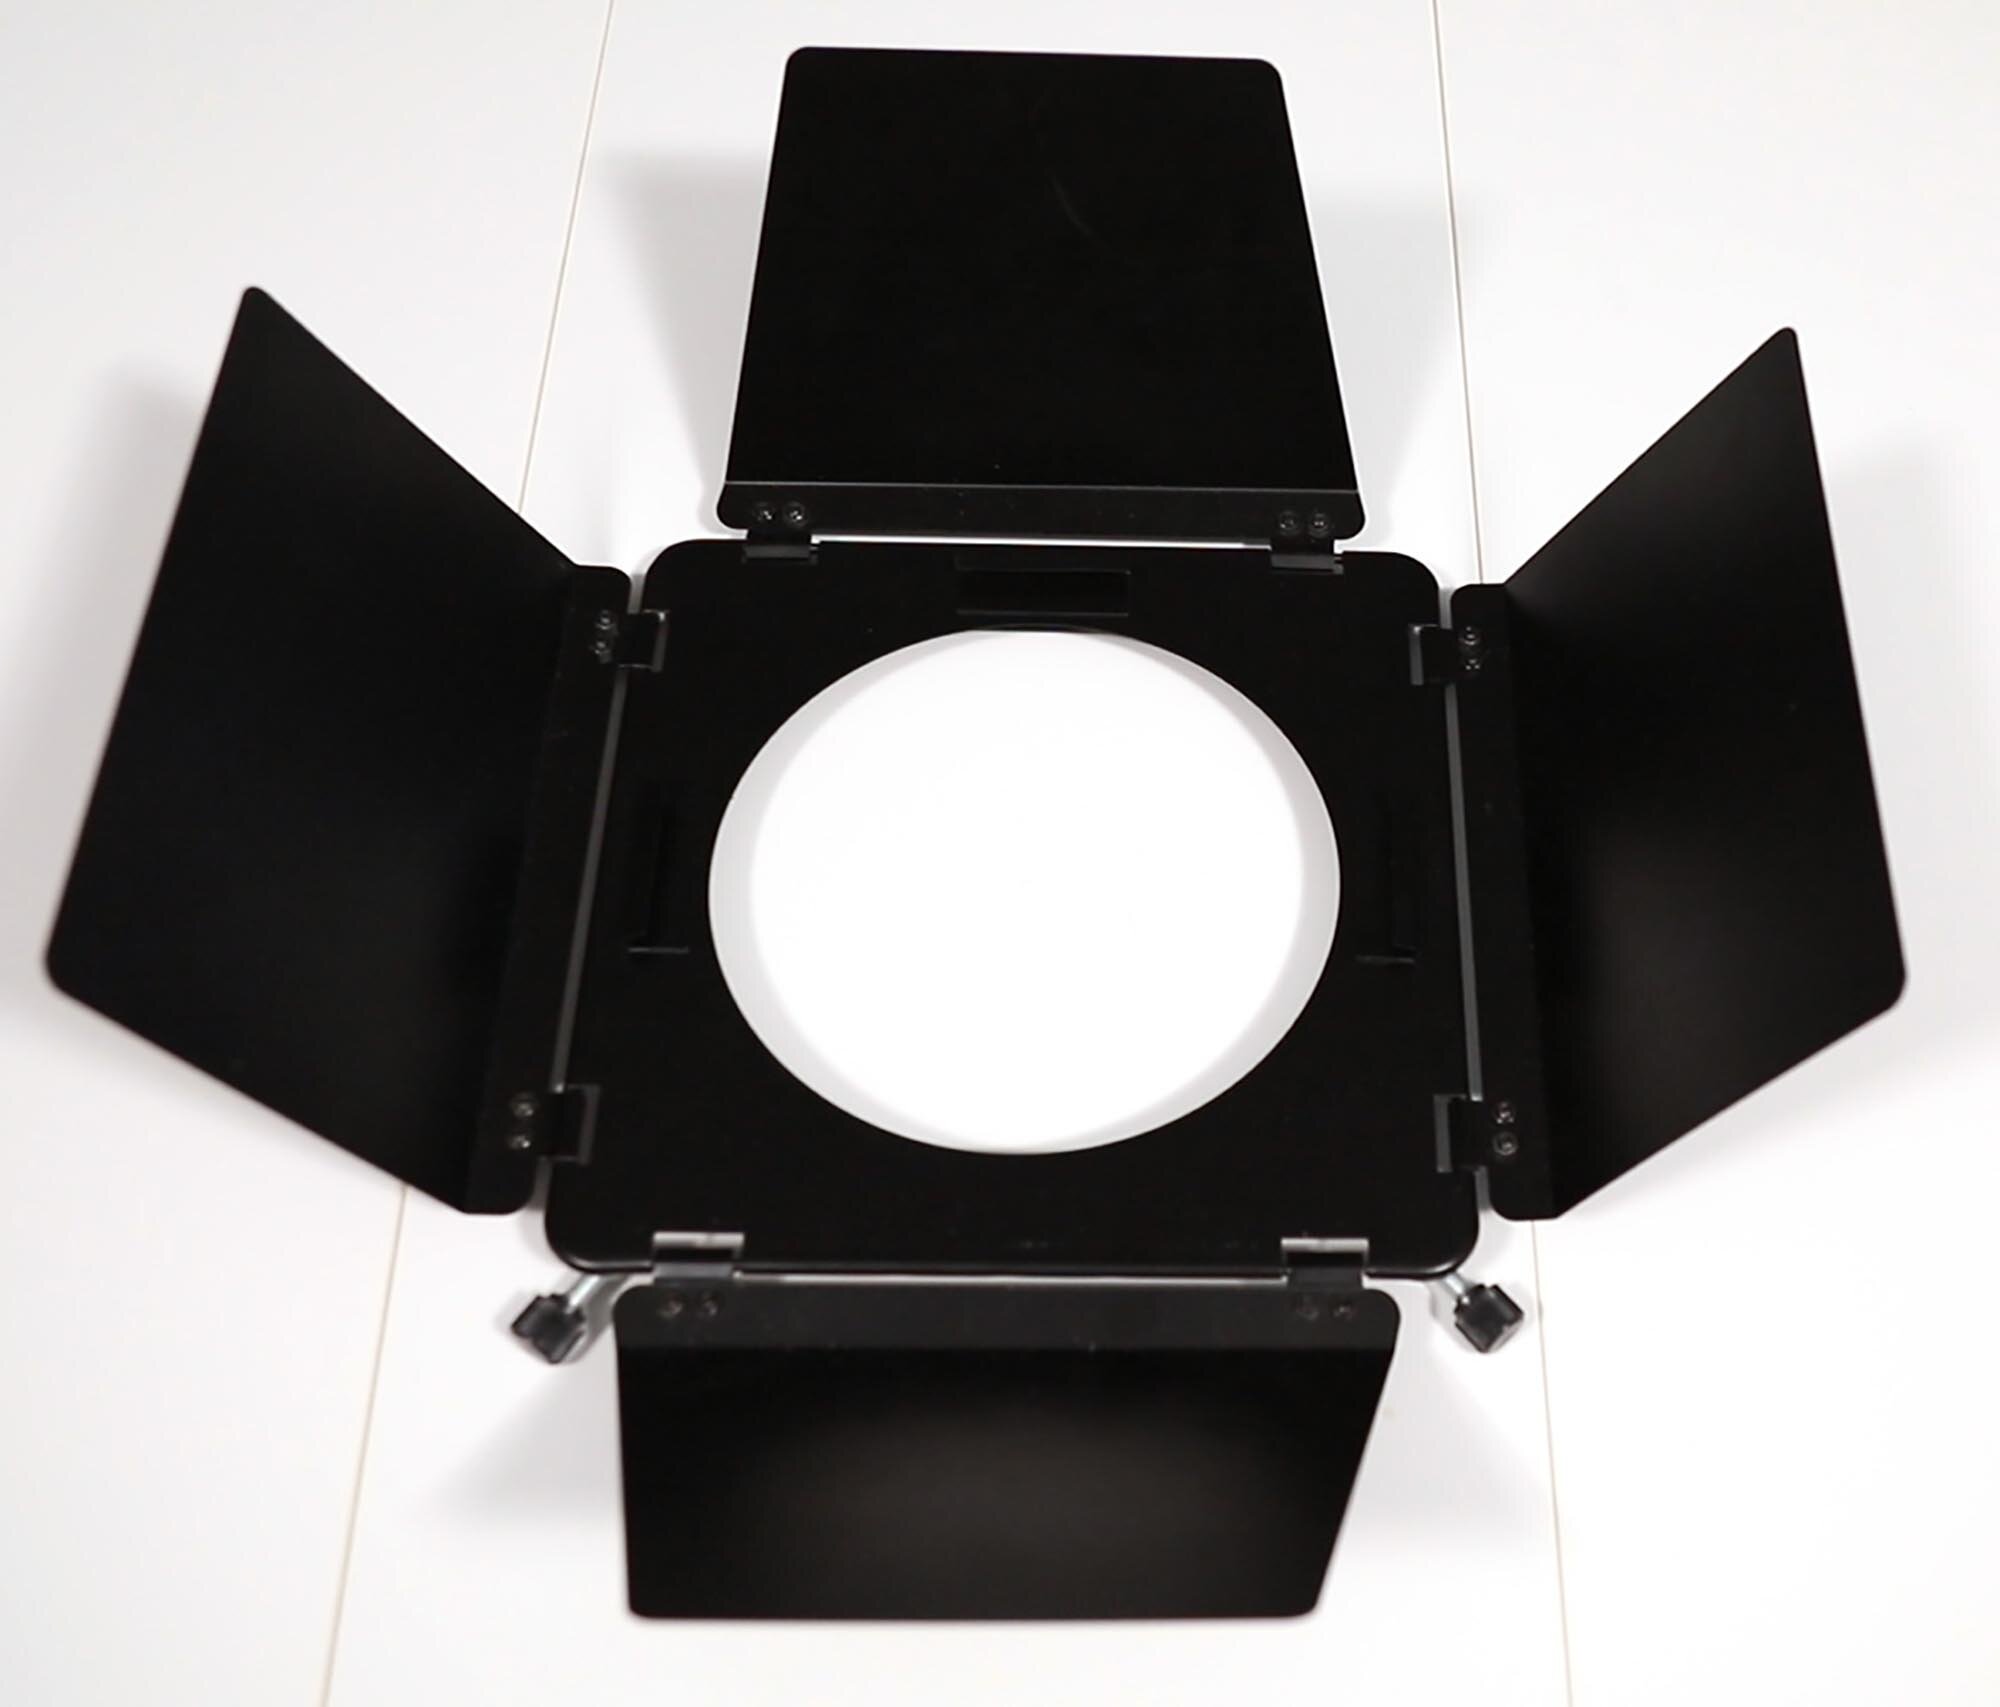
Barn Doors
Barn Doors are used on the flash to direct light and block it off areas you don’t want the light to hit.
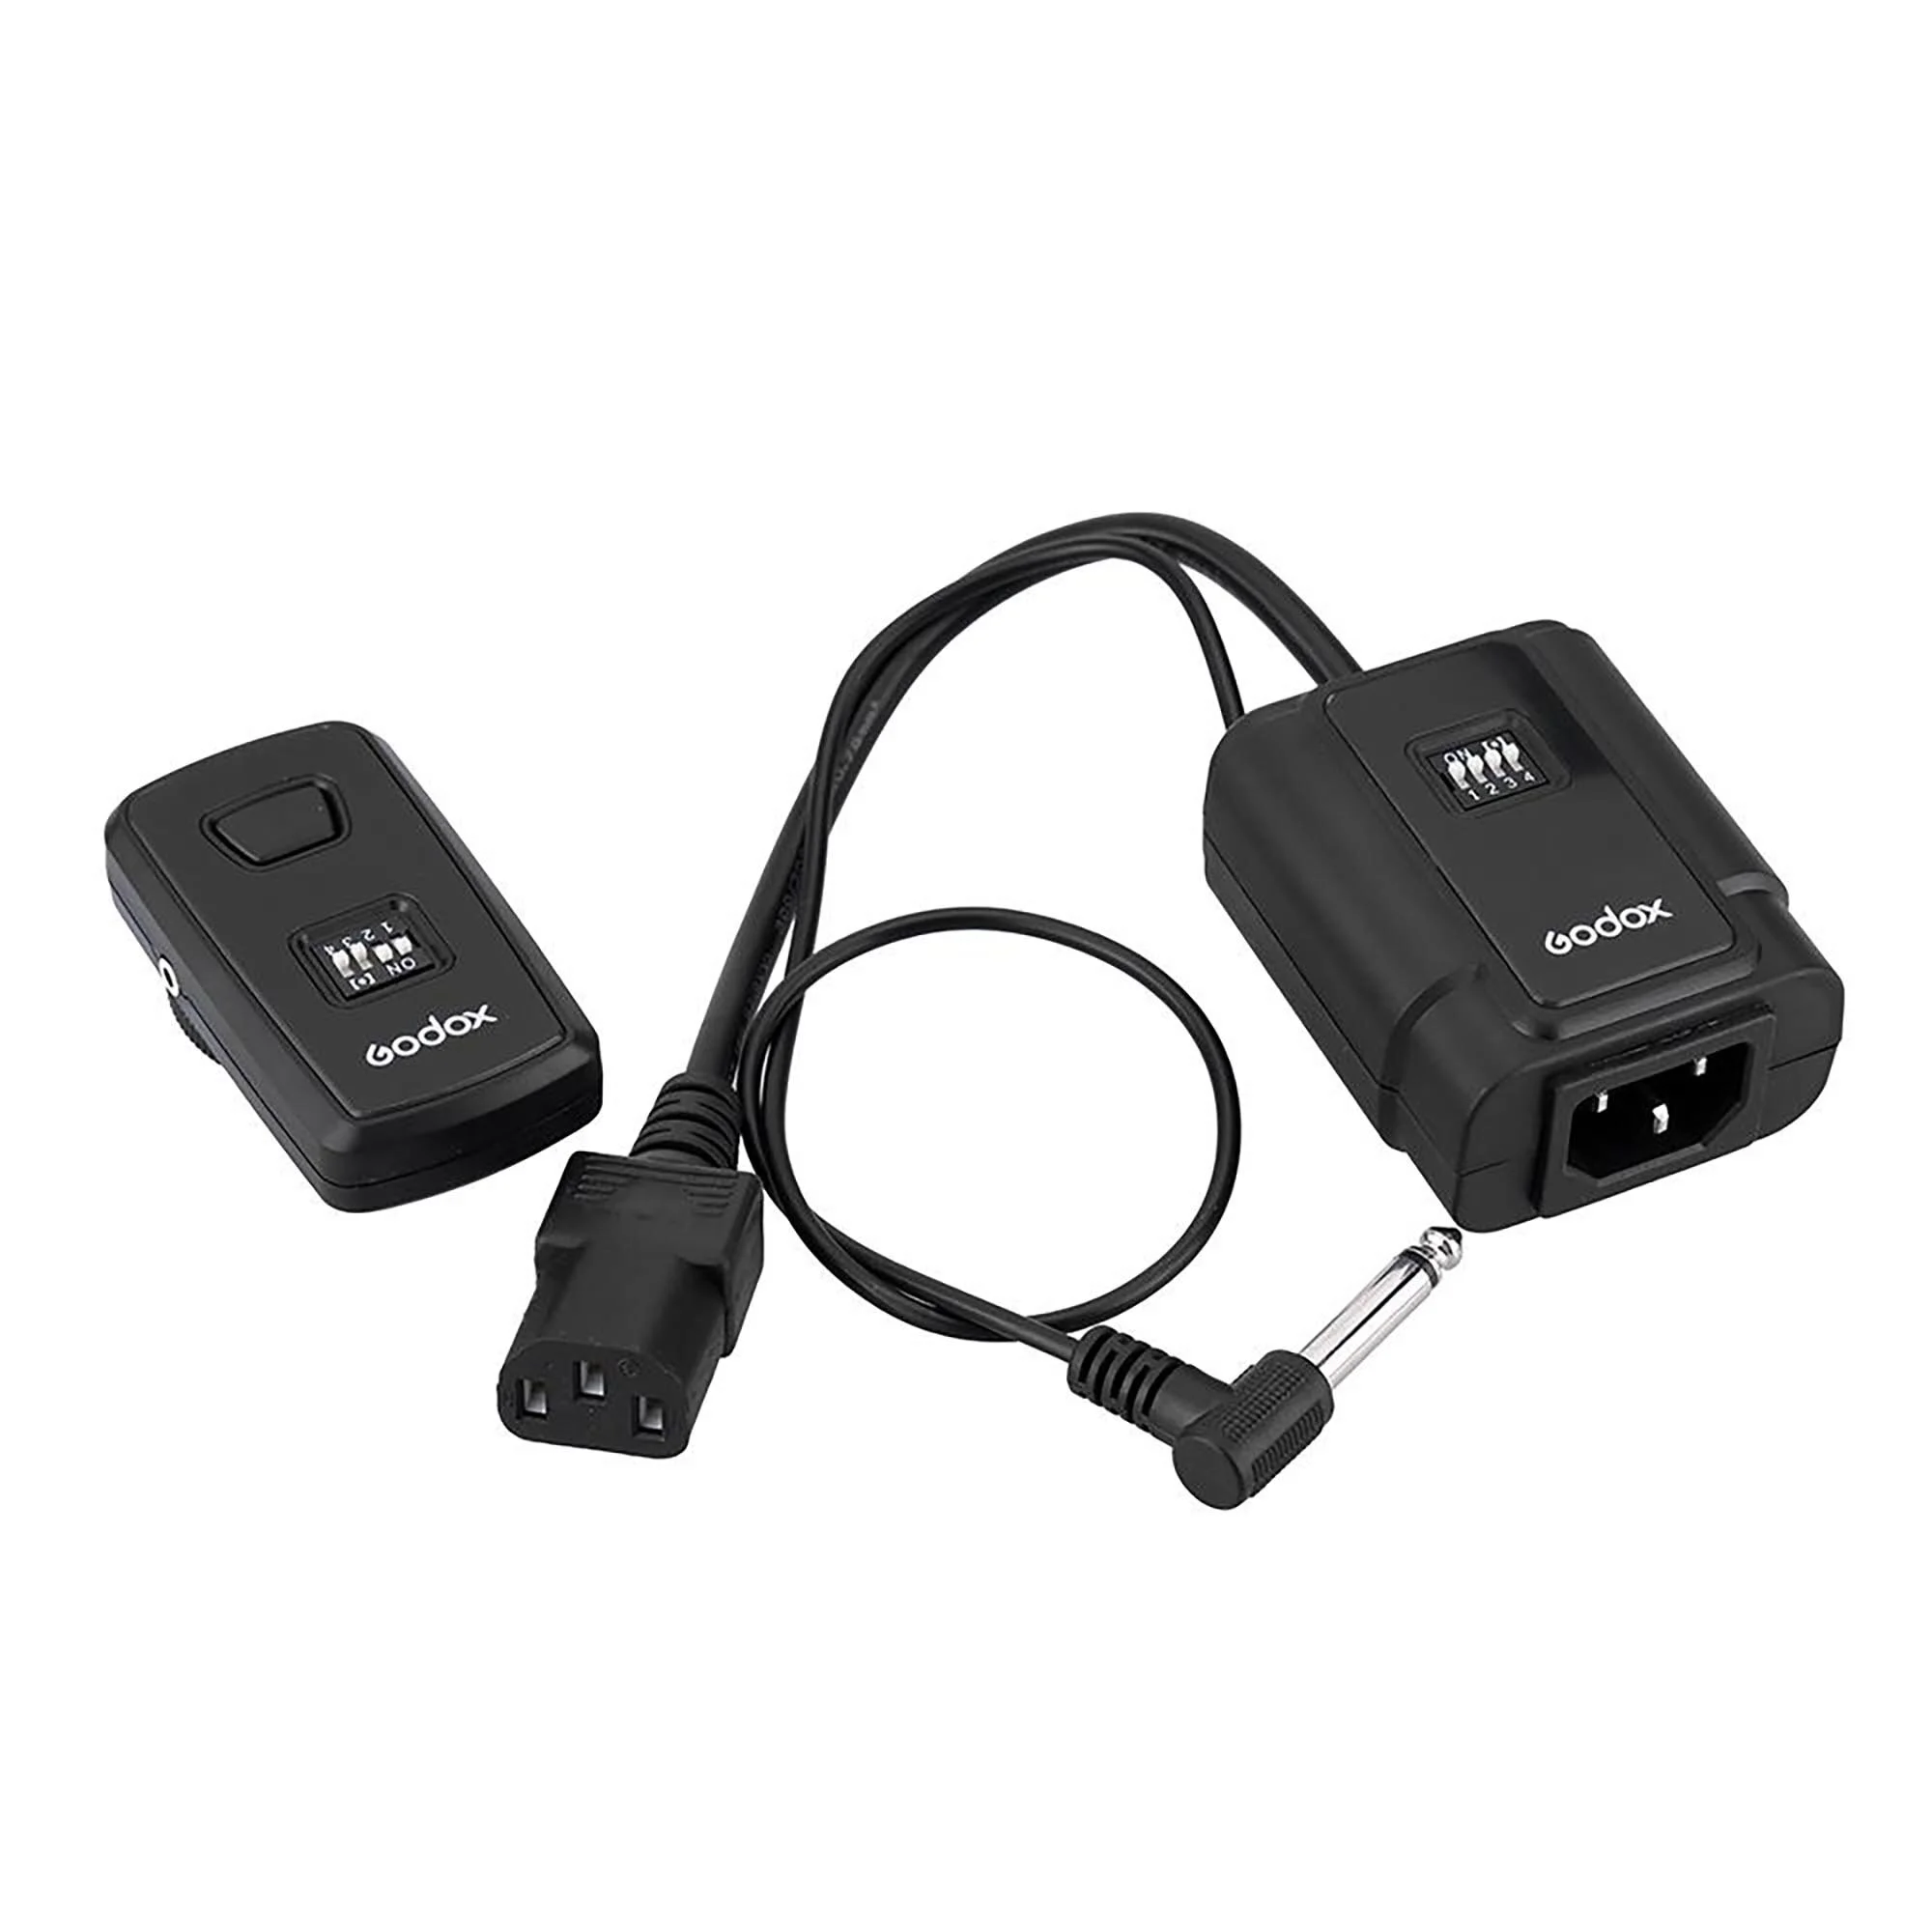
Remote trigger
You will also need a remote trigger to fire off the flash head and a light meter to measure the light and get correct exposures. These are more advanced techniques and cannot be taught in a 20 min YouTube video. To learn how to get perfect exposures when using studio flash equipment, click here.
To learn more about specific equipment for studio lighting photography, click here.
Portrait Lighting Setup 1 – The Low Key effect
This simple lighting setup is created by strong direct light coming in from one side of the face and it creates what’s called a Low Key look. A black reflector is used to stop light bouncing back onto the face and a silver reflector is used behind the model to punch light back in and add an edge to the face and body. If you didn’t bounce light back in, the left side of the body would disappear into the black background, which can also be a good effect. Experiment with and without the silver reflector to get the look you want.
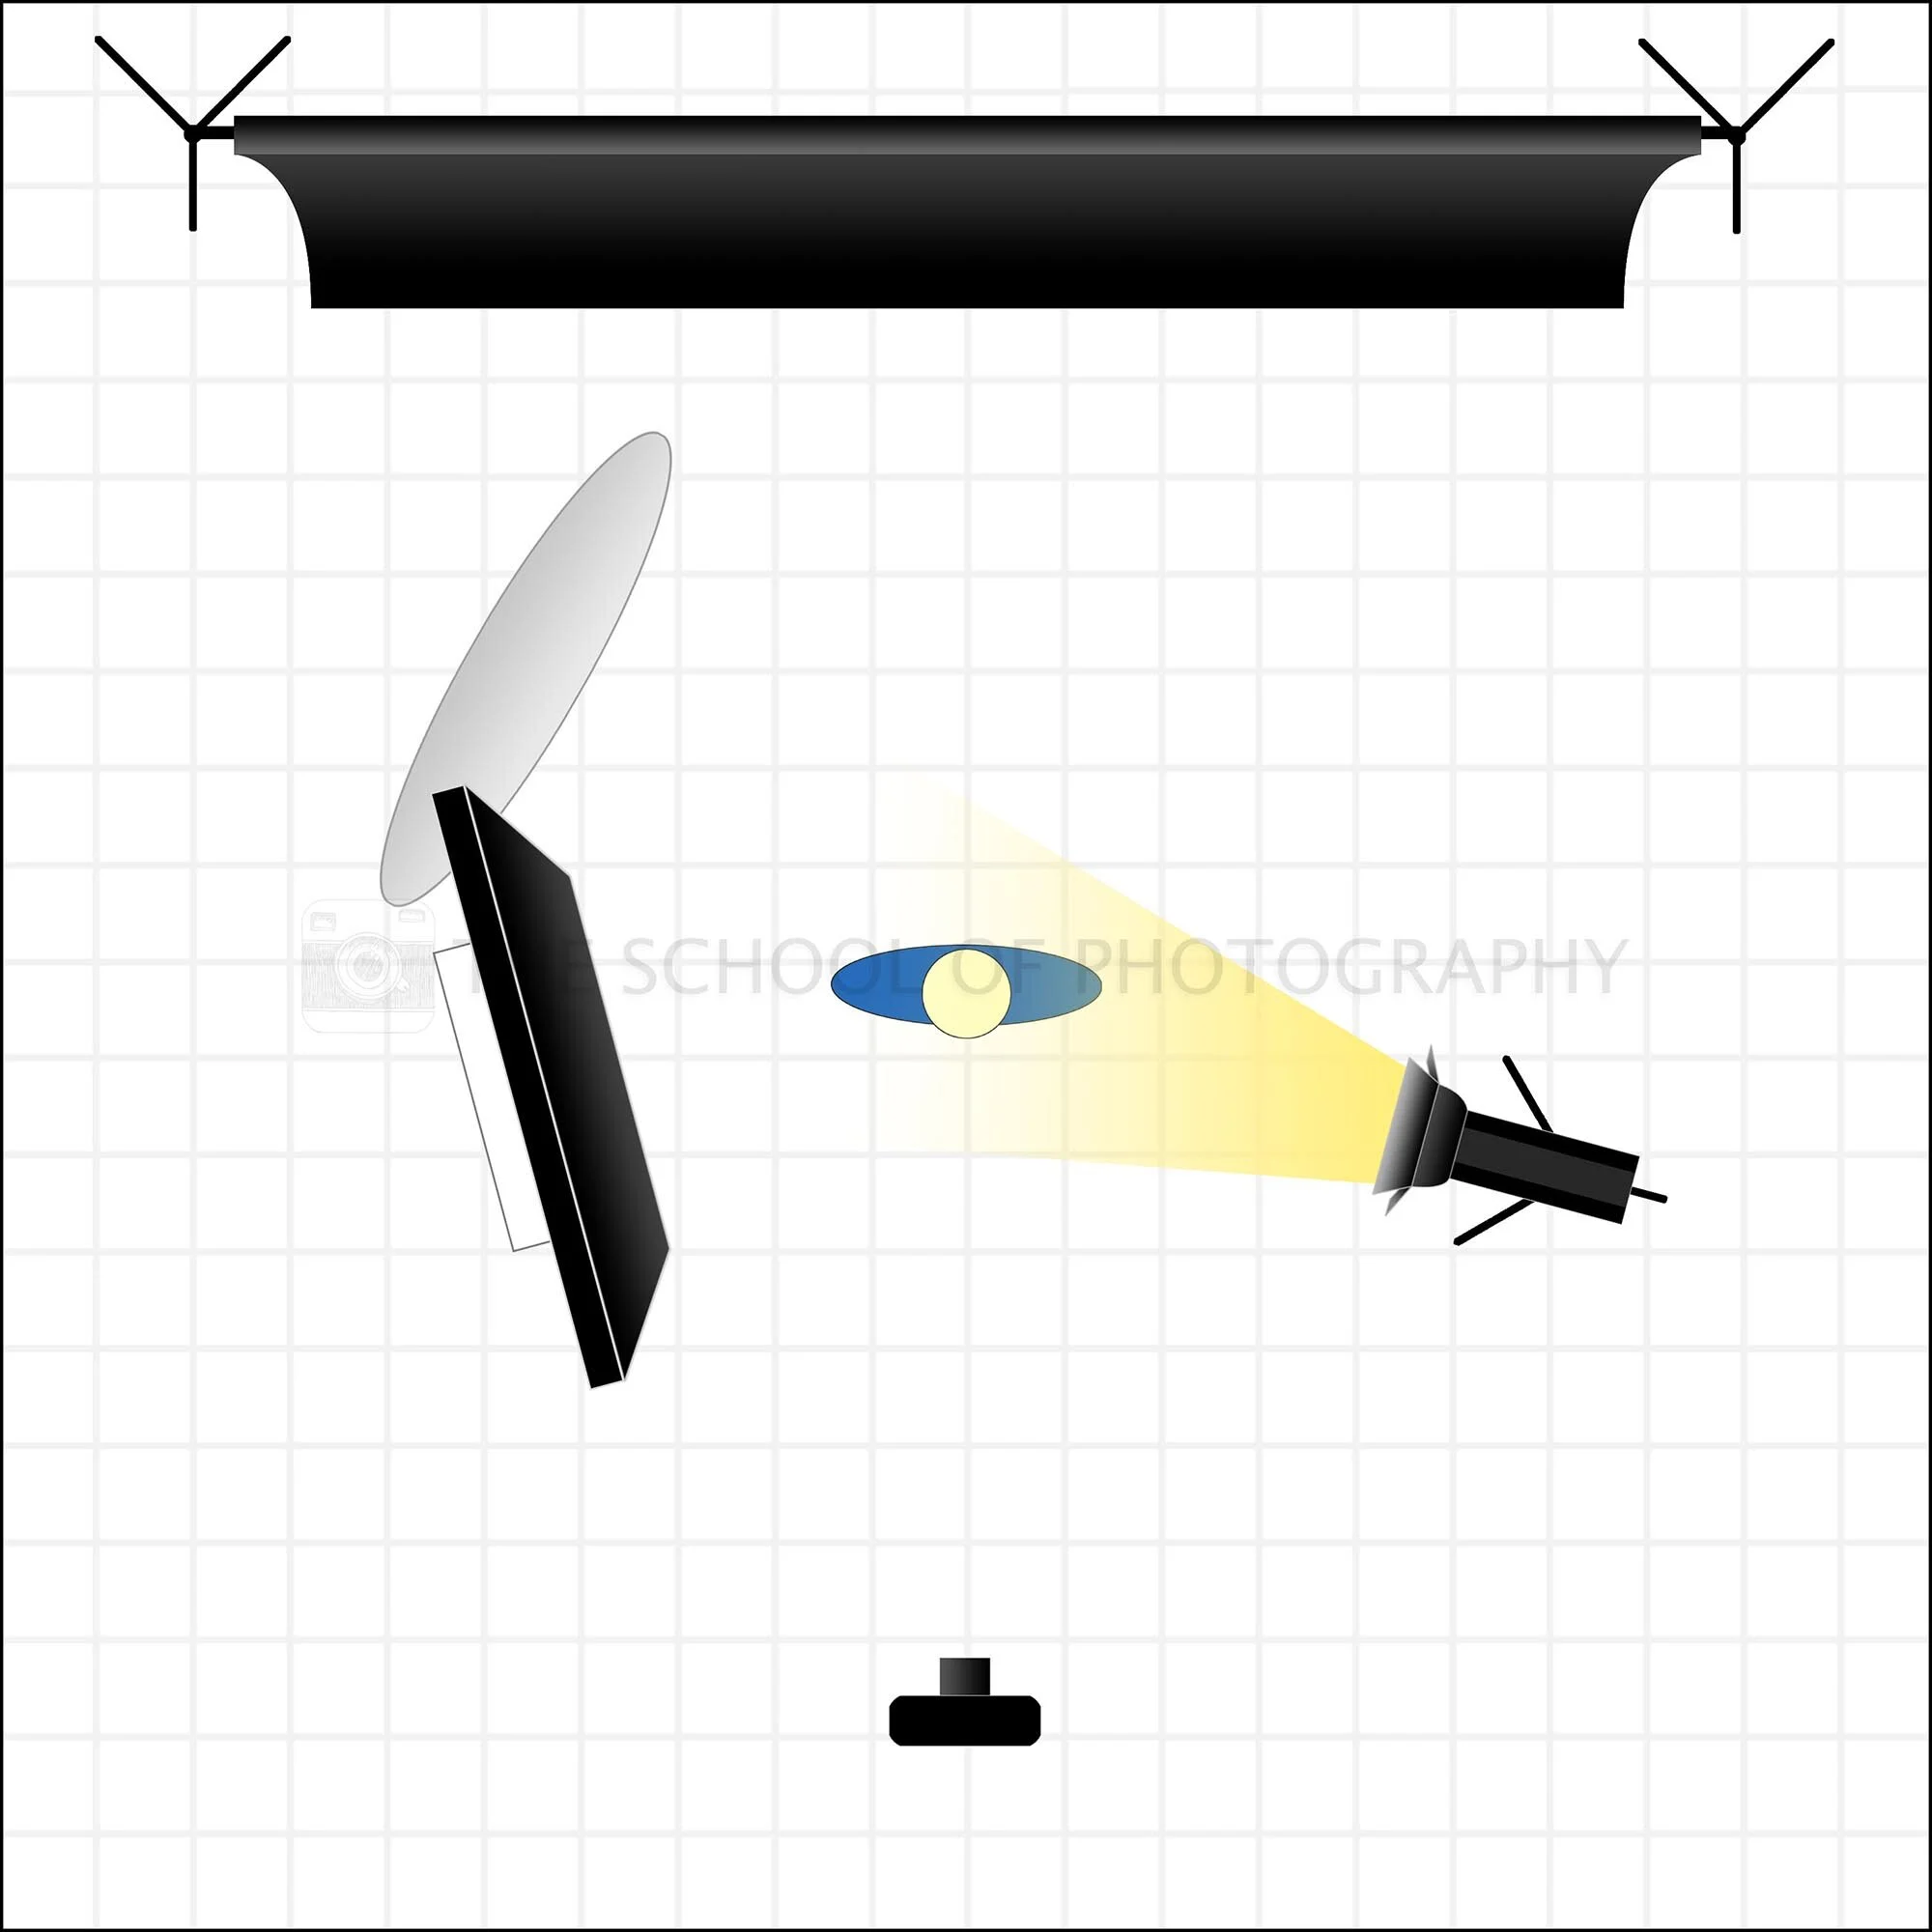
Portrait lighting diagram used to achieve the the low key effect
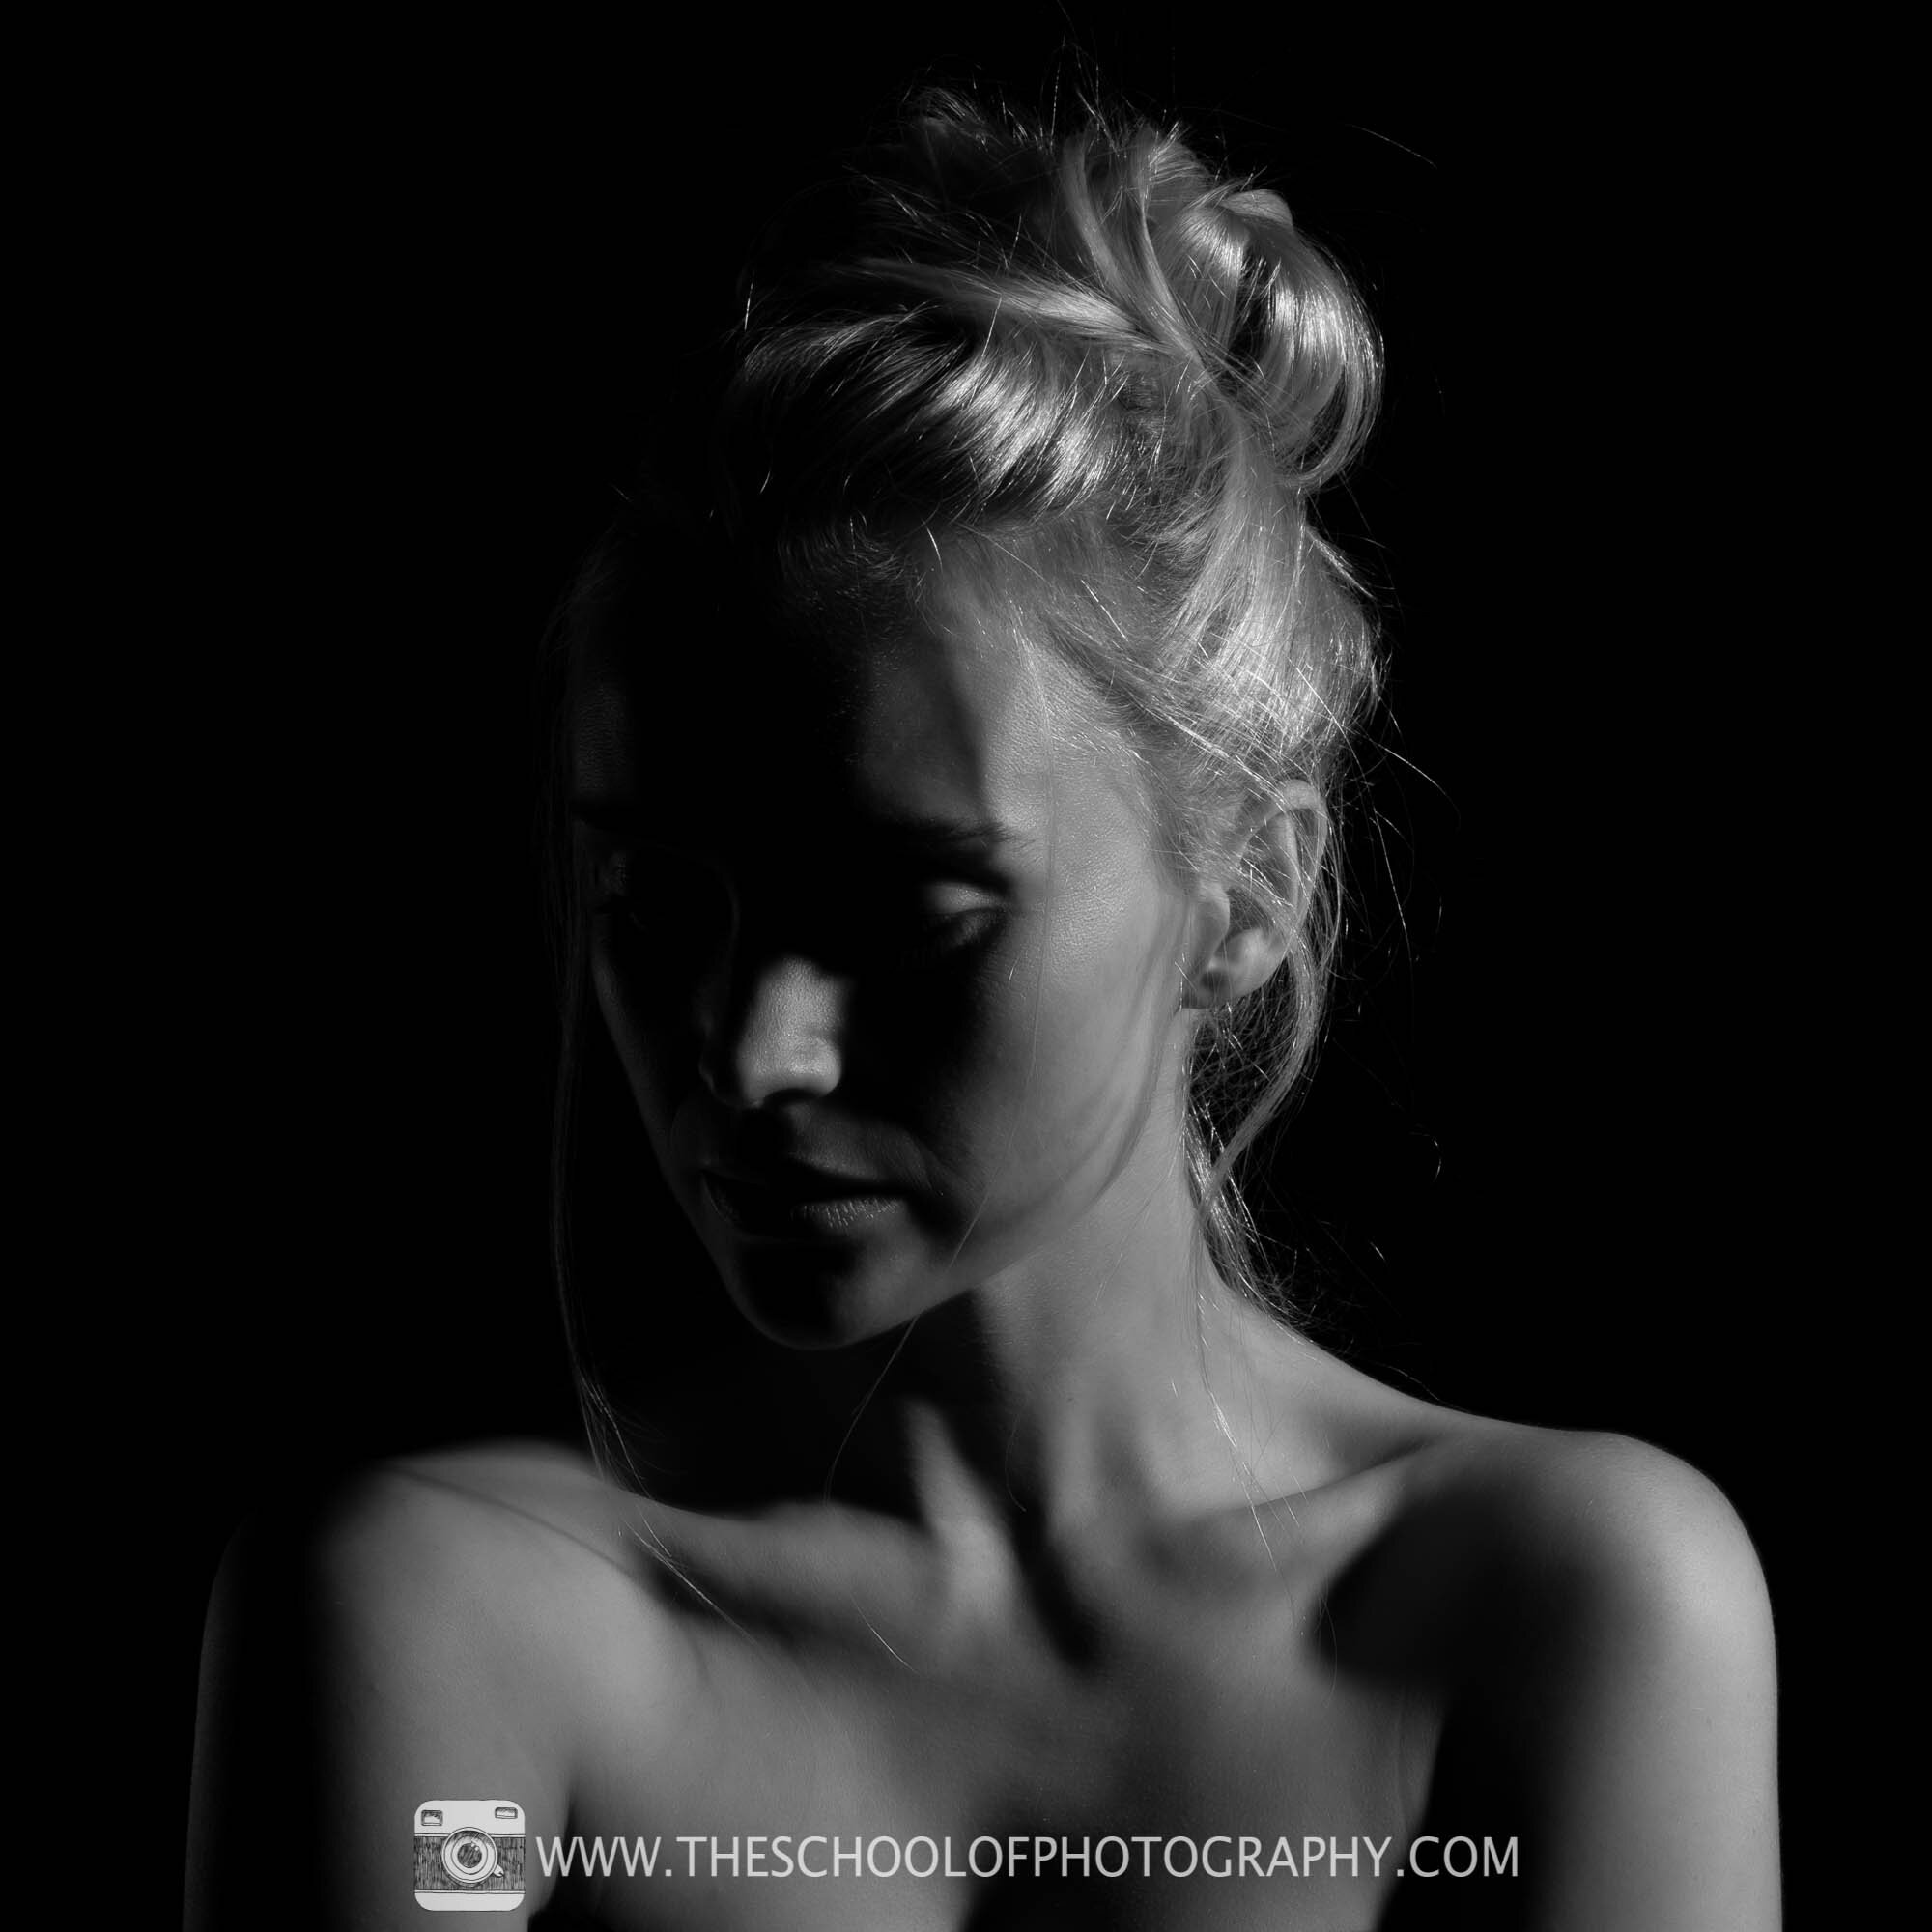
Black and white portrait of model using the low key lighting setup - Camera Settings: f22 – 1/125th Sec - ISO 100 - 50mm focal length, full frame Camera
The portrait was then turned black and white and adjusted in Lightroom. To learn how to do this, click here
Portrait Lighting Setup 2 – Using a Softbox
In this lighting setup, a softbox is used to give a diffused soft light to one side of the face. A black reflector is used to make one side of the portrait dark. You could easily change the setup by using a white reflector instead. A white reflector will bounce back soft light and brighten the other side of the model.
Using a softbox is a great way to give a flattering look to portraits and can add a lovely catchlight to the eyes. A white background has also been used here. This has turned grey due to the distance of the model from it and the lack of light hitting it. To learn more about lighting backgrounds click here.
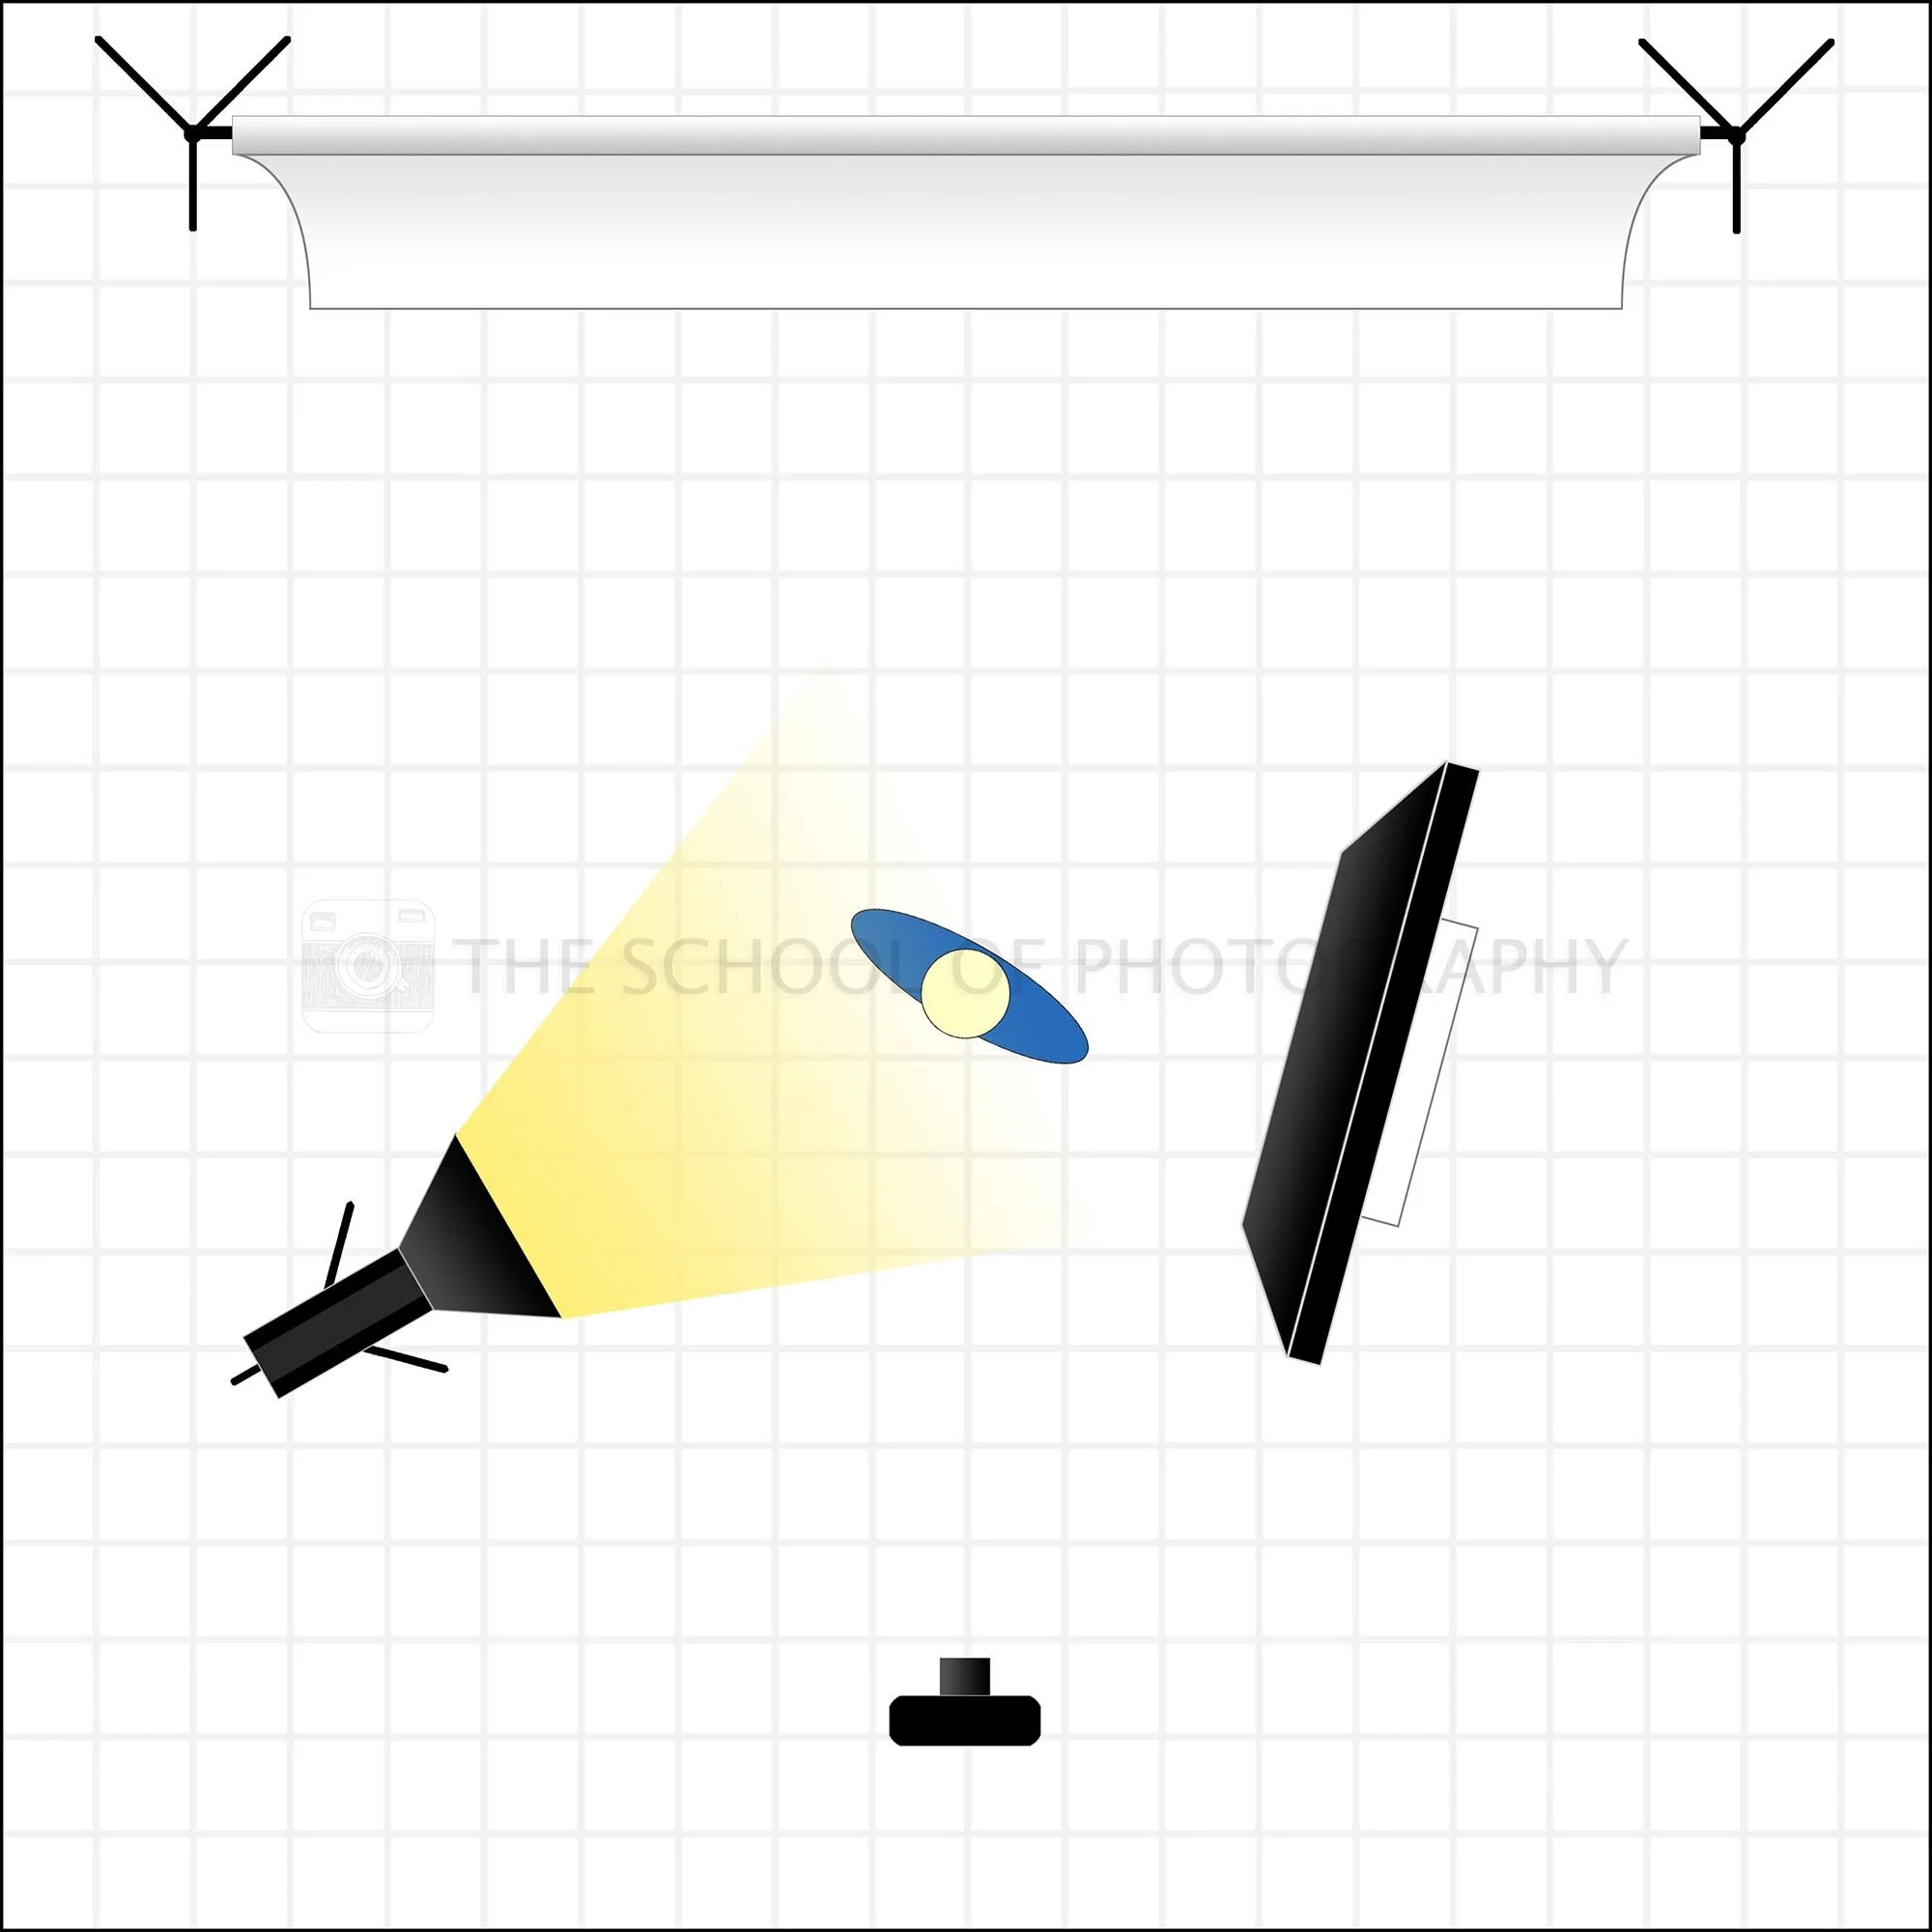
Portrait lighting diagram using a Softbox and black reflector
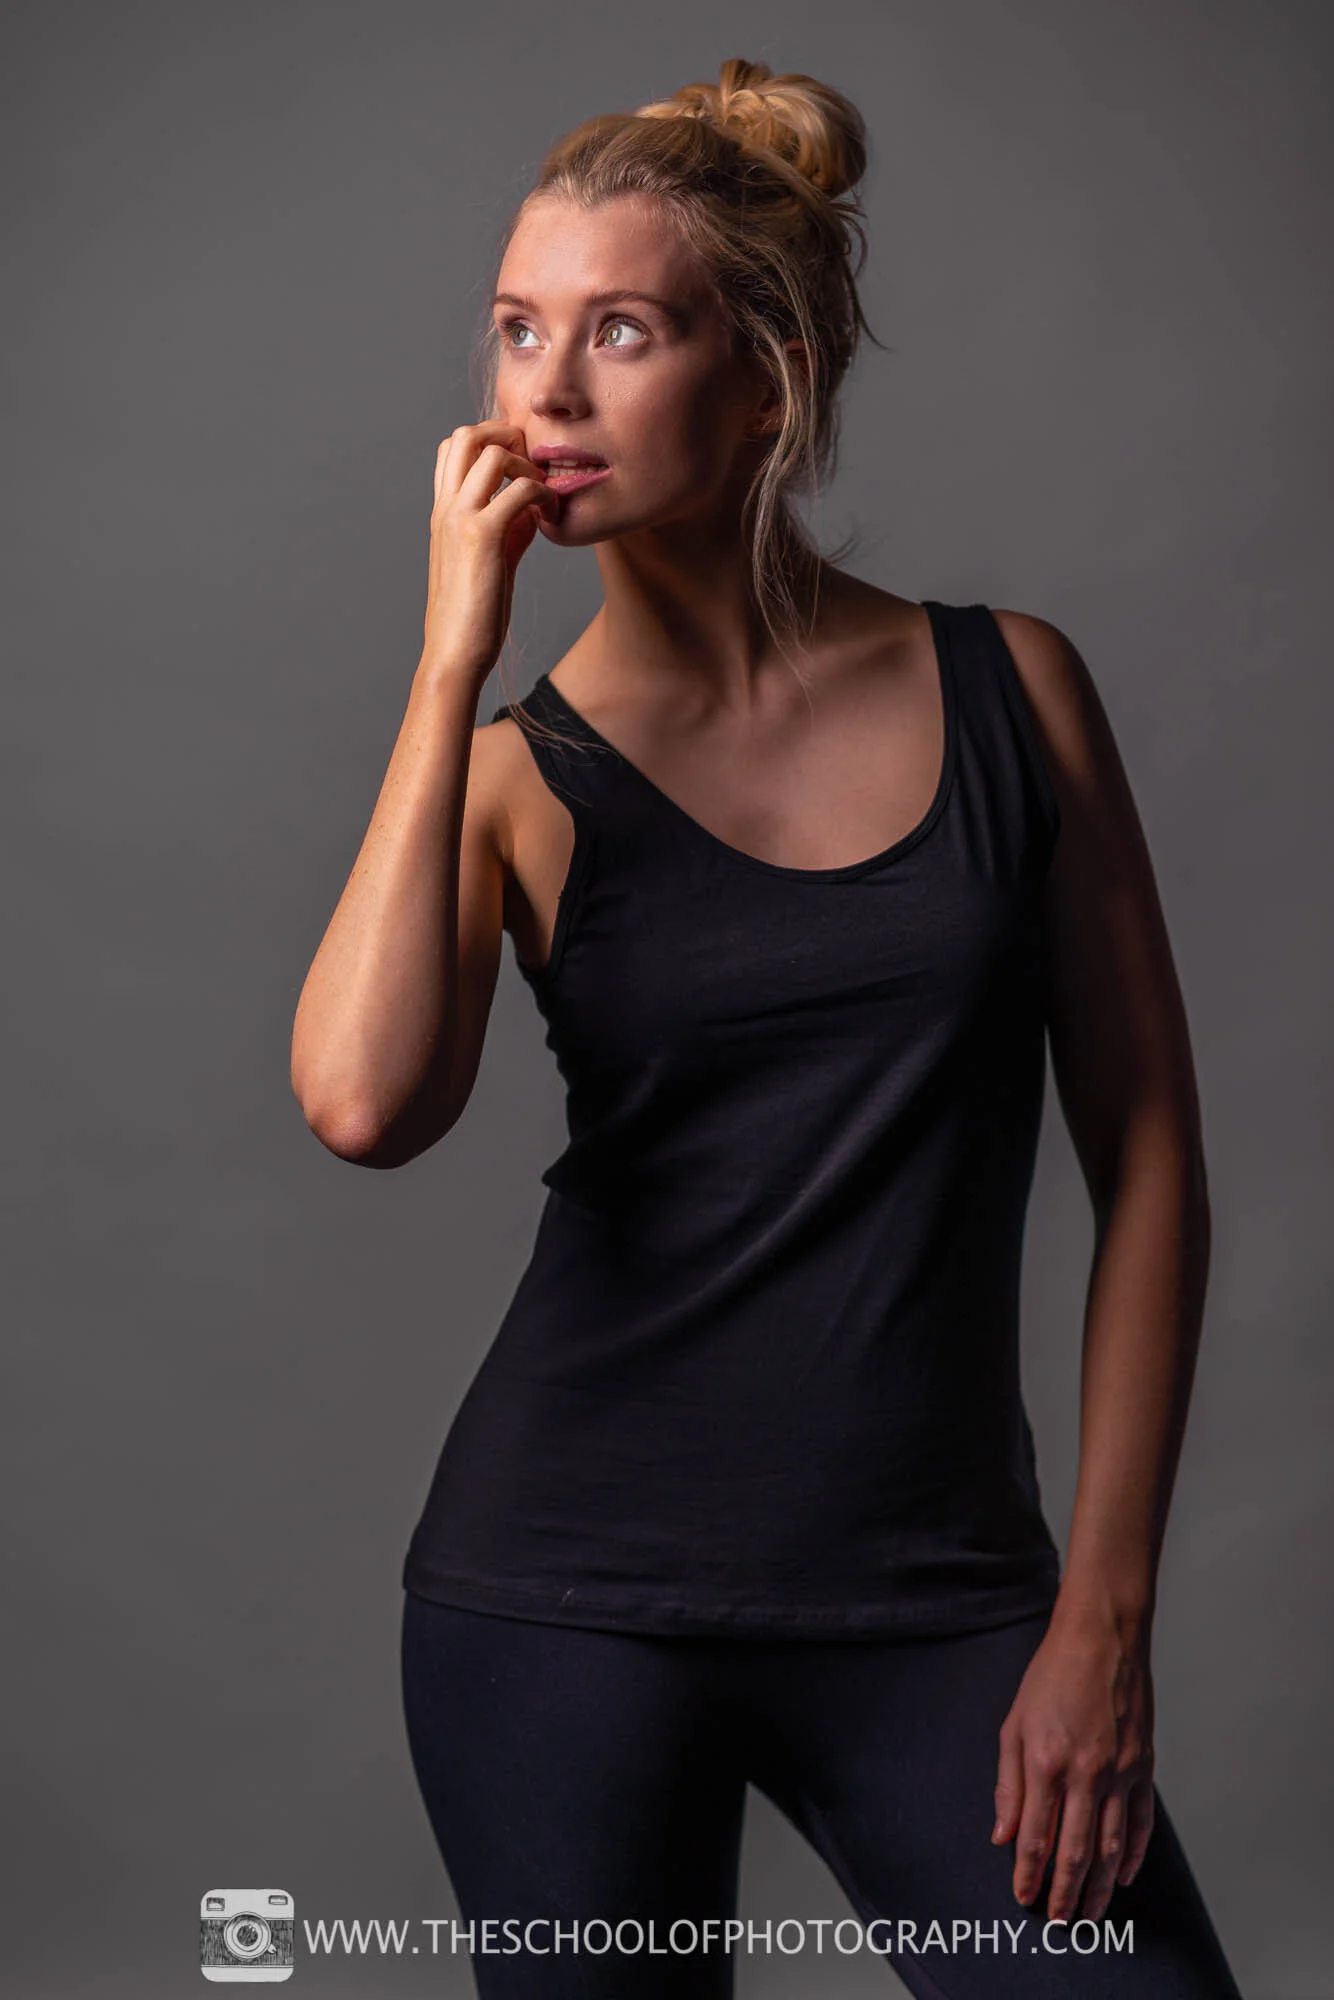
Portrait of model using the softbox setup - Camera Settings: f2.8 – 1/125th Sec - ISO 100 - 85mm focal length, full frame Camera
Want 10% off your first course? Click here
Portrait Lighting Setup 3 – White Brolly with Silver Reflector
This lighting setup gives a clean, crisp look to any portrait. It’s created by using a simple white brolly which reflects soft light over the top of the model. Black reflectors are used on both sides of the face to add contour to the portrait. In other words, it will show off the shape of the face much better by adding definition to the cheek bones and other areas of the face. A silver reflector is added under the face to fill in the shadows caused by the brolly and to add a catchlight to the eyes.
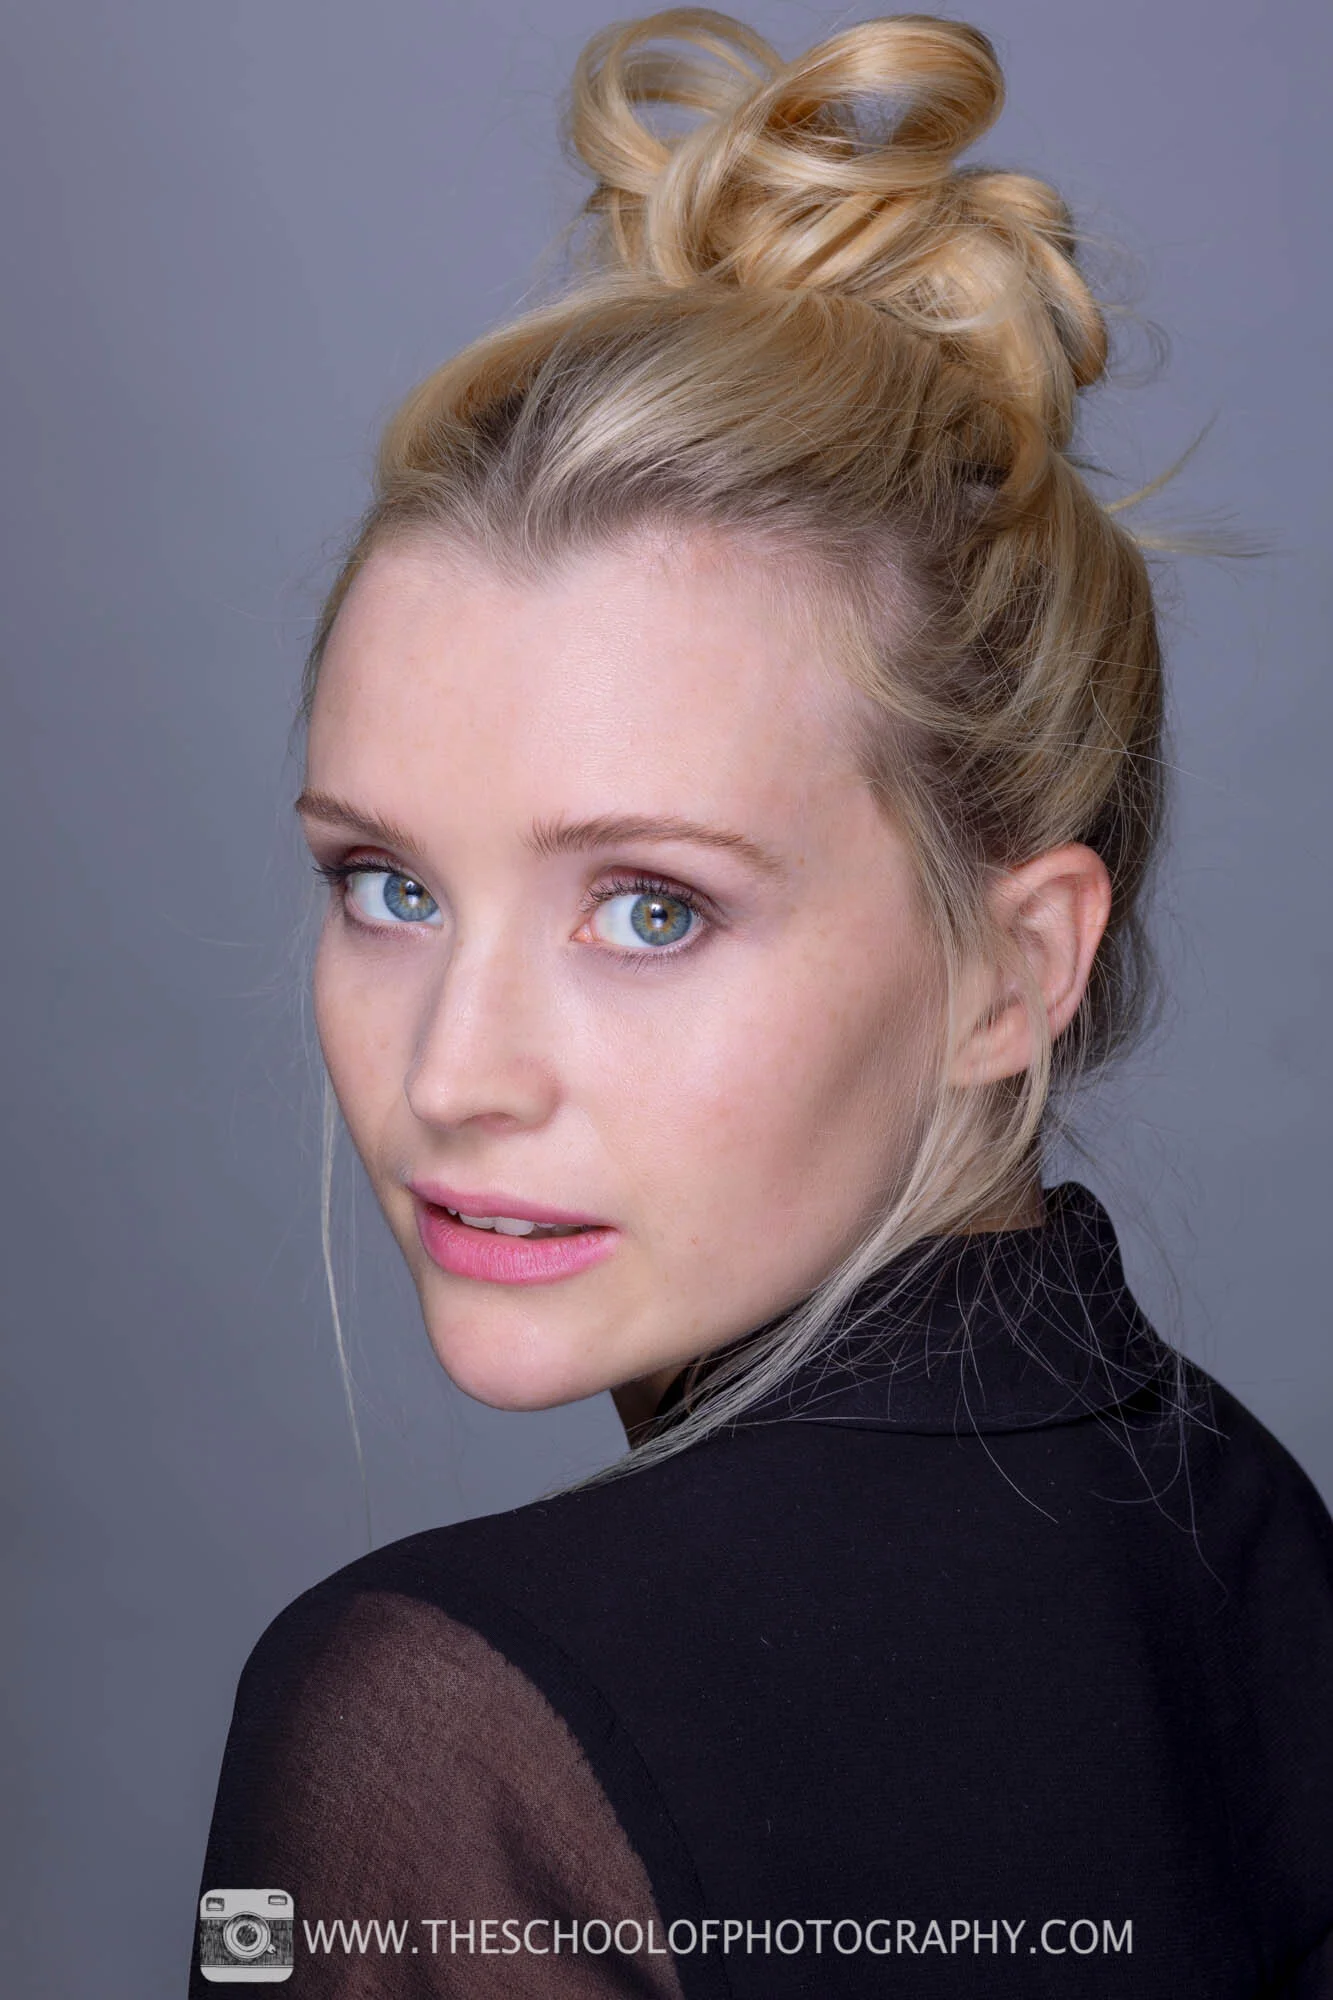
Portrait of model using the white brolly with silver reflector setup - Camera Settings: f11 – 1/125th Sec - ISO 100 - 85mm focal length, full frame Camera
Download the lighting diagrams, detailed equipment descriptions and camera settings for free below
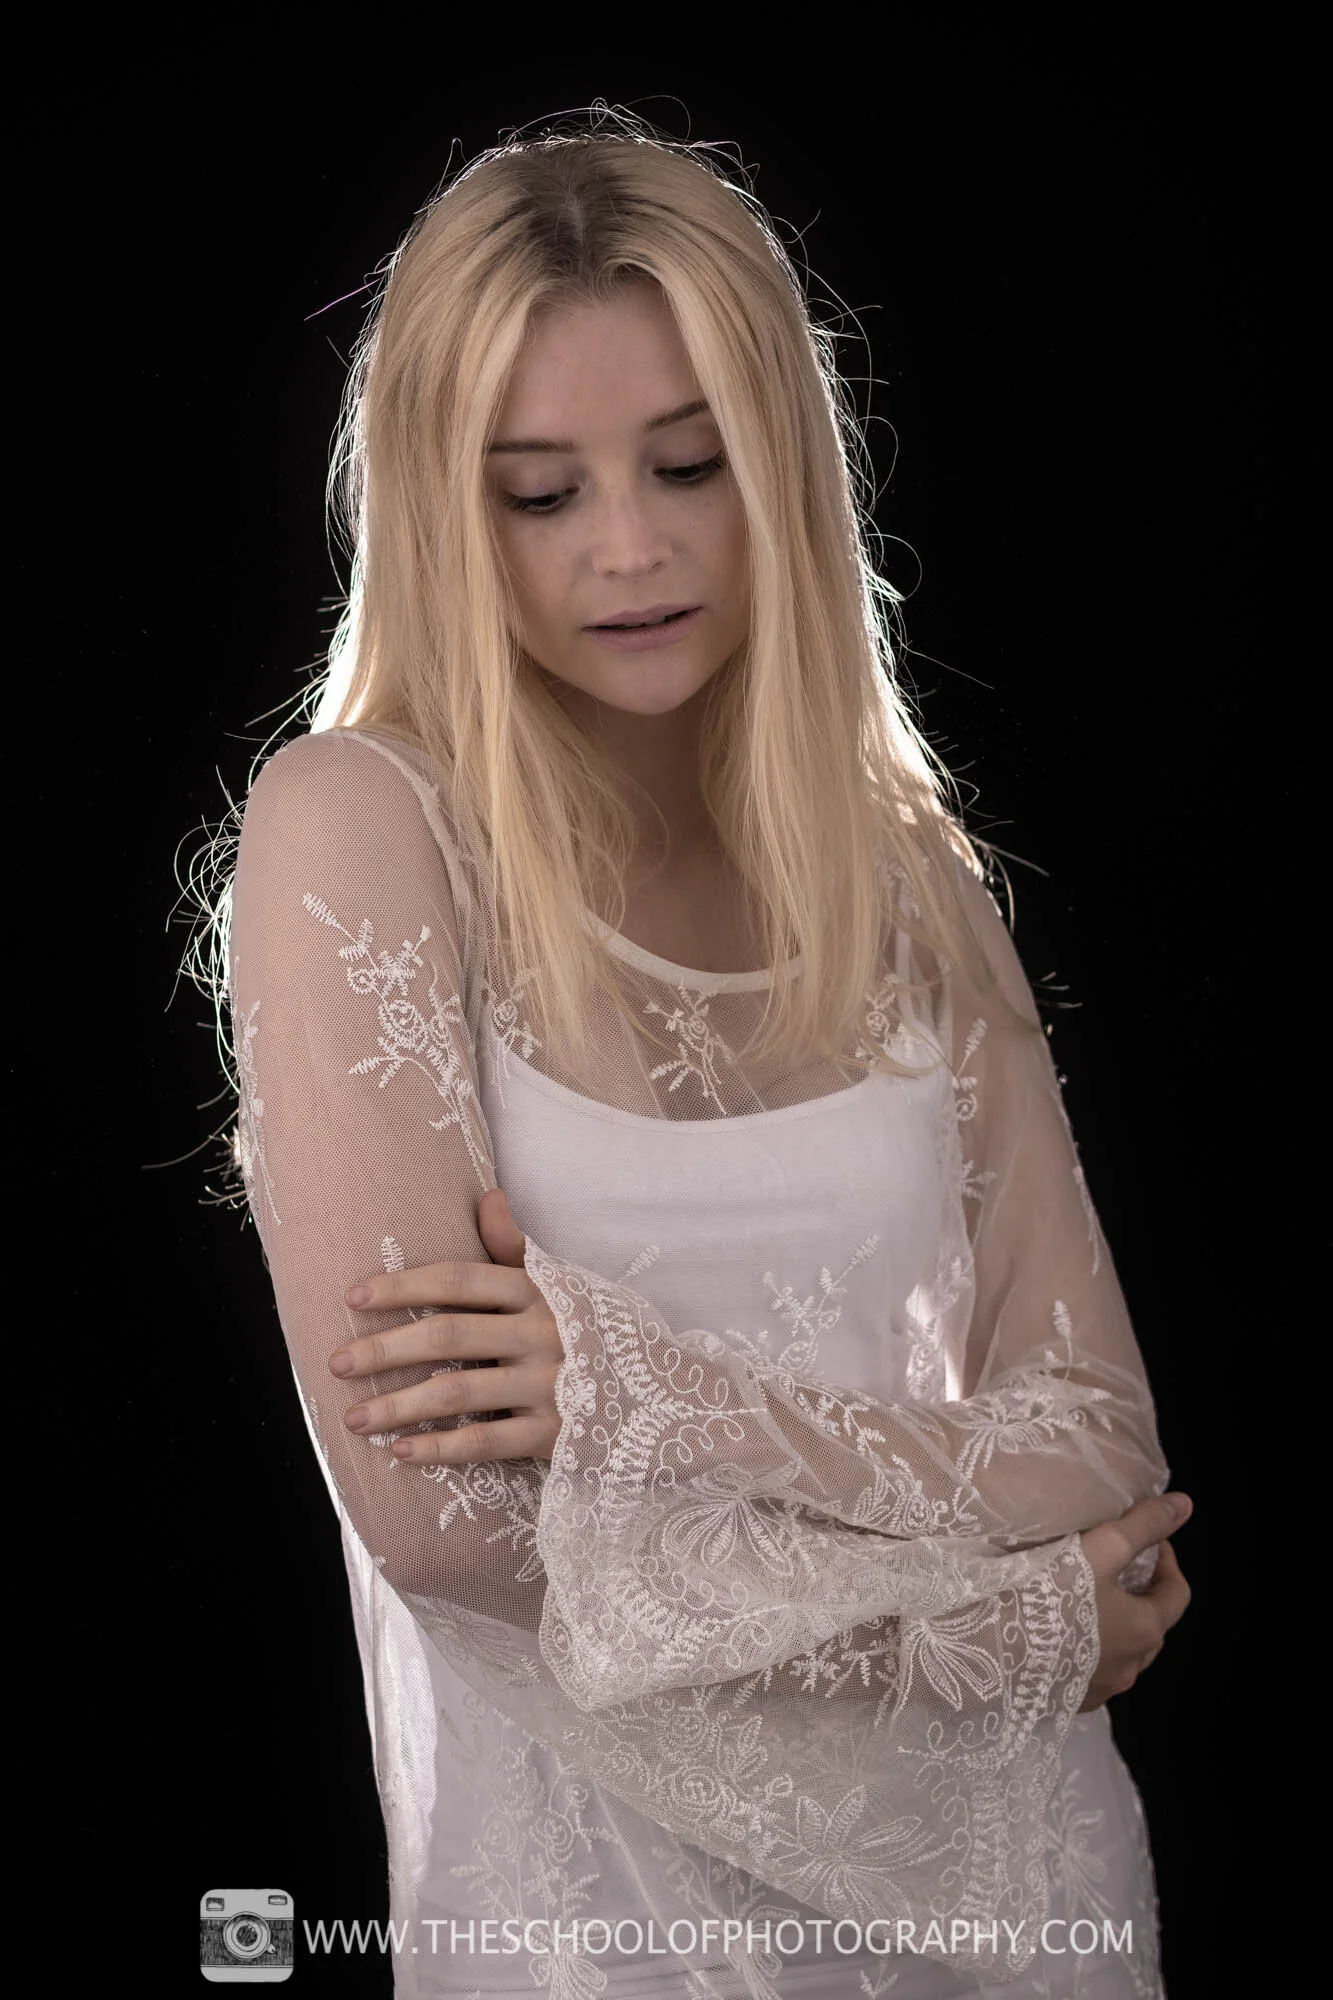
Portrait Lighting Setup 4 – Diffuser Brolly
Here is a very simple but effective portrait lighting setup. Most brollies also come with a diffuser which allows you to use the same brolly for different effects. In this setup, the light is shone through the brolly which diffuses it and gives a very soft lighting effect to the portrait. The brolly is positioned above head height and is spreading the diffused light across the set. A black reflector is placed on either side of the model to stop any stray light from bouncing around the studio. I have also used a grey textured cloth background. This used together with an aperture of f4 will give you a blurry background.
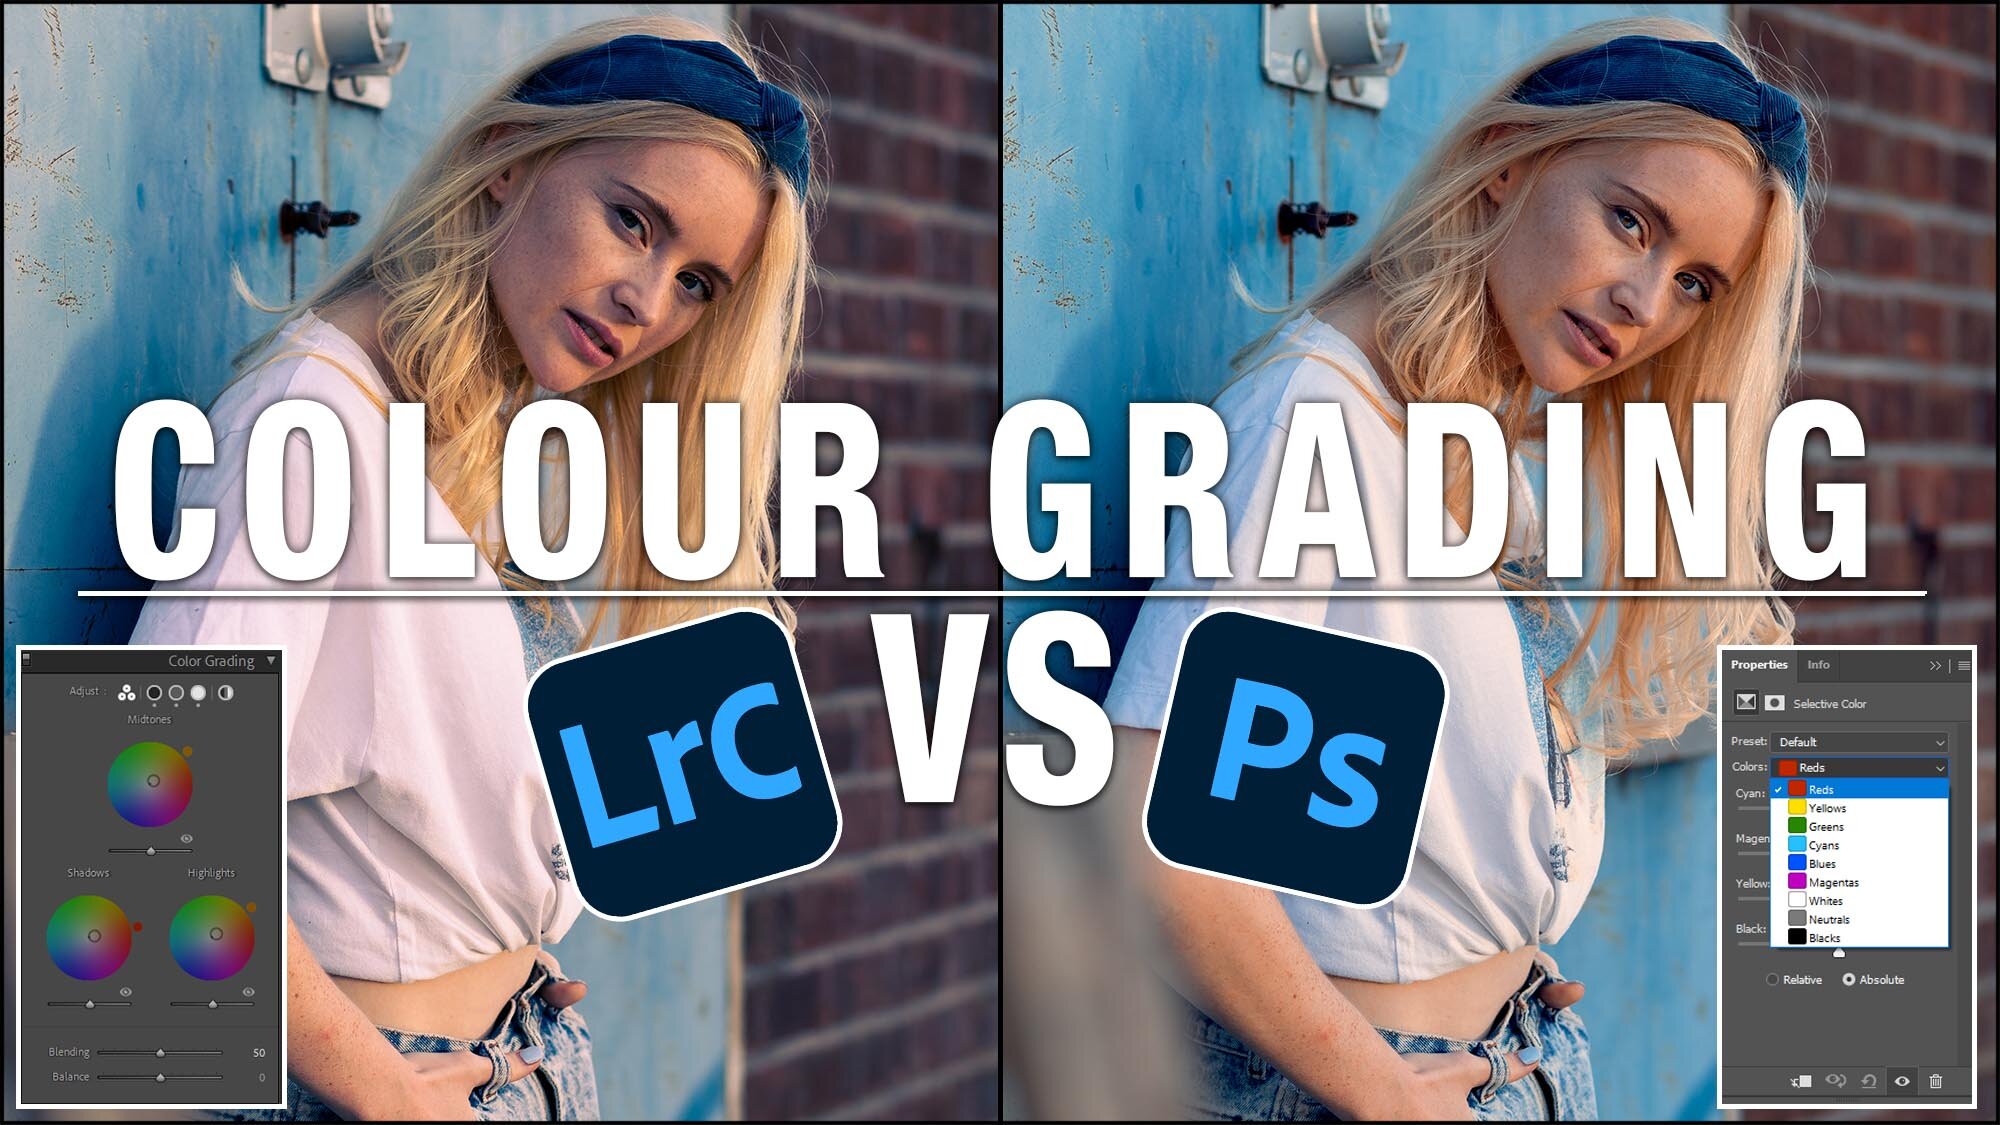
This portrait has also been colour graded in Photoshop. To find out how to do this, click here.

Portrait of model using a diffuser brolly setup and grey textured background - Camera Settings: f4 – 1/125th Sec - ISO 100 - 50mm focal length, full frame Camera
Download the lighting diagrams, detailed equipment descriptions and camera settings for free at the bottom of this page.
Portrait Lighting Setup 5 – Rim Lighting
This may be a retro lighting setup but it’s fun to do and it adds what’s called a rim light to your portraits. To create this effect simply put the flash head behind the model and hide the light with the model when taking the portrait. I then added two white reflectors in front and very close to the model to bounce soft light back in and illuminate the model. A black background has been used so the rim lighting stands out.
Portrait of model using a rim lighting setup - Camera Settings: f4 – 1/125th Sec - ISO 100 - 85mm focal length, full frame Camera
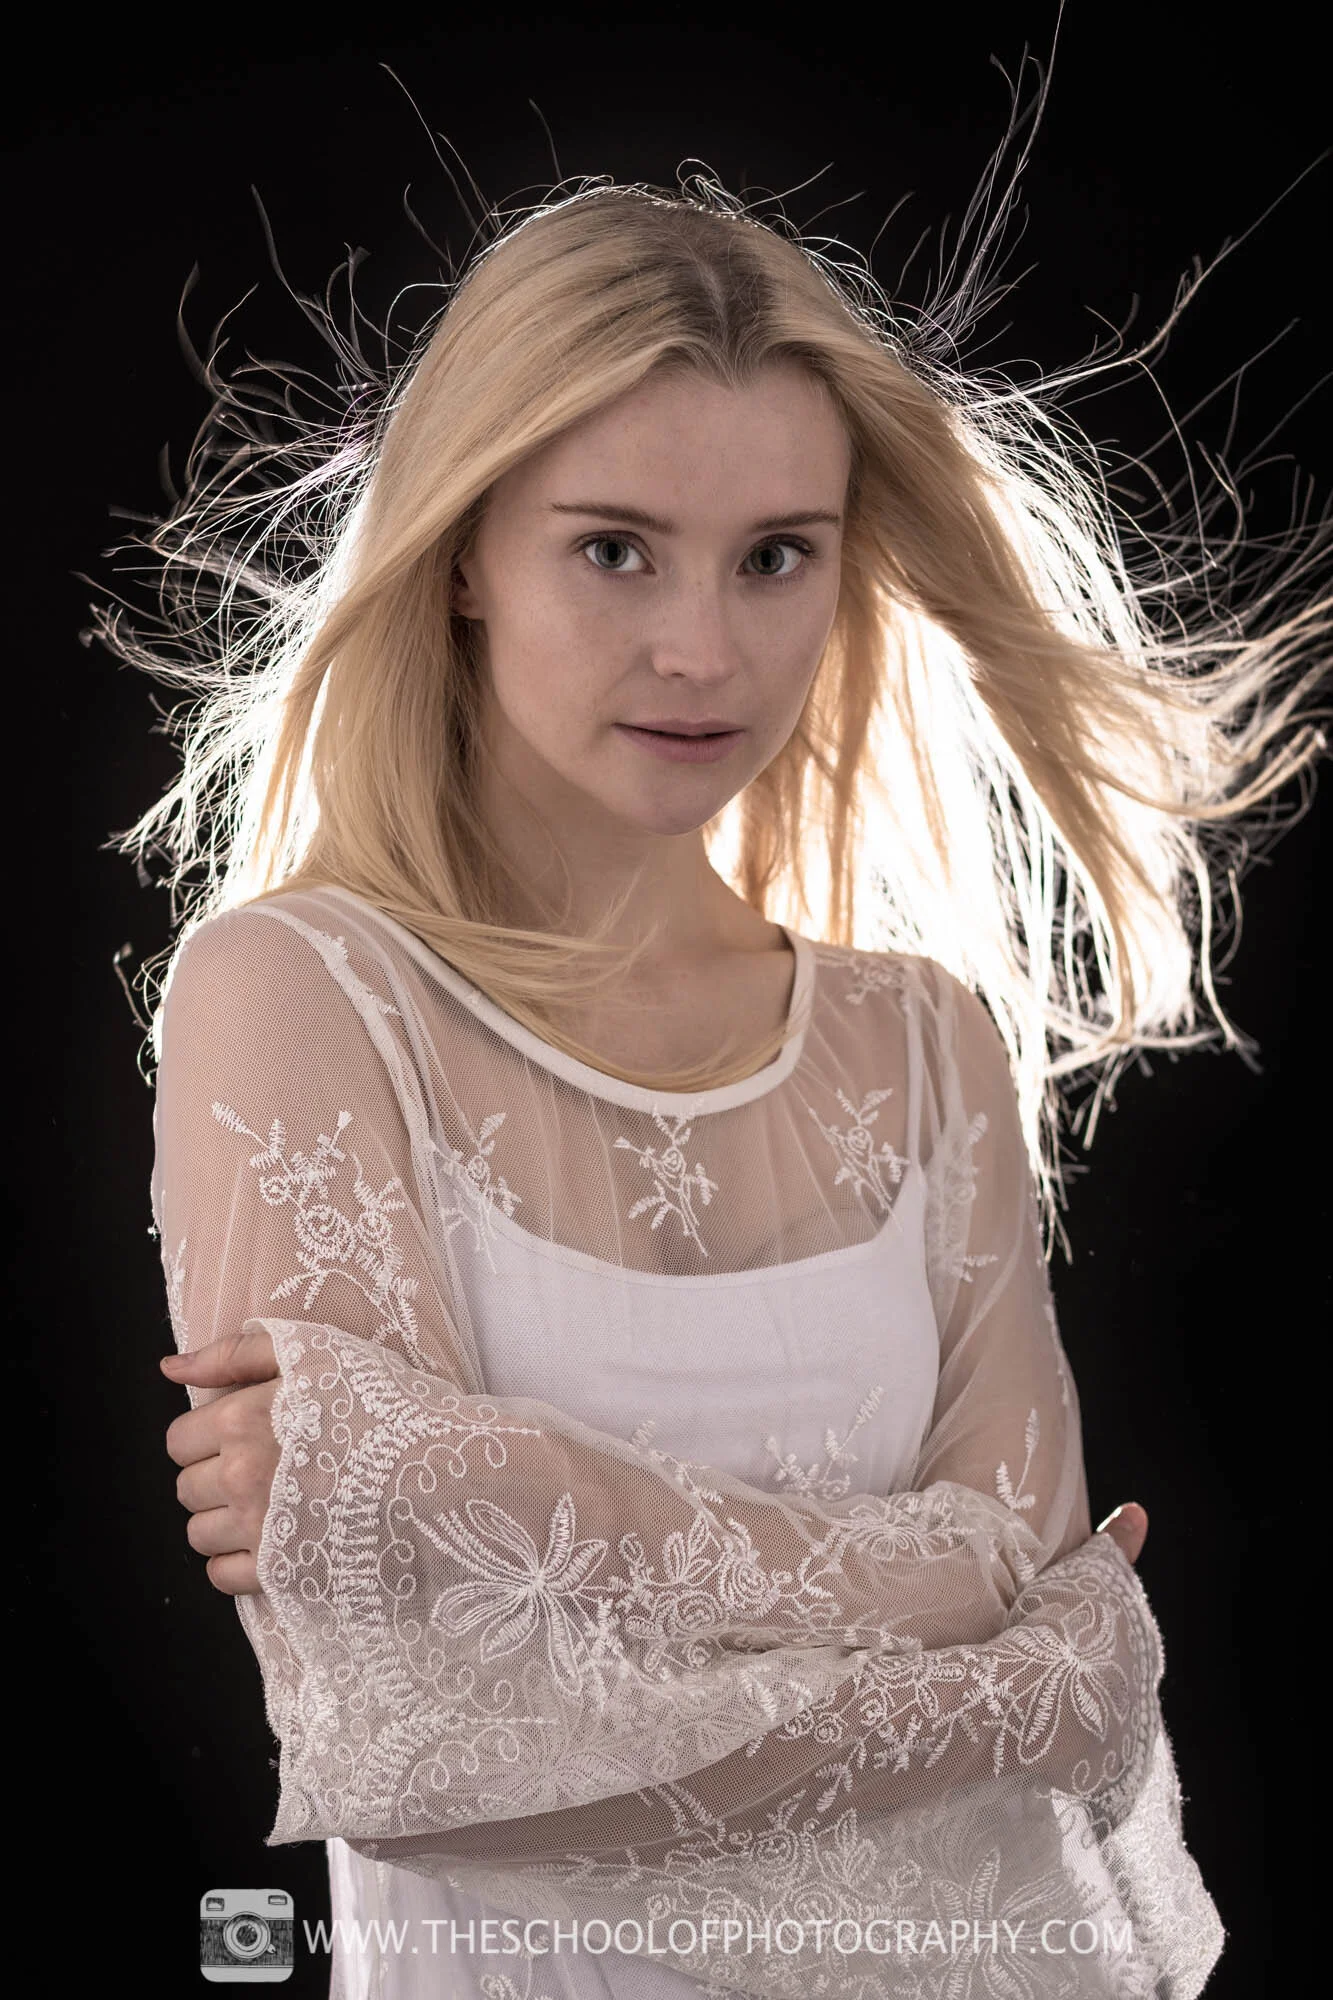
The rim lighting setup with a fan added - Camera Settings: f4 – 1/125th Sec - ISO 100 - 85mm focal length, full frame Camera
Download the lighting diagrams, detailed equipment descriptions and camera settings for free at the bottom of this page.
Get instant access to all our high-quality online courses.
Like this? - Check out similar tutorials below
I hope you liked this video, please leave us a comment and support us by sharing it with your friends and subscribe to our newsletter at the bottom of this page for more.
We also have an excellent learning community on social media so please join us there as well.
Thanks for watching and remember – Learn more at The School of Photography.
