Opacity in Photoshop Explained – and why you need to use it with Flow
To learn Opacity in Photoshop, you also need to know how Opacity is used on Layers, Tools and in conjunction with Flow. Only then can you take full control over opacity in fine edits in Photoshop. This tutorial will show you the difference between Flow and Opacity in Photoshop within Layers and in Tools. We’ll look at the pros, cons, and uses of both, then demonstrate them in a practical example which you can do yourself.
The Brush Tool is one of the most commonly used tools in Photoshop that use opacity and flow. I’ll use these in different strengths on layers and masks to blend images together and show what tools work the best in different editing scenarios.
Get access to ALL our online courses - 1000’s of videos, worksheets, critiques of members work, personalised support and much more with our monthly membership.
Want 10% off your first course? Click here
Opacity in Photoshop
In the dictionary Opacity means ‘the quality of lacking transparency or translucence.’ And that’s basically the same in Photoshop. Whether it be the opacity of a layer, or on a tool that you adjust, you’re simple making the layer or tool effect more or less transparent. An opacity of 0% will be totally transparent, an opacity setting of 100% will show no transparency at all and setting the opacity to 50% will make the layer or tool effect 50% transparent.
When it comes to editing in Photoshop, it’s the brush tool that mainly benefits from adjusting the opacity. This is because you use the brush tool for masking, and masking is used for the most complex edits in Photoshop. In most cases you don’t want to use the brush tool at 100% opacity as the edits won’t look smooth and natural.
Example of how opacity in Photoshop is used in masking
Let’s imagine the brush tool with black paint set at an opacity of 40% and we will paint this onto a white background. As you would imagine the mark you make will be black that is 40% transparent or opaque.

The Brush Tool in Photoshop with black paint set to 50% opacity showing a single stroke.
When the marks are then overlaid, it makes the painted area darker. For instance, if you painted on the white background in photoshop with 50% Opacity as before, then lifted your brush and applied it again over the top, the mark would become darker. This allows you apply paint to areas gradually which is exactly what you want when using masking in Photoshop. When using opacity alone, you will need to lift the brush (realise the mouse click) and reapply the brush to make the marks darker.
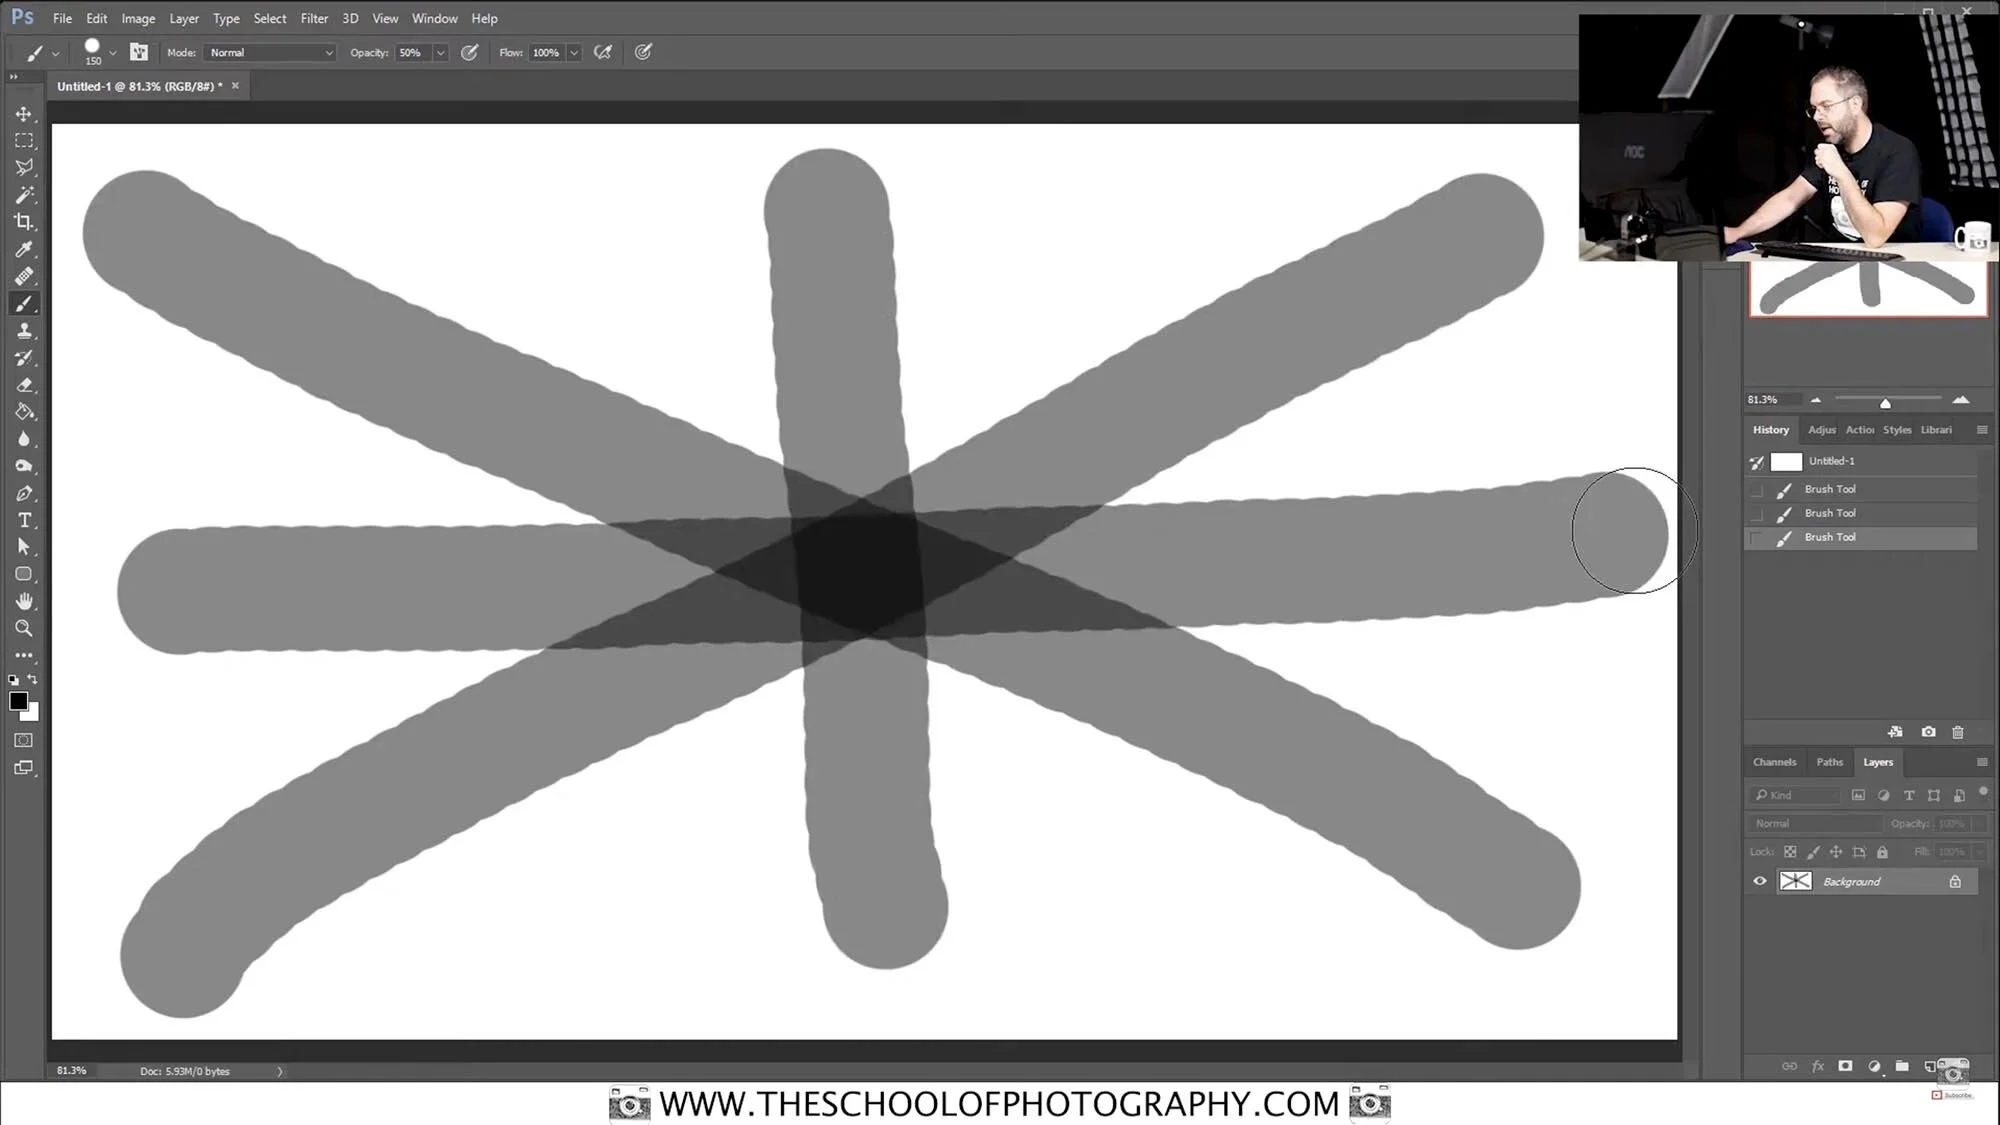
The Brush Tool as before with black paint set to 50% opacity and brush stokes overlayed
To learn more about Masking in Photoshop, click here.
Flow in Photoshop
The flow setting in Photoshop is next to the Opacity setting and controls the speed at which paint is laid down.

The Opacity and Flow settings in Photoshop
Flow is like when you’re shading with a normal carbon pencil, lightly on a piece of paper. If you’re shading lightly this may be the equivalent of 20% flow and the mark making would be light grey. If you are pressing hard, so the pencil mark is instantly black, this would be the equivalent of a 100% Flow setting.
Flow in Photoshop gives you the ability to gradually build up to your darkest colour by overlapping multiple times in the same area without lifting the mouse click. A bit like shading back and forth with the pencil over the same area, gradually the mark would get darker. The more times you go over something with a low Flow setting, the more ink you are building up. Again, this is greatly beneficial when masking in Photoshop.
One thing to note here is that you will want to use a soft brush when using a low flow setting. Using a hard brush will give you a jagged edge as the ink flows out. Whereas, if you use a soft brush, the ink will blend together as it leaves the brush.
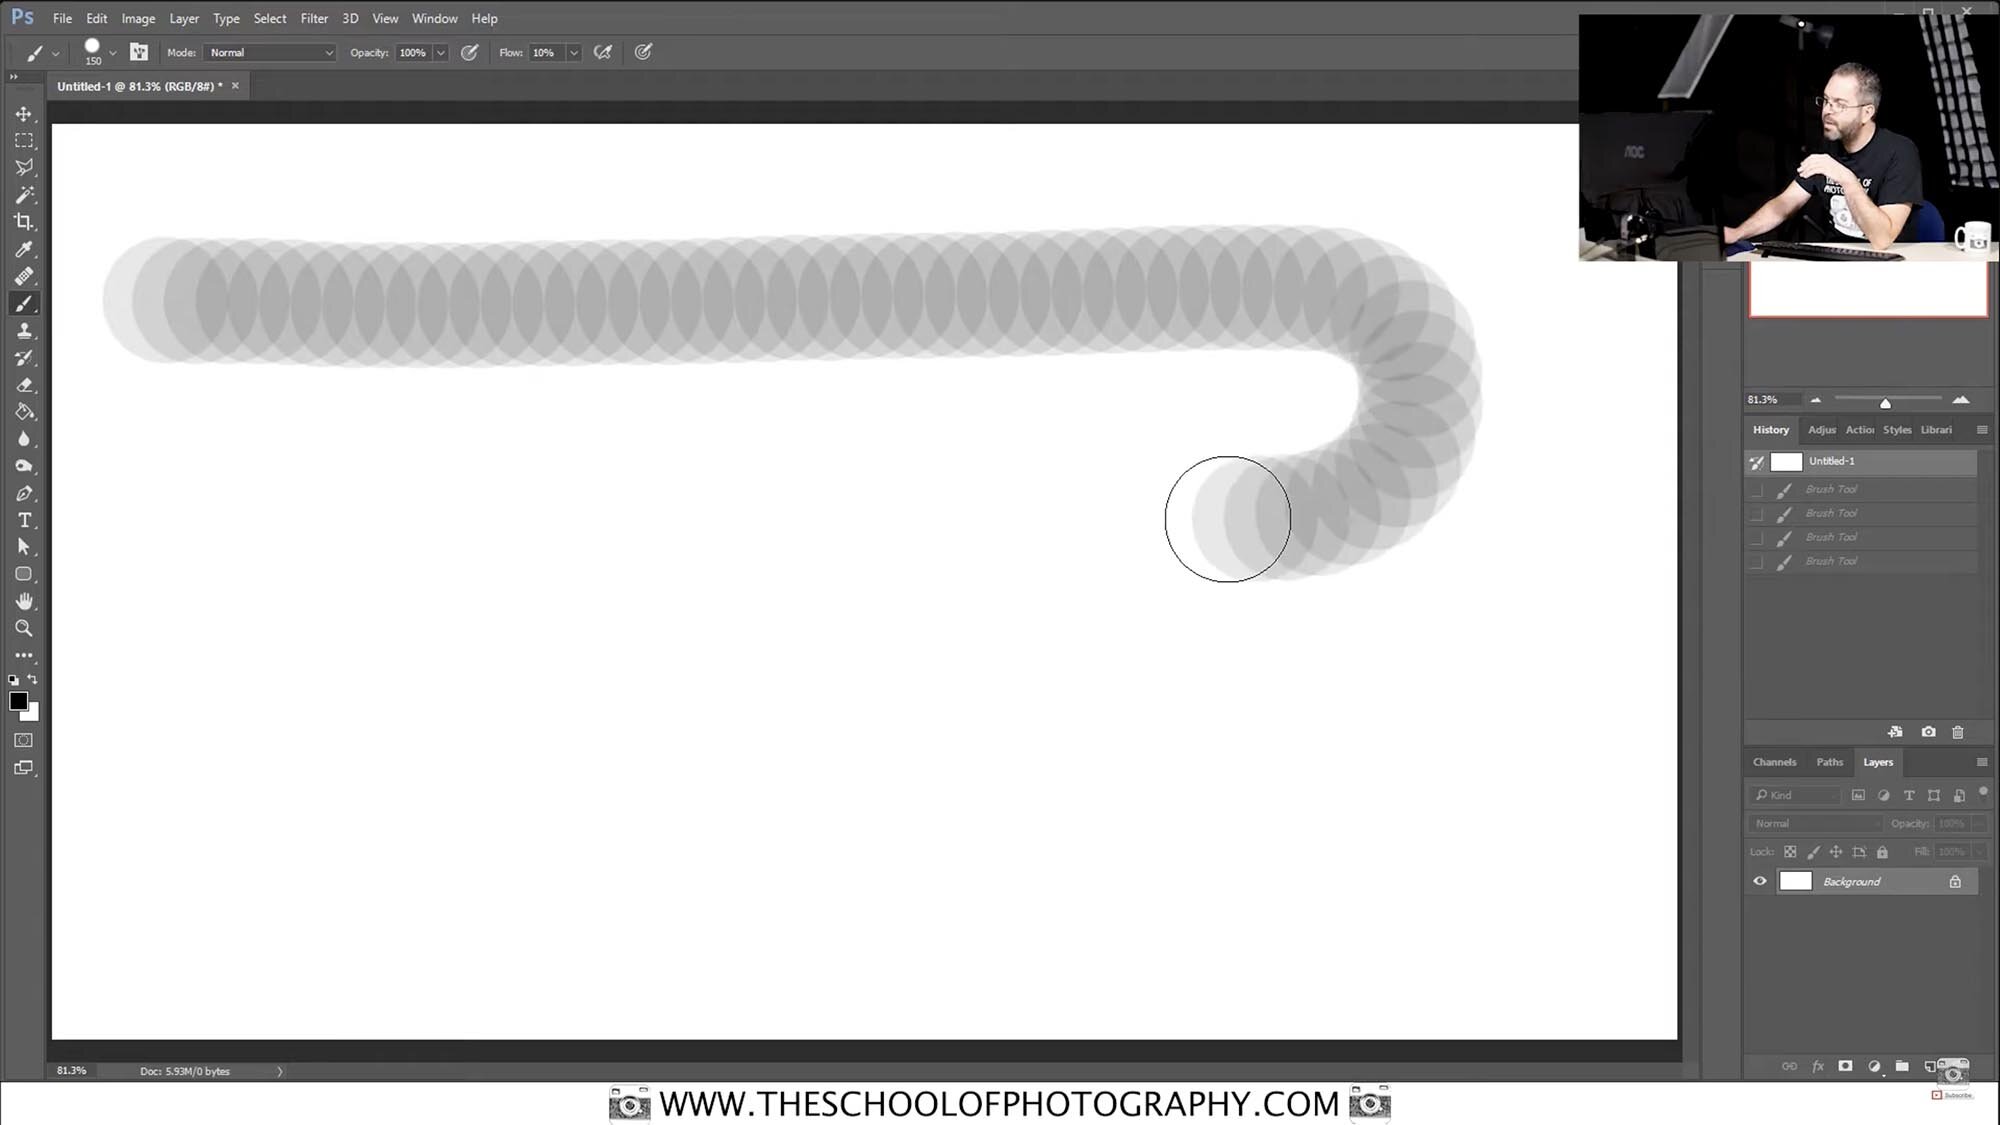
Using Flow in Photoshop with a hard edge brush
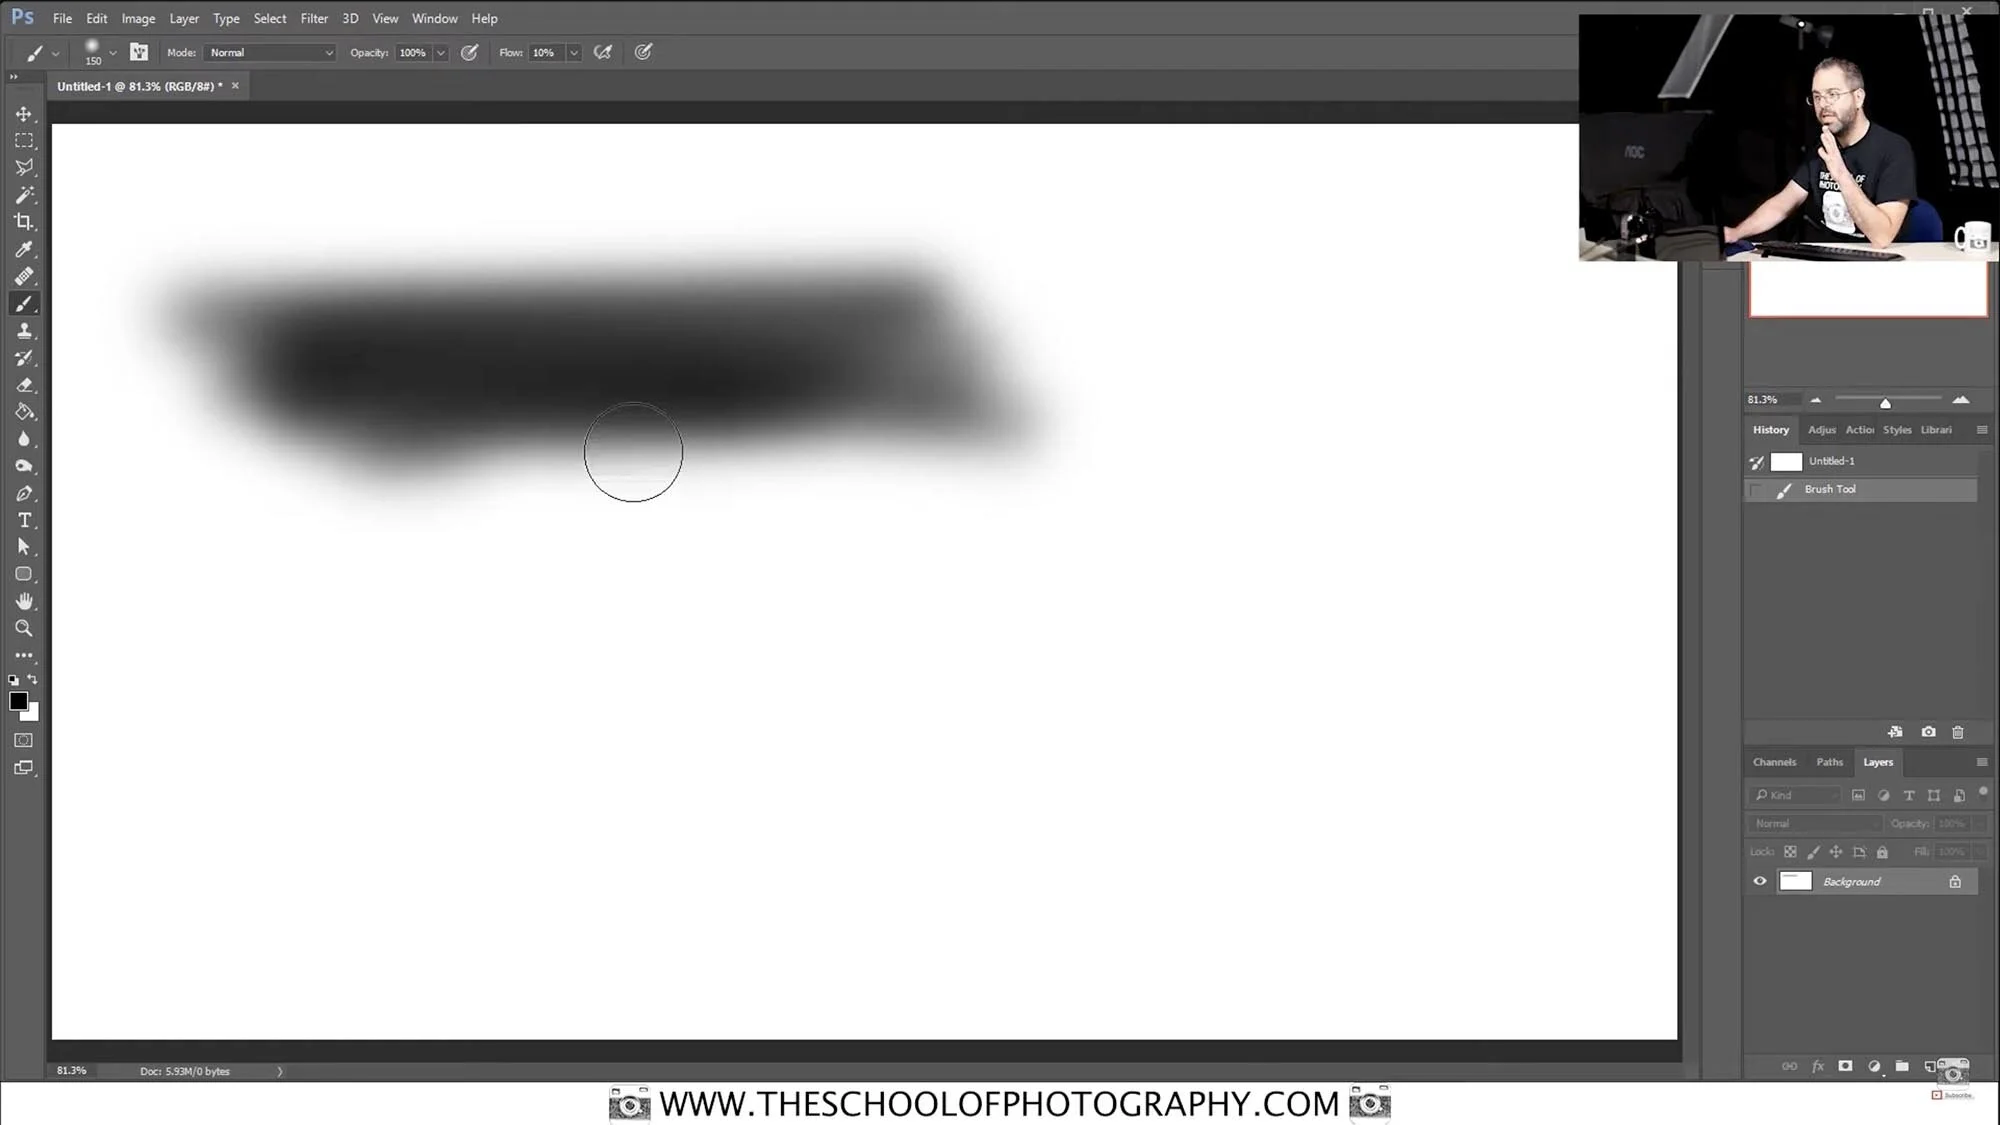
Using Flow in Photoshop with a soft edge brush
To learn how to control the brush tool in Photoshop, click here.
So, using Opacity in Photoshop is very easy when it comes to Layers, you simply side the slider to make the layer more or less opaque. When using it in your tools it’s more difficult and takes time to master. Please watch the video above for a live demonstration.
In my option I think both the Opacity and the Flow settings are extremely helpful when editing in Photoshop and putting some time into mastering them will improve your photography immeasurably!
Take your photography to the next level by becoming a member of TSOP
Like this? - Check out similar tutorials below

I hope you liked this tutorial on Opacity in Photoshop. If you did please support us by leaving a comment, sharing it with your friends and subscribe to our newsletter at the bottom of this page for more. We send out new videos every week and if there’s anything you want us to cover here at The School of Photography let us know, it gives us great ideas for new tutorials.
We also have an excellent learning community on social media so please join us there as well.
Thanks for watching and remember – Learn more at The School of Photography.
