Opacity vs Fill Photoshop
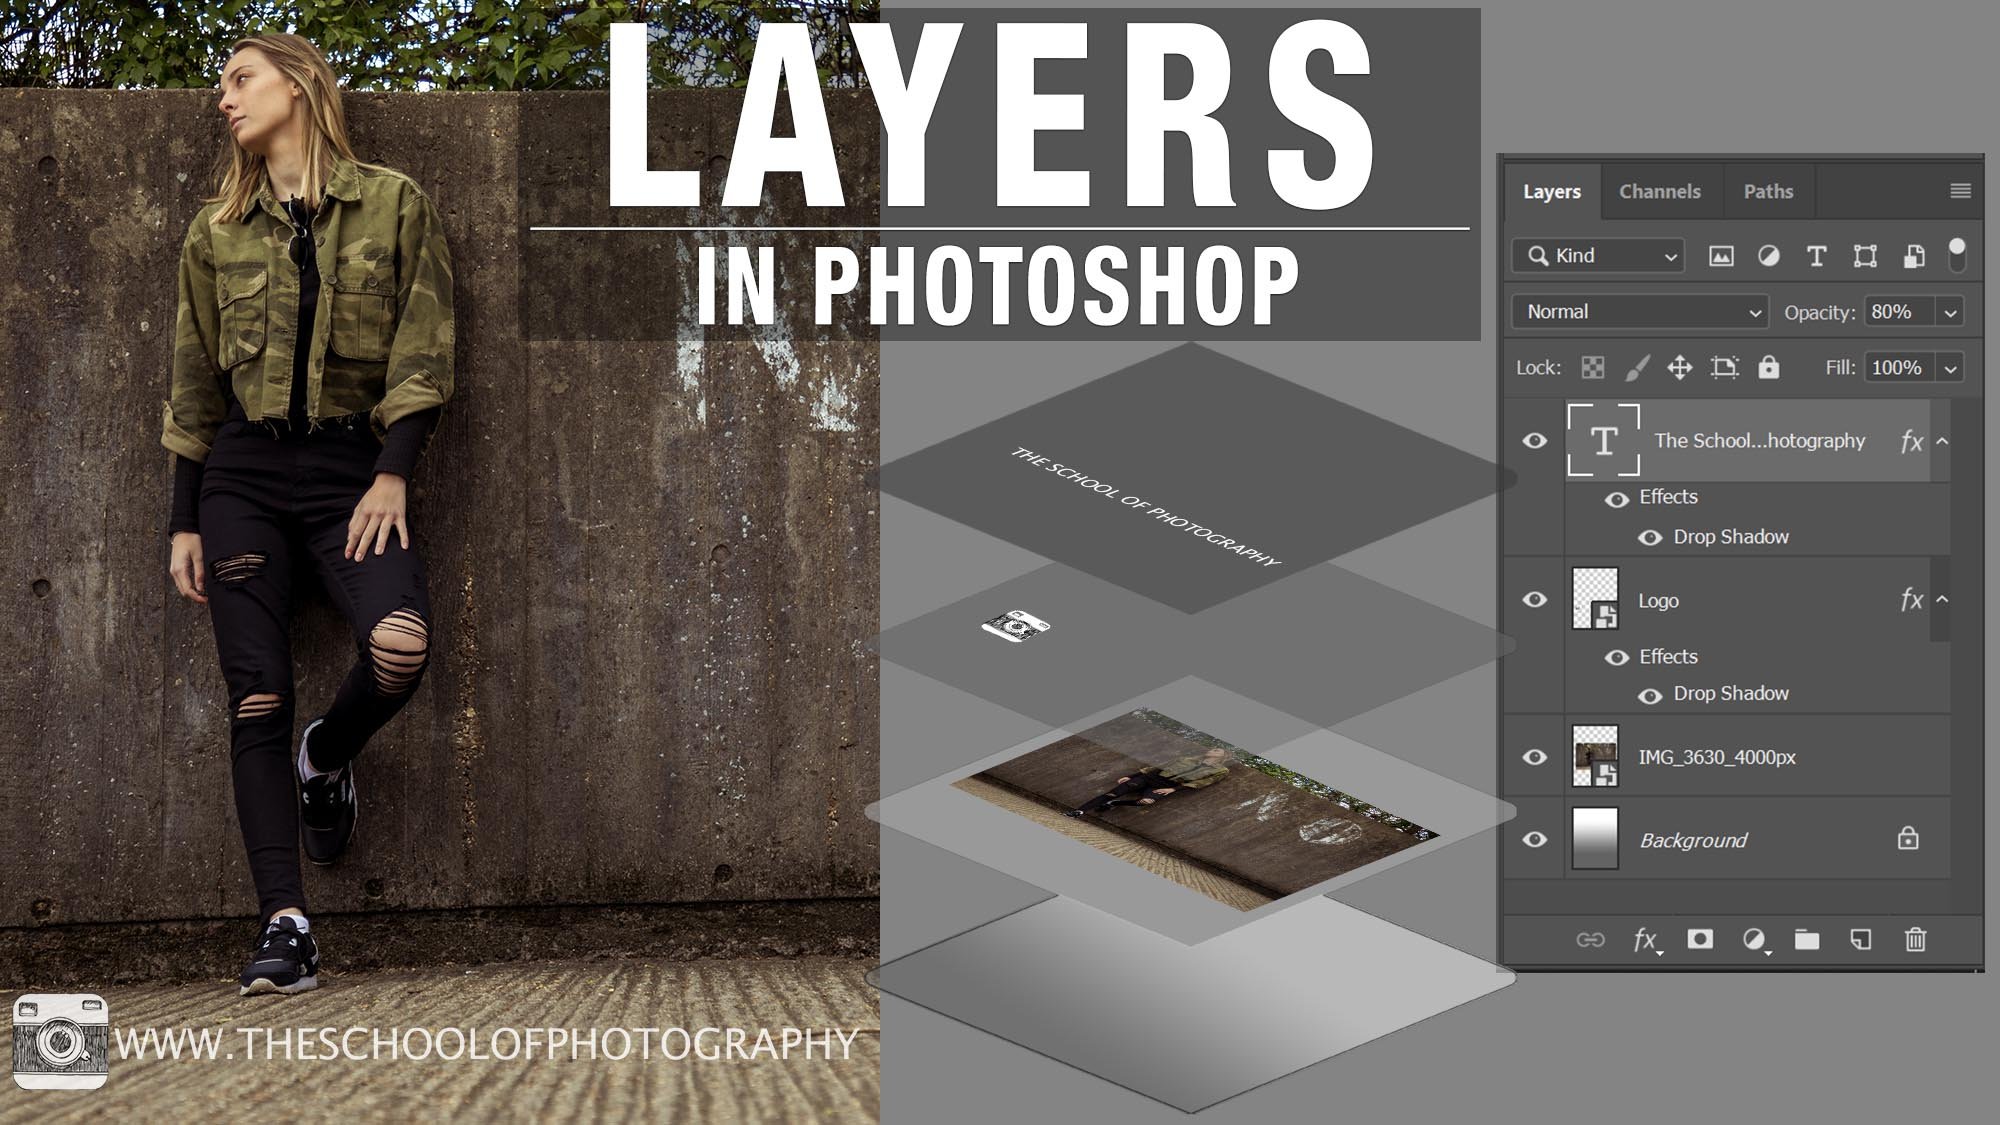
When using layers, a common question is, what is the difference between opacity and fill in photoshop. So, in the tutorial, we’ll compare using opacity vs fill in text layers and in photography. Using opacity and fill in Photoshop will dramatically improve your photography and here we’ll show you how.
Get access to ALL our online courses - 1000’s of videos, worksheets, critiques of members work, personalised support and much more with our monthly membership.
Opacity vs Fill in Photoshop
The opacity and fill of a layer can be changed in Photoshop’s layers panel. To change these attributes, you simply select the layer you want to work on and move the opacity and fill sliders to get a desired effect.
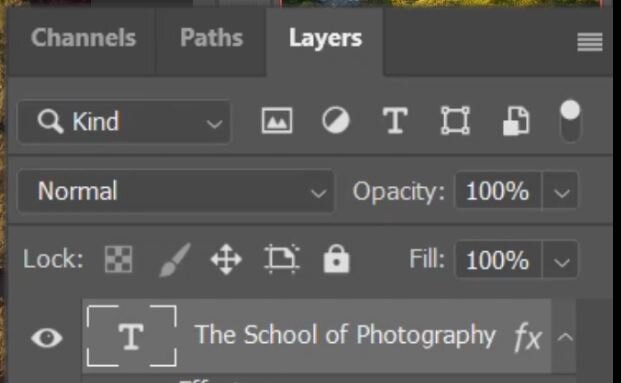
Opacity and fill settings in Photoshop
The main difference between the two is the following:
Opacity will change the transparency of everything that is in the selected layer.
Fill will change the transparency of whatever is filling the layer but will ignore any effects that have been applied to it. Hence the name ‘Fill’.
Opacity vs Fill Text Example
An easy way to explain the difference between opacity and fill is to show it text. Below is a simple piece of text made in Photoshop. The effects that have been added to the text are a drop shadow and a blue stroke.

Text with drop shadow and stroke added in Photoshop
If you take down the opacity of this layer it will make everything transparent, the text and the effects applied to that text as seen below.
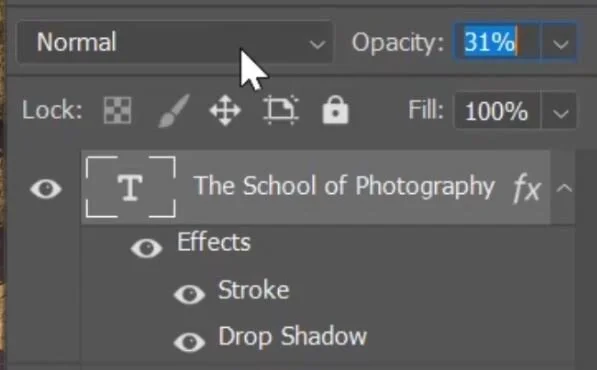
Layer settings with opacity taken down to 31 percent.JPG

Text in Photoshop with opacity lowered
If you take down the fill of this layer, it will only make the fill of the layer transparent. It wont change the effects added to the layer, in this case the drop shadow and the stroke as seen below.
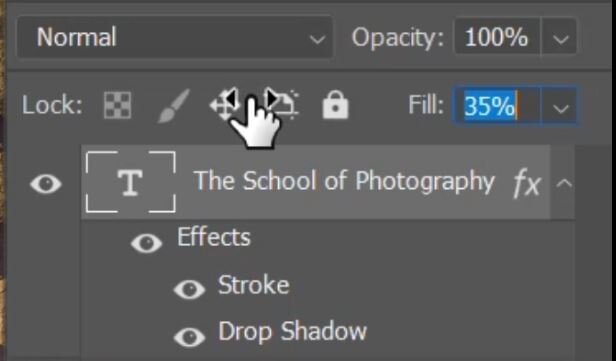
Layer settings with fill reduced to 35 percent

Text in Photoshop with fill lowered
A common use of this effect is watermarking photography and graphics. For this you would apply a bevel and emboss effect to your text layer then reduce the fill of this layer to 0%. This is seen in the example below.

Layer effects added to text in Photoshop

Watermark created in Photoshop using text effects and reducing the fill to 0 percent
To learn more about creating text effects in Photoshop, click here.
Opacity vs Fill Photography Example
So, it’s all good and well applying this technique to text but what if you’re a photographer and not a graphic designer, how can fill benefit you here? Well in general it will benefit you when using blend modes with your layers.
As mentioned previously, the fill will only make transparent the fill of the layer and not change any effects that have been added to that layer. Below we have a typical sunset picture. When shooting into the sun like this you are likely to get bright spots in your picture, i.e. the sun burst.

Typical sunset shot with a blown out highlights
To tone down the highlights you can add a layer above the photo, fill this layer with orange (copied from the sunset), then change this layer’s blend mode to Multiply. This will tell Photoshop to stick this colour to only the highlights below. This will become the effect of this layer and this effect will now not be made transparent when reducing the fill.

Layer filled with orange and the blend mode changed to Multiply
Below are two examples with the same orange layer over the top of the original photograph. They have both had the fill of this layer reduced to 20% however one had the blend mode of Multiply attached to it. As you can see with this example the effect of the multiply blend mode has been left behind whereas the fill of the layer has been made transparent thus toning down and warming up only the highlights in the photo.
Whereas in the example where a blend mode has not been added, we just have a 20% transparent orange over the whole image. The fill here is making the whole layer transparent as there are no effects attached to it.

Photograph with orange layer above and the Multiply blend mode added. Fill reduced to 20%

Photograph with orange layer above, no blend mode added. Fill reduced to 20%
This technique is used frequently used with fill and texture layers and can dramatically improve landscape photography. If you want to improve your Landscape Photography using Photoshop, click here.
Like this? - Check out similar tutorials below

I hope you liked this video, please leave us a comment and support us by sharing it with your friends and subscribe to our newsletter at the bottom of this page for more.
We also have an excellent learning community on social media so please join us there as well.
Thanks for watching and remember – Learn more at The School of Photography.
