Sunset Photography – Perfect Exposures Every Time
Sunset Photography is hard to get right. You see a fantastic orange sunset, you take the picture and the sky is too bright or the ground is too dark. This is a very common scenario so how do the pros get perfect exposures in their sunset photos? Well, here I’m going to answer that question and give you 4 great tips to ensure you exposure correctly for perfect sunset photography, every time.
Get access to ALL our online courses - 1000’s of videos, worksheets, critiques of members work, personalised support and much more with our monthly membership.
Why is it hard to expose correctly for sunsets?
Exposure in photography is the brightness or darkness of the image. You see a lovely scene, photograph it, and the sky is too bright, or the foreground is too dark. The first thing to note here is that this happens to everyone, whether you’ve got lots of experience or the best camera in the world, this will happen. And the reason for this is simple, the sky is a lot brighter than the ground. In general, it will be around 2 stops brighter.

Sunset photograph exposed correctly for the sky / Camera Settings: 16 mm Focal Length - 1/12 Seconds - f/16 - ISO 100

Sunset photograph exposed correctly for the ground / Camera Settings: 16 mm Focal Length - 0.4 Second - f/16 - ISO 100
When you look at a scene, your eye focuses on one part at a time. If you look at the sky, you will see detail and it will look correct, if you move your eyes down to look at the ground, the same will happen, your eyes will adjust so you can see what you are looking at.
The camera does not work like that. The camera is trying to see the whole landscape at once, which includes the ground and the sky. This means it physically cannot expose accurately for both as the sky is so much brighter than the ground.
This is where the dilemma lies, so how do you combat this?
To get correct exposures for sunset photography you have to balance out the scene’s brightness vs its darkness, or what’s called the image’s ‘luminosity’. As with most photography, there’s no one answer to this so below are all my tips.
Tip 1- Use Graduated ND Filters
Most photographers would agree that getting a photo right in camera is the best thing to do wherever possible. Using graduating (grad) ND filters is one way of doing this and the more traditional way of balancing a scene’s exposure.
An ND filter acts like sunglasses would to your eyes, it blocks light coming into the lens like sunglasses blocks light coming into your eyes. ND stands for Neutral Density which means it blocks the light in a neutral way without changing the colour of the light. A Grad ND filter darkens the scene gradually from the top to the bottom and is used to darken skies.

Photographer setting up for sunset photography using a ND grad Filter
Using grad filters involves putting a filter in front of the lens to darken the sky without affecting the foreground. This is done using a filter holder that attaches to the front of the lens. These filters come in different strengths which you can use depending on the brightness of the sky. E.g. you can use a 3 stop ND grad for a very bright sky and a 1 stop grad for a slightly bright sky. An ND hard grad filter has a hard line down the middle and is used for scenes with a hard horizon line, e.g. a seascape. A soft grad filter is graduated between light and dark and is used for scenes with an uneven edge between the sky and the ground e.g. a scene with trees. By using Grad ND filters, you are darkening the sky in shot therefore balancing the exposure of the sky against the ground.
ND Filters – An in-depth Guide
Want to see our full range of Recommended Filters, click here.
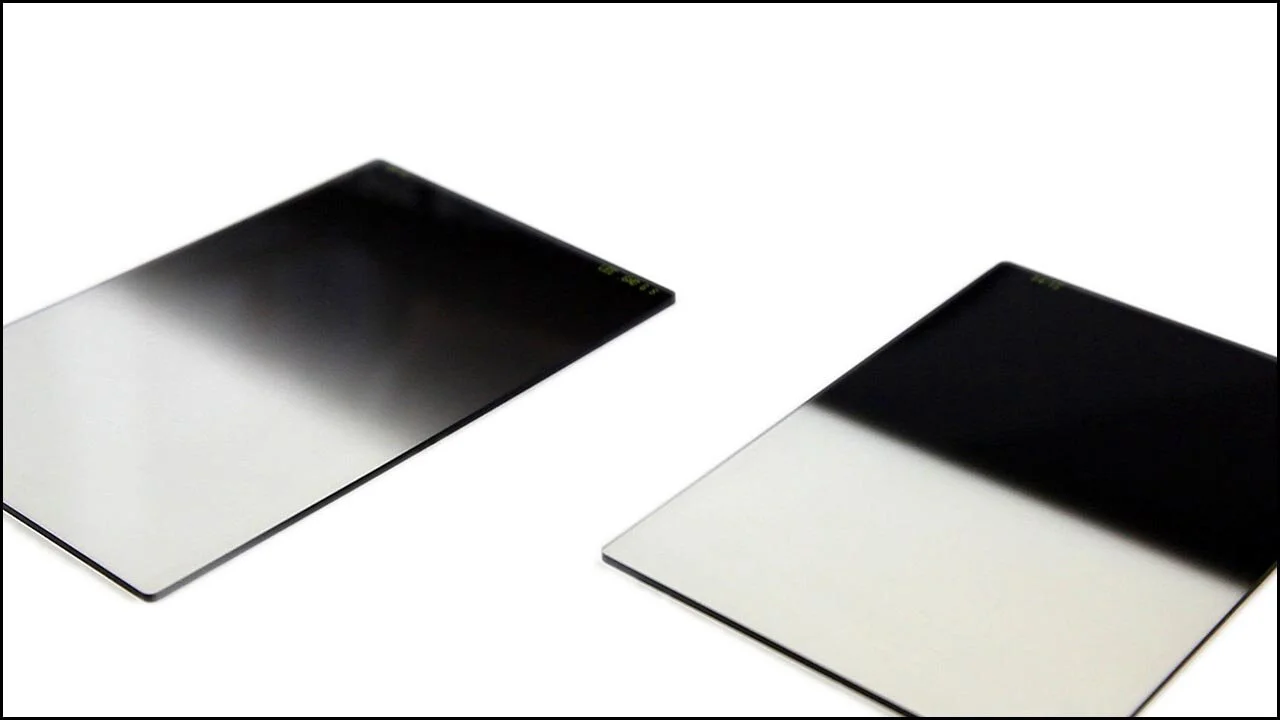
On the left is a Soft Grad Filter and on the right is a Hard Grad Filter.
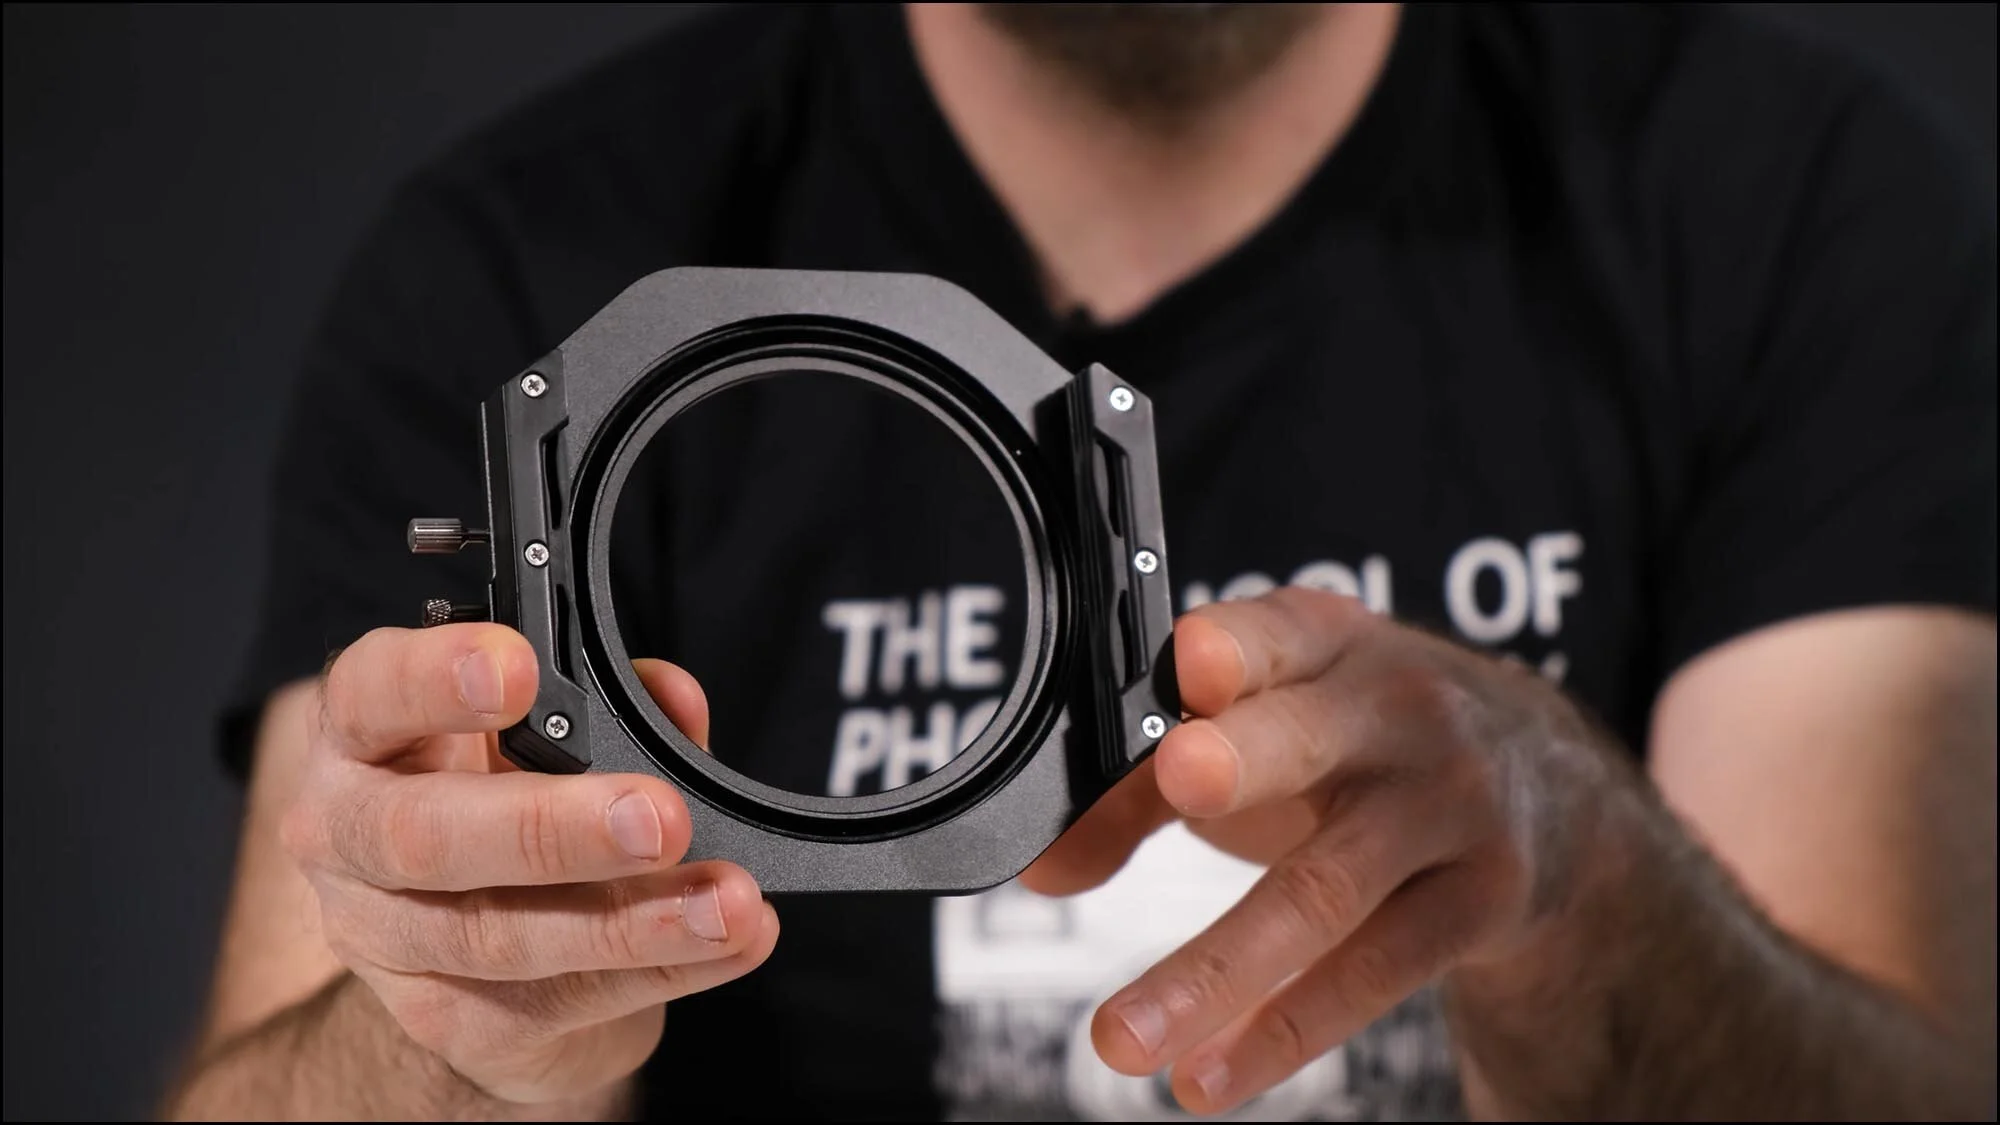
Filter holder – This attaches to the front of your lens.
There are cons to using grad filters and that is that if you have a horizon line with trees or mountains etc., even with a soft grad it will darken down the tops of trees and mountains in a way you may not like.
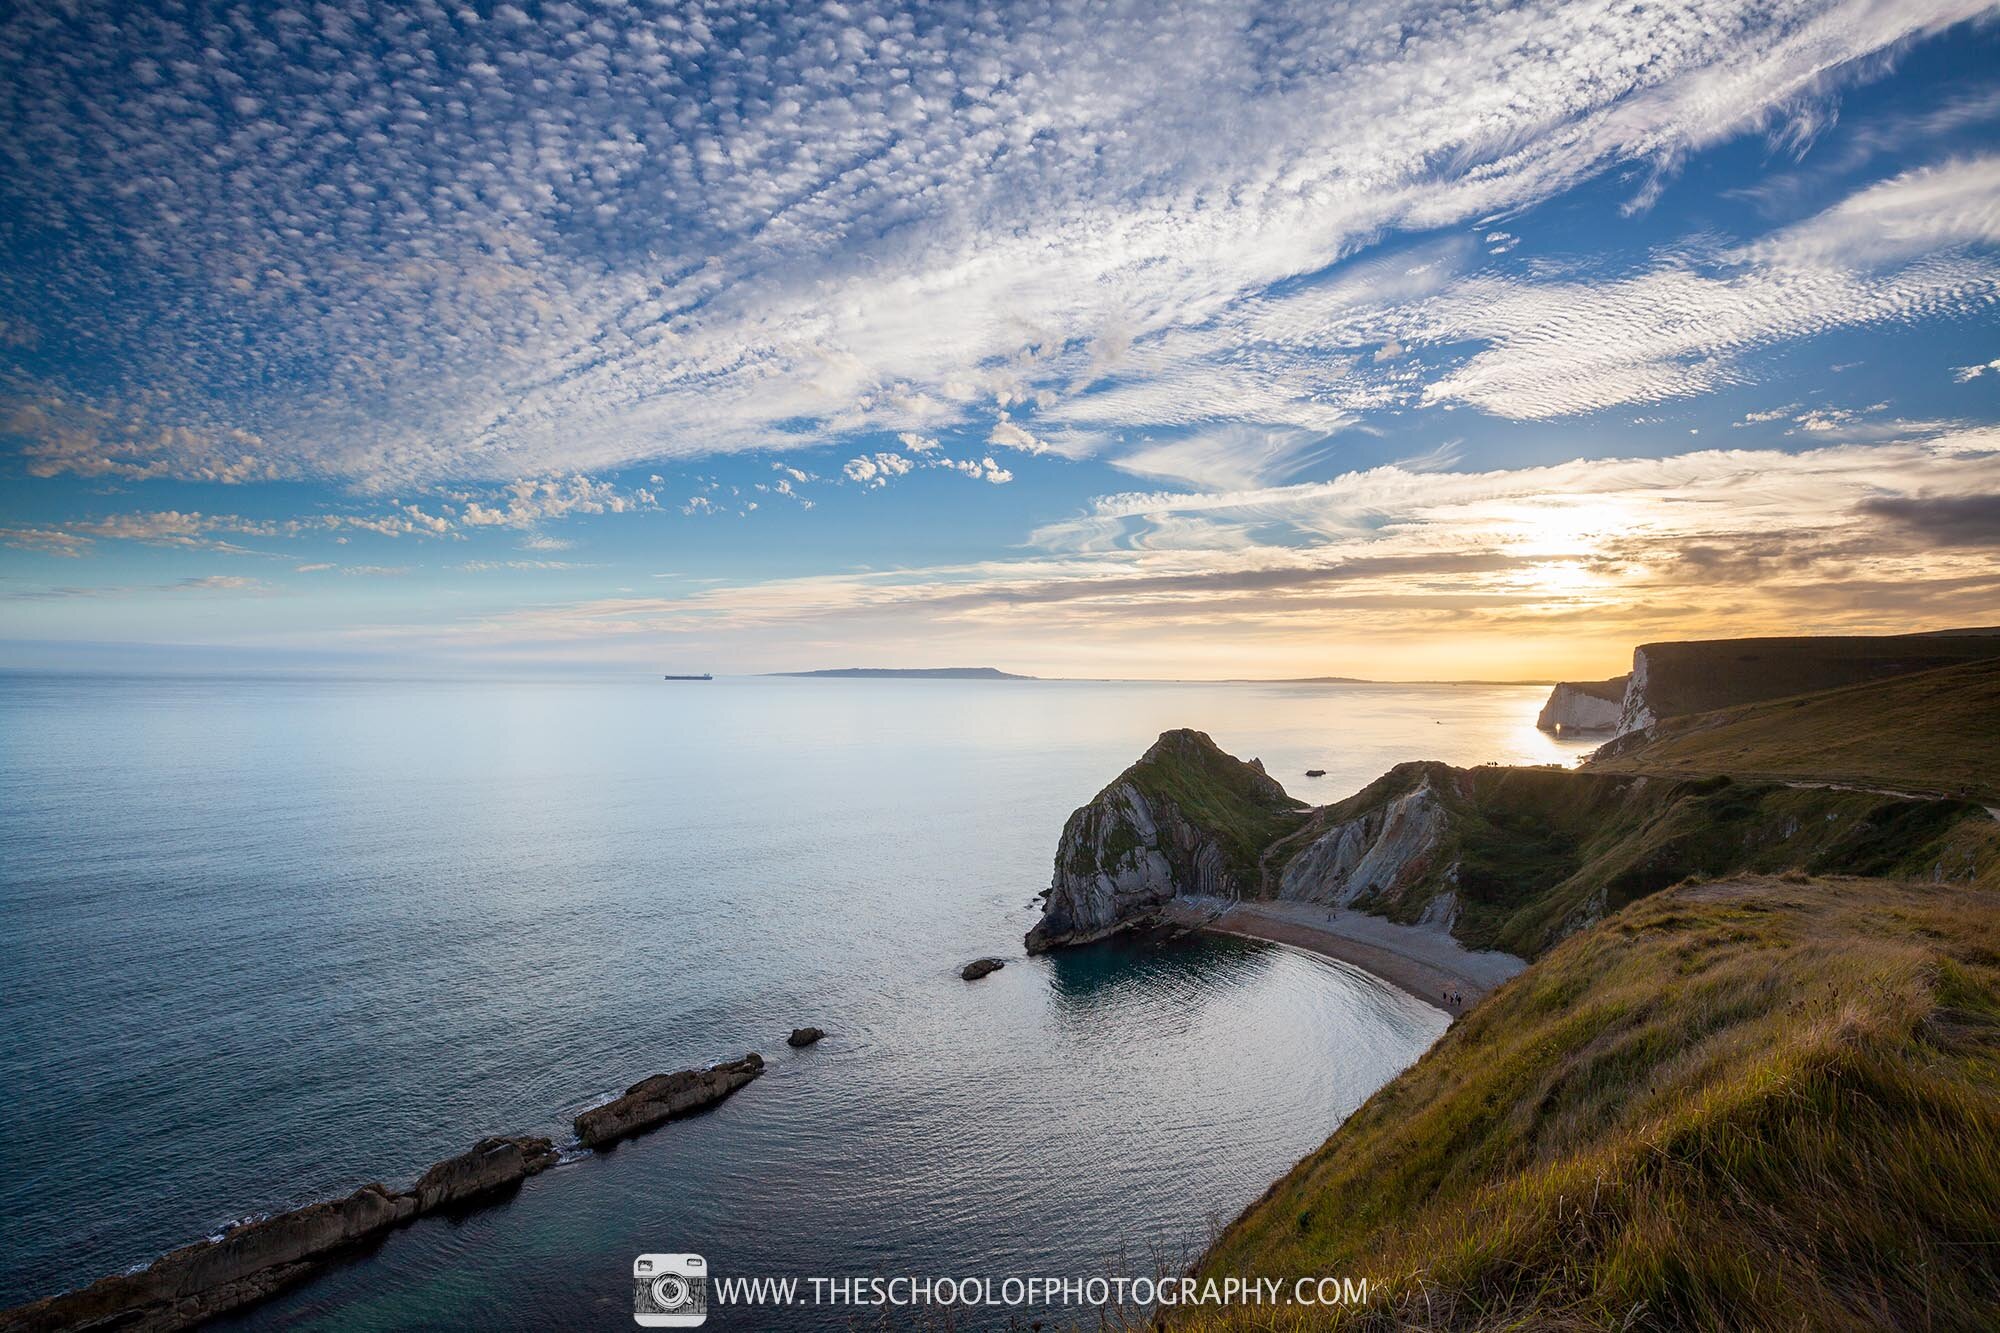
Example of using Grad Filters

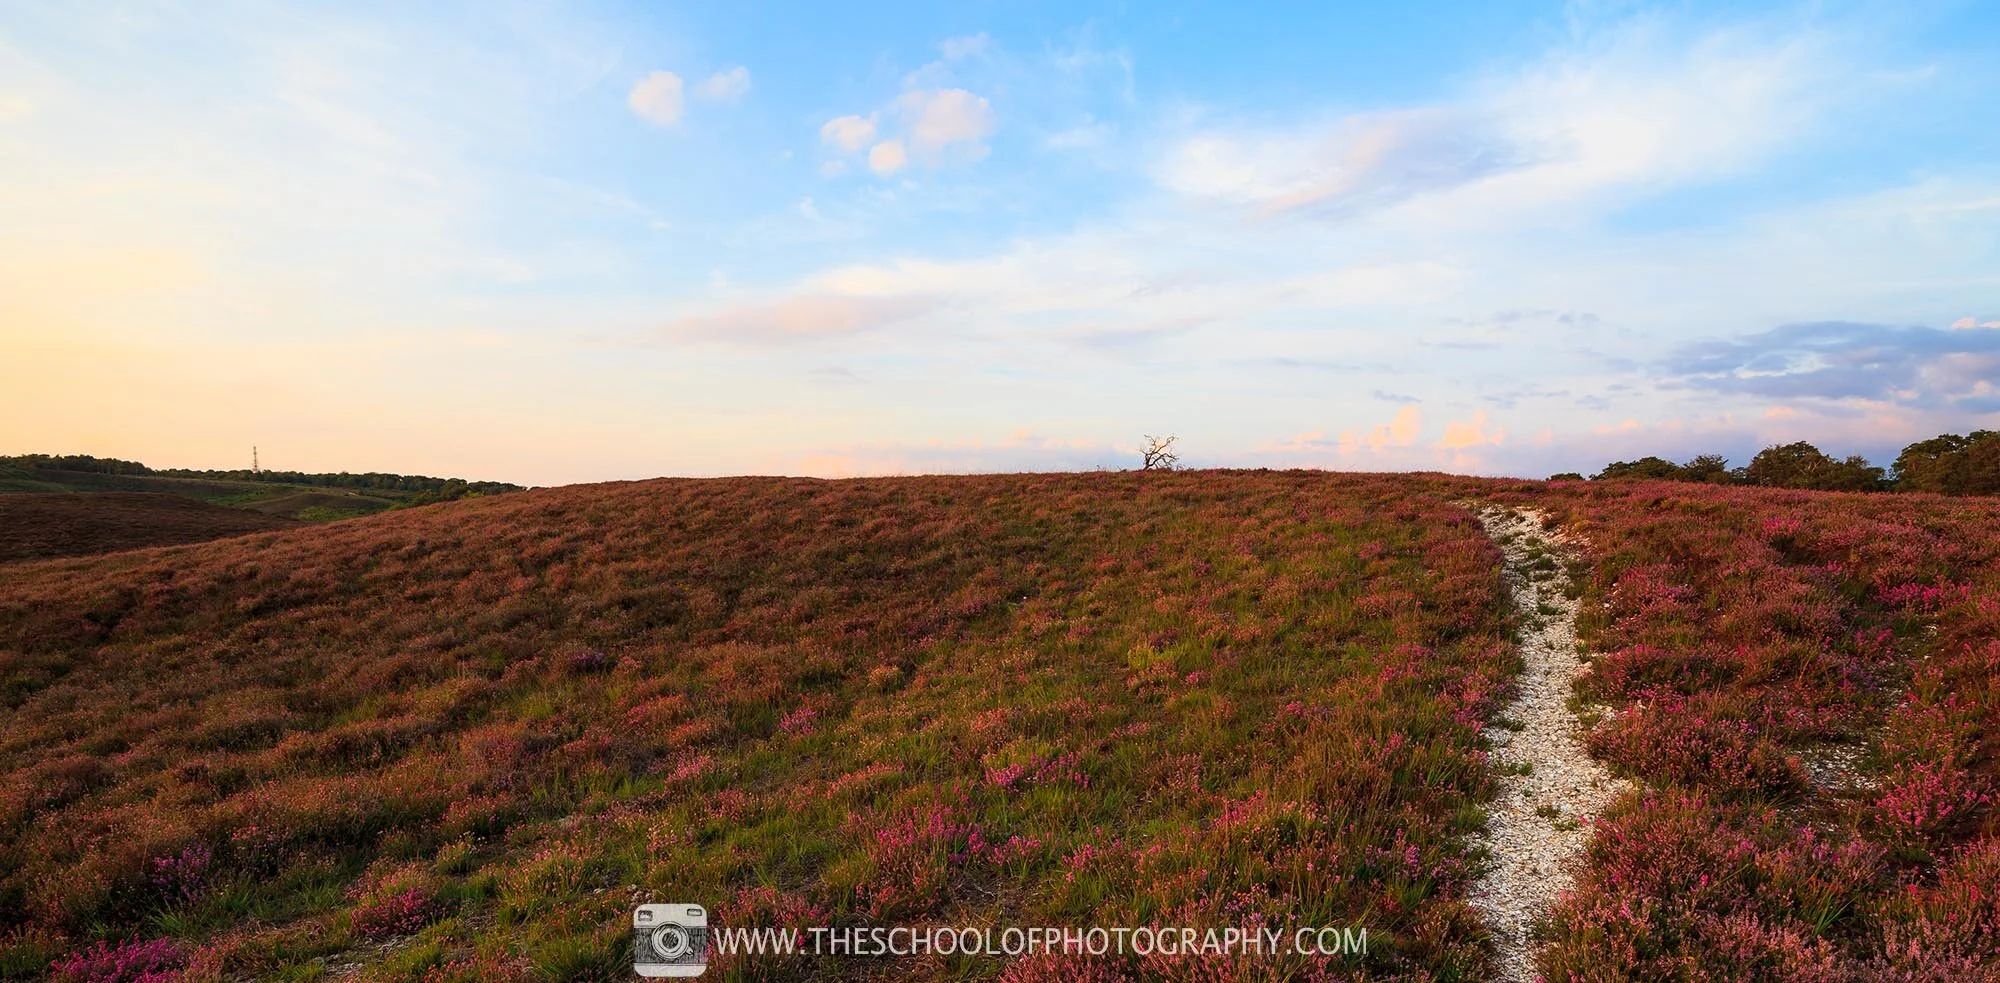
Photo exposed correctly for the ground / Camera Settings: 17 mm Focal Length - 1/60th Second - f/11 - ISO 100
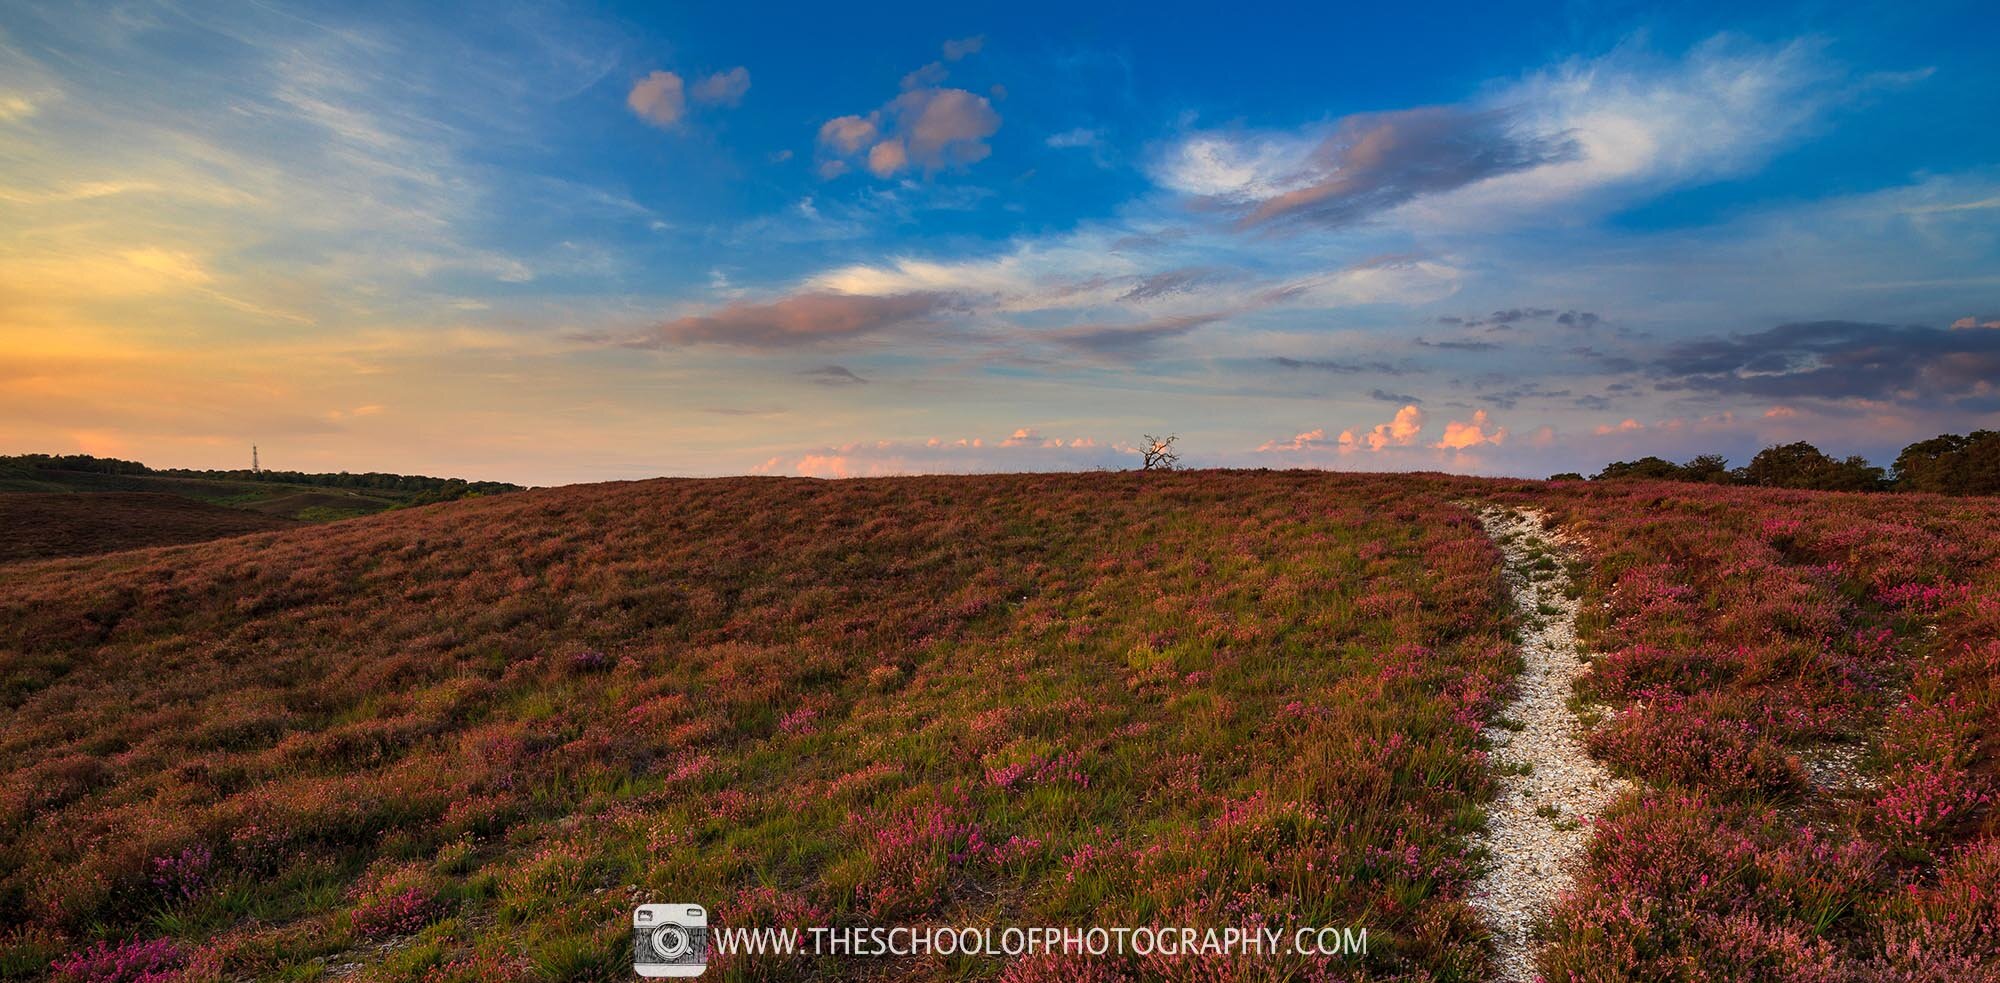
Same exposure using a 2 stop hard grad filter – This has darkened the sky and balanced the exposure. / Camera Settings: 17 mm Focal Length - 1/60th Second - f/11 - ISO 100
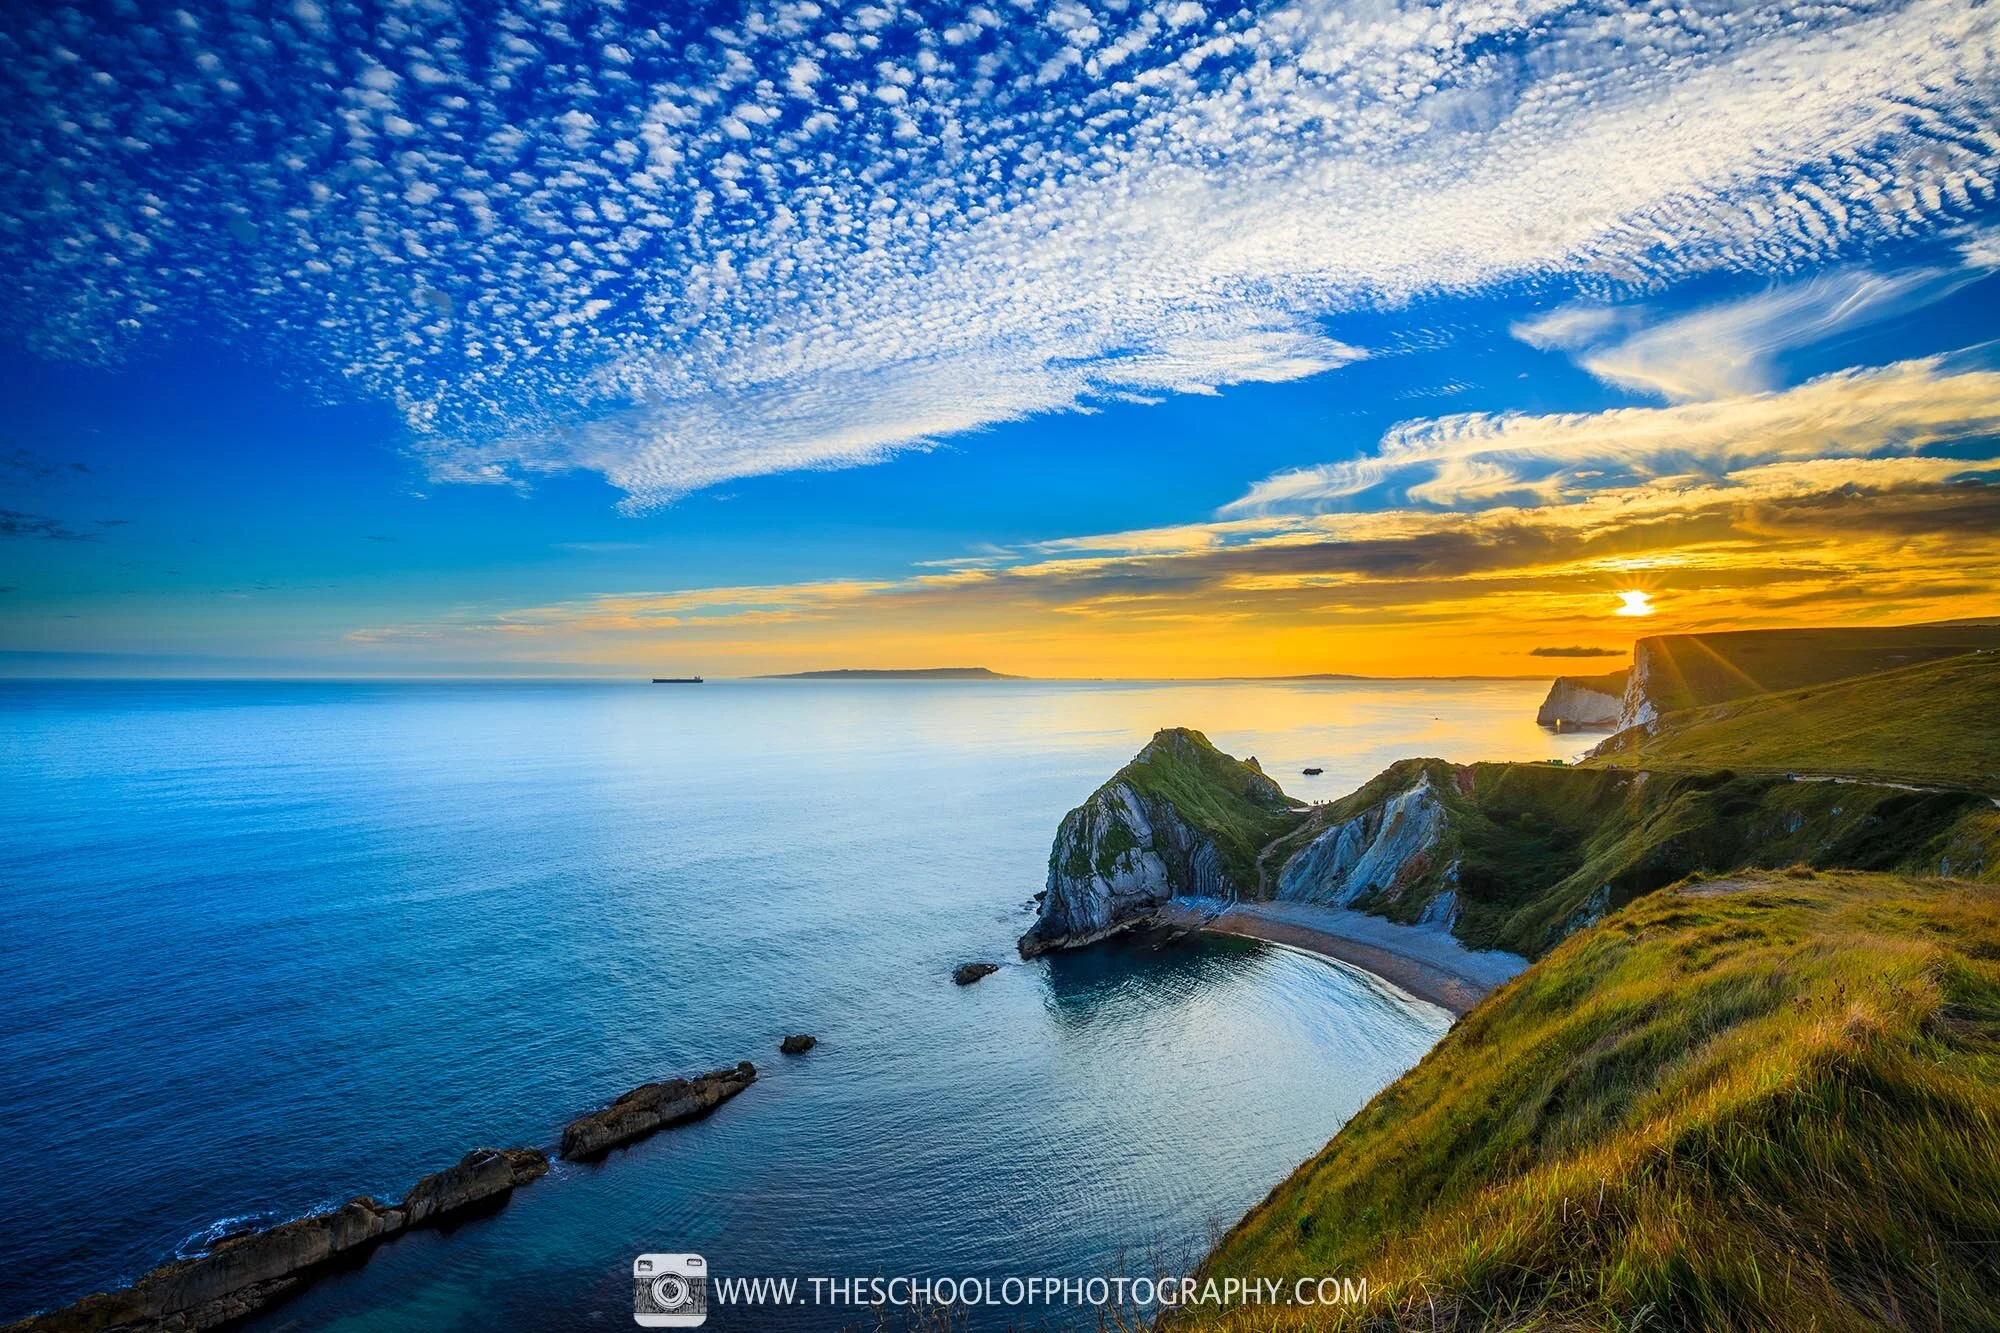
Photo processed in Lightroom
Tip 2- Take two pictures and merge them together
Blending two images together is really simple to do and works perfectly for sunset photography. All you need to do is take one image exposed correctly for the ground and one image correctly exposed for the sky. Then in Photoshop (or other similar programs), you layer them up with the bright sky on top and mask through the bright sky to reveal the darker sky underneath.
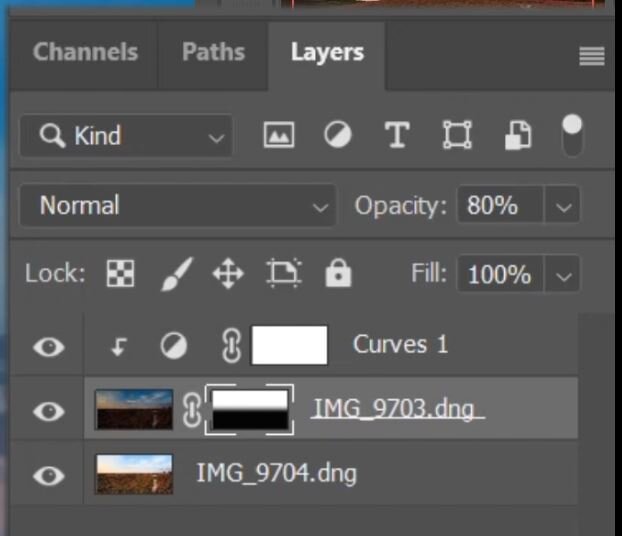
Two sunset pictures merged together using masking in Photoshop
Example of merging sunset photography

Exposed for the sky - Camera Settings: 16mm Focal Length - 1/30th Second - f/11 - ISO 100
Exposed for the foreground - Camera Settings: 16mm Focal Length - 1/10th Second - f/11 - ISO 100
Merged landscape photo - Camera Settings: 16mm Focal Length - 1/10th Second - f/11 - ISO 100
Now I know this isn’t the best example of a sunset photo but it does illustrate the ease of this technique if you know how to use layer masks in Ps. To learn Photoshop properly, click here
Again, there are cons to doing it this way as well. A scene with a lot of detail between the sky and the ground i.e. trees will take a lot of time masking out!
Tip 3 – HDR Photography
HDR (High Dynamic Range) is a way of increasing the tones and colours across an image. It is used to reproduce a greater dynamic range of luminosity and colour than a standard imaging. In other words, it gives you more range within the highlights and shadows of an image so that you can easily darken down the sky or brighten up the ground.
An HDR image is formed by merging 3 or more images of the same scene together. Each of the images must be taken in exactly the same place but at different exposures, e.g. one underexposed, one overexposed and one exposed in the middle. Generally, 1 stop of exposure each side of your normal one but can be up to 2 stops each side. These pictures are then merged together to create an HDR image usually in a program called Lightroom.
To learn how to balance exposures using stops, click here.
Example of HDR Photography
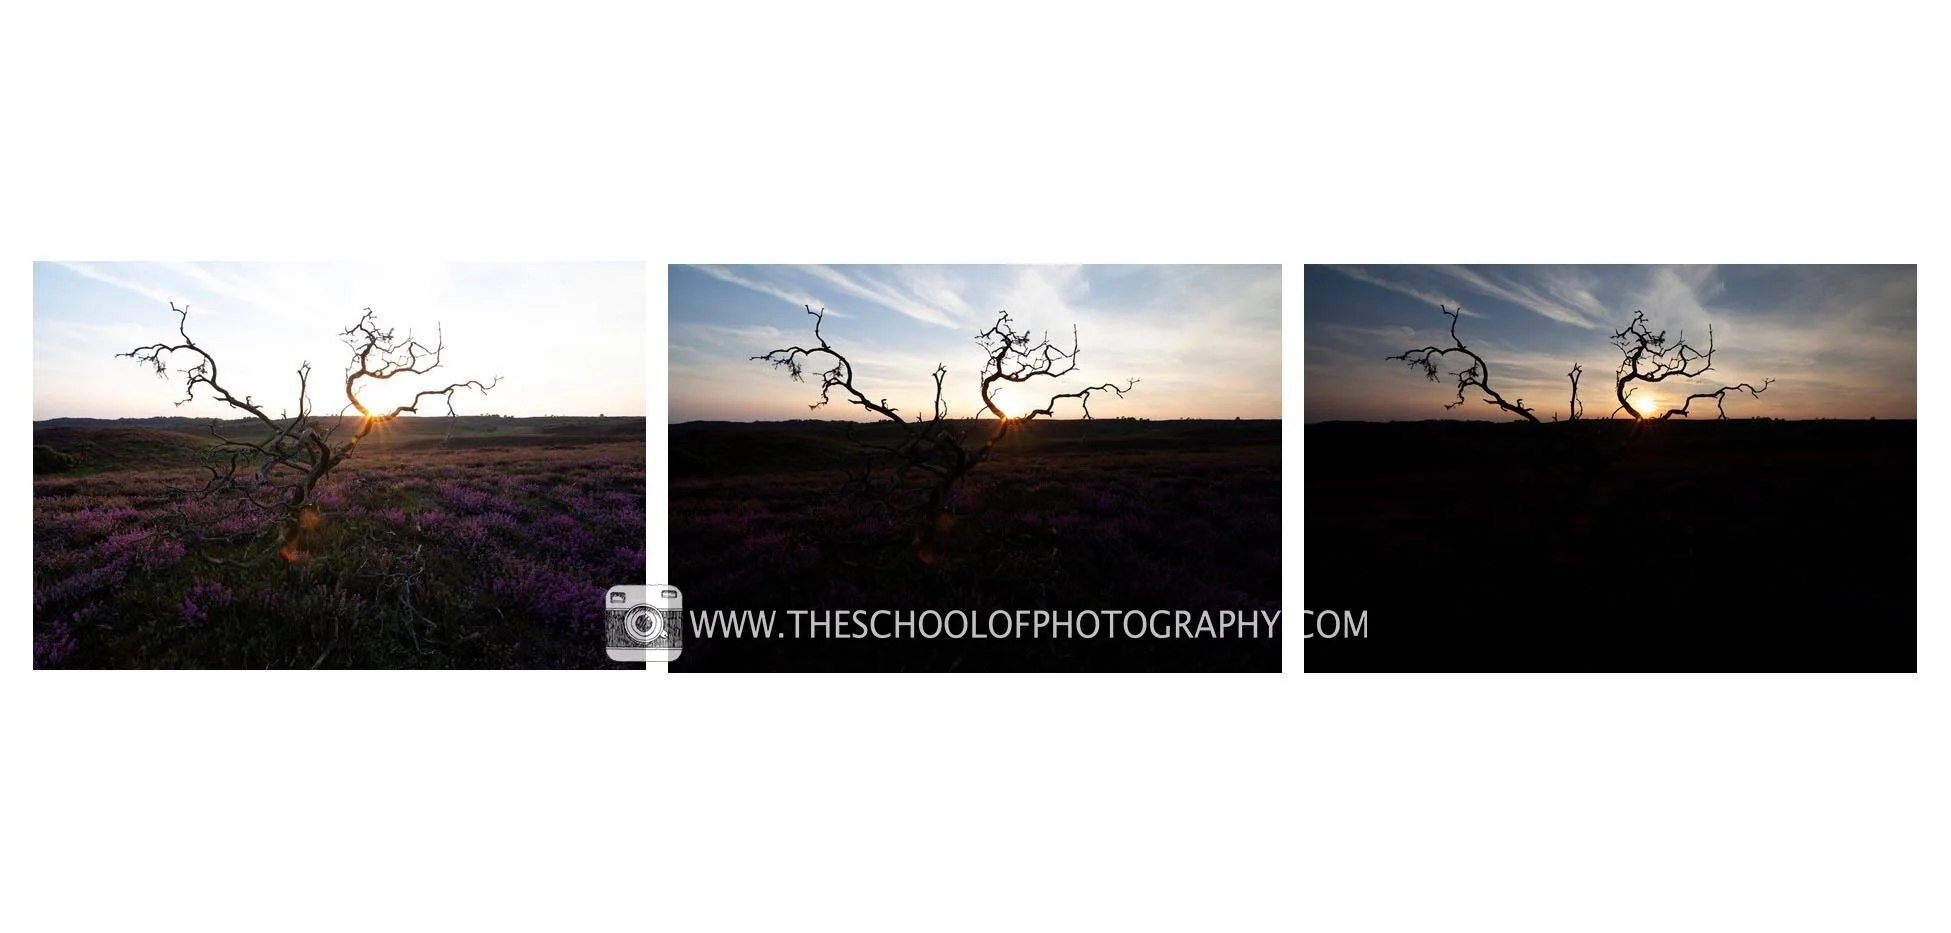
3 bracketed landscape photographs
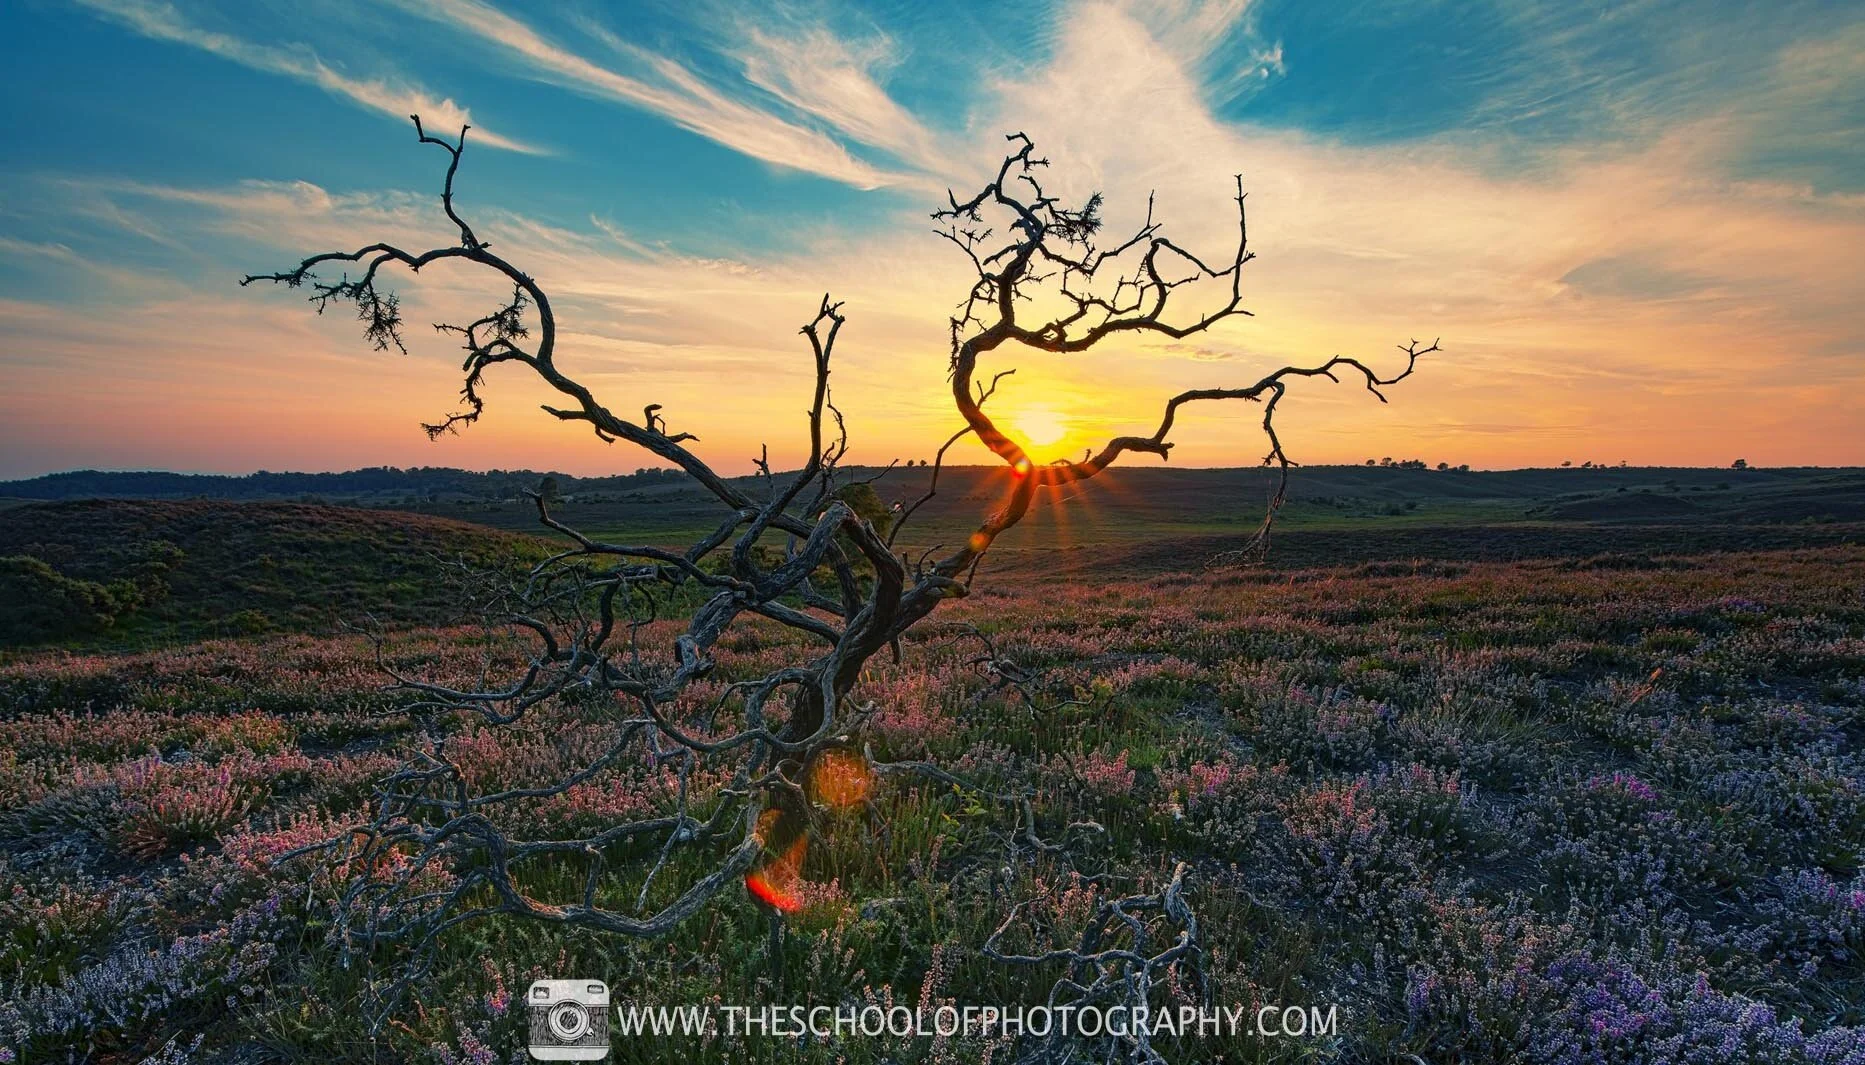
Merged pictures showing an example of HDR sunset photography
The cons to using this technique is that everything needs to be extremely still for it to work. So, a windy day photographing a scene with trees in won’t work as they will move during each exposure. Also, HDR images can sometimes look over-processed, however, it is up to you how much you would like to process your images.
To learn how to create HDR sunsets in Lightroom, click here
Tip 4 – Shoot in Raw
A raw file has the most information you can get from a photo, it’s the equivalent of the old negative if you can remember those! It has much more ‘Dynamic Range’ than a Jpeg does.
Shooting in raw gives you the opportunity to pull a lot more detail out of the shadows and highlights in post-processing. Another thing to note here is that the bigger the sensor, the larger the dynamic range. For instance, a full-frame camera will have a lot more Dynamic Range than a crop sensor camera. This is why you generally see the pro landscape photographers using full-frame cameras.
Camera Sensor Size Comparison – Which one should you use?
Example of processing a Raw sunset photo
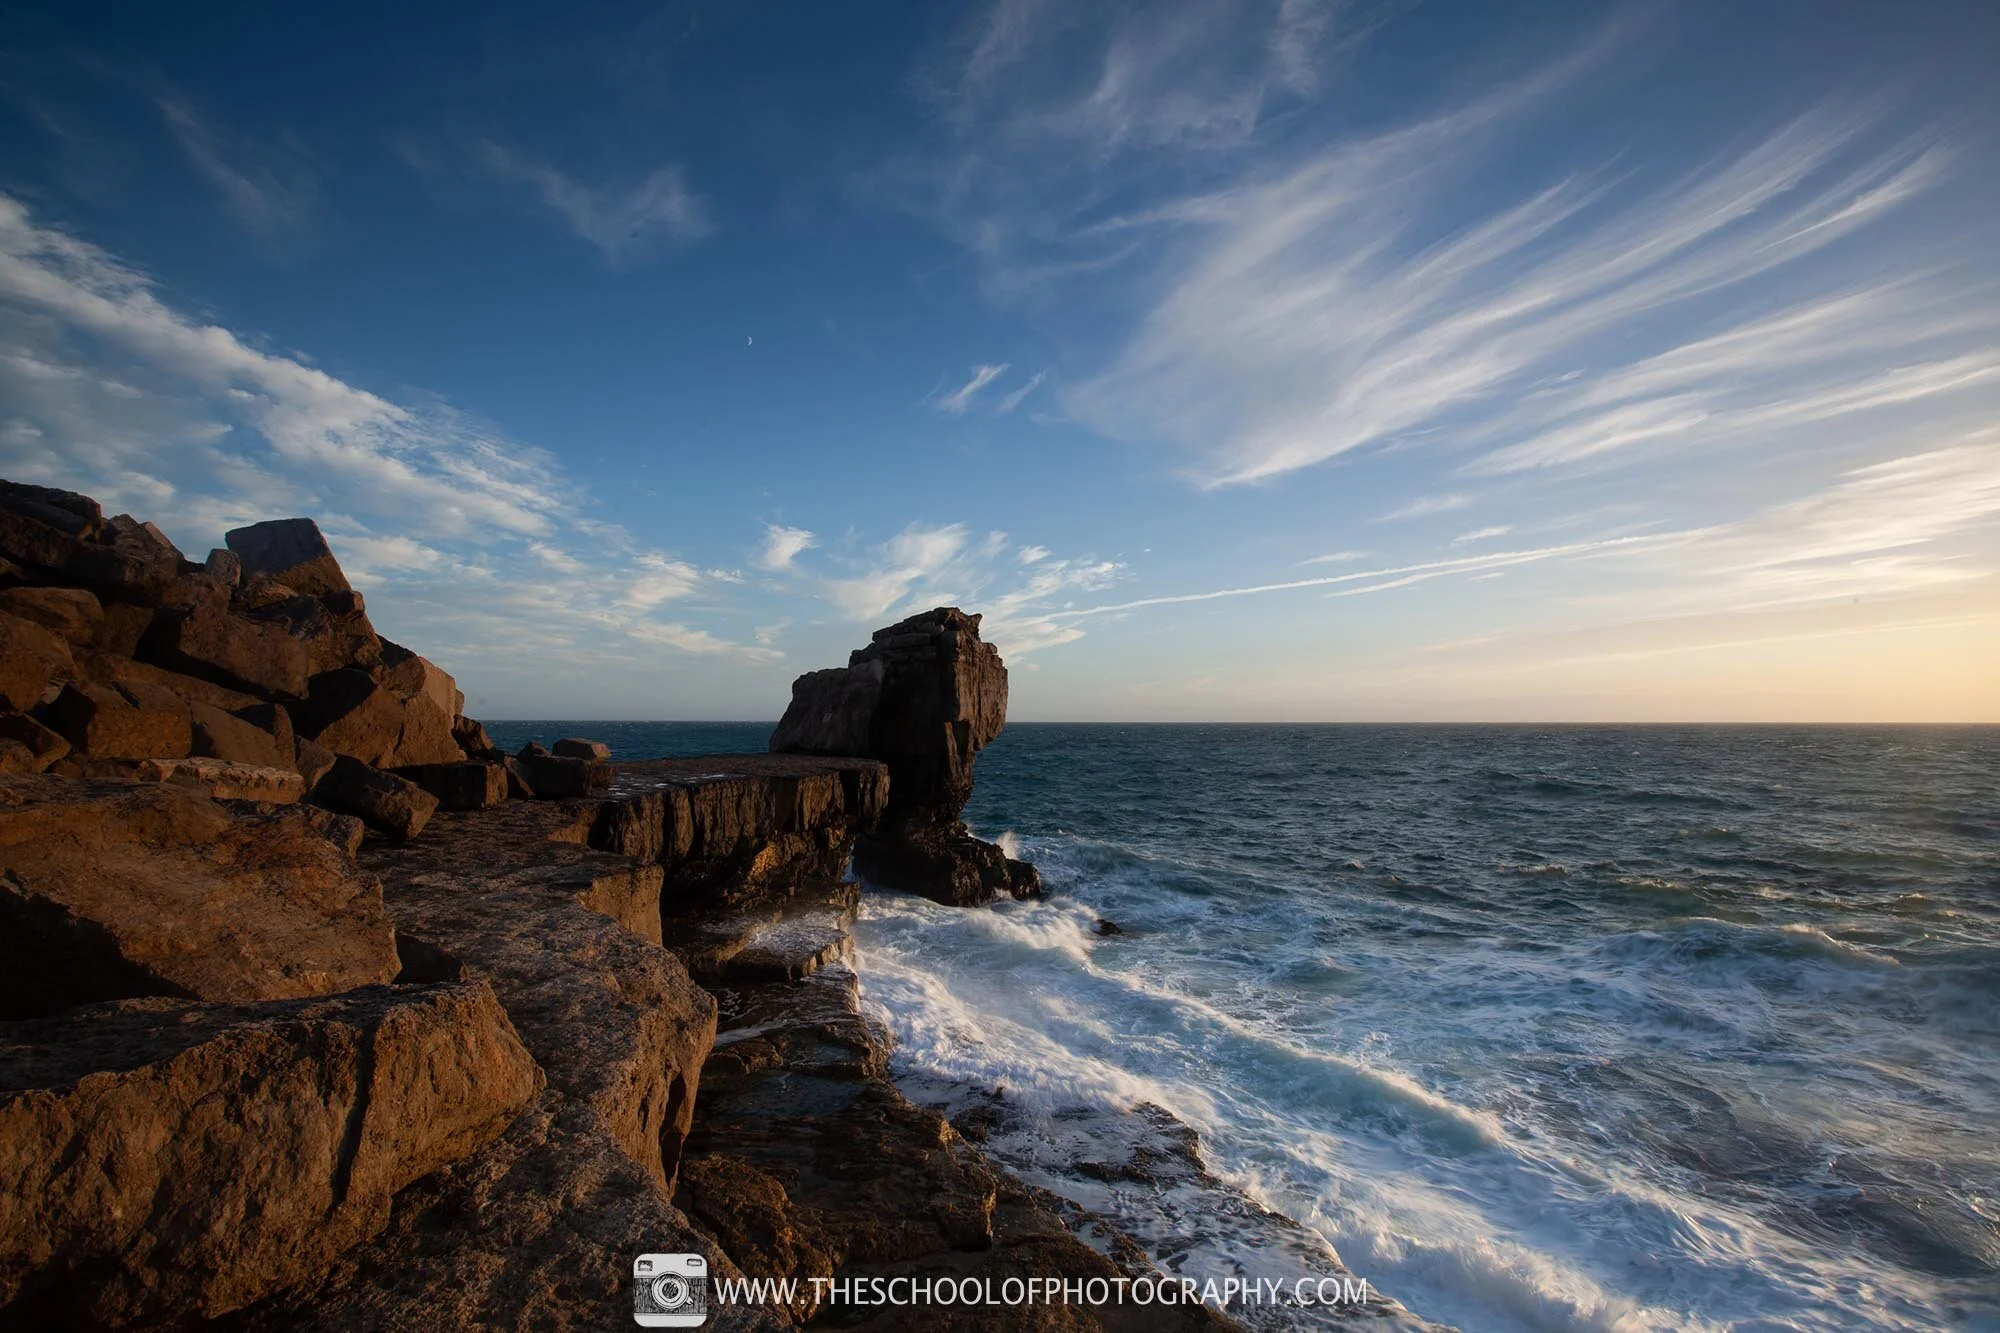
Raw Sunset Photograph, straight from camera / Camera Settings: 17 mm Focal Length - 1/50 Seconds - f/16 - ISO 100
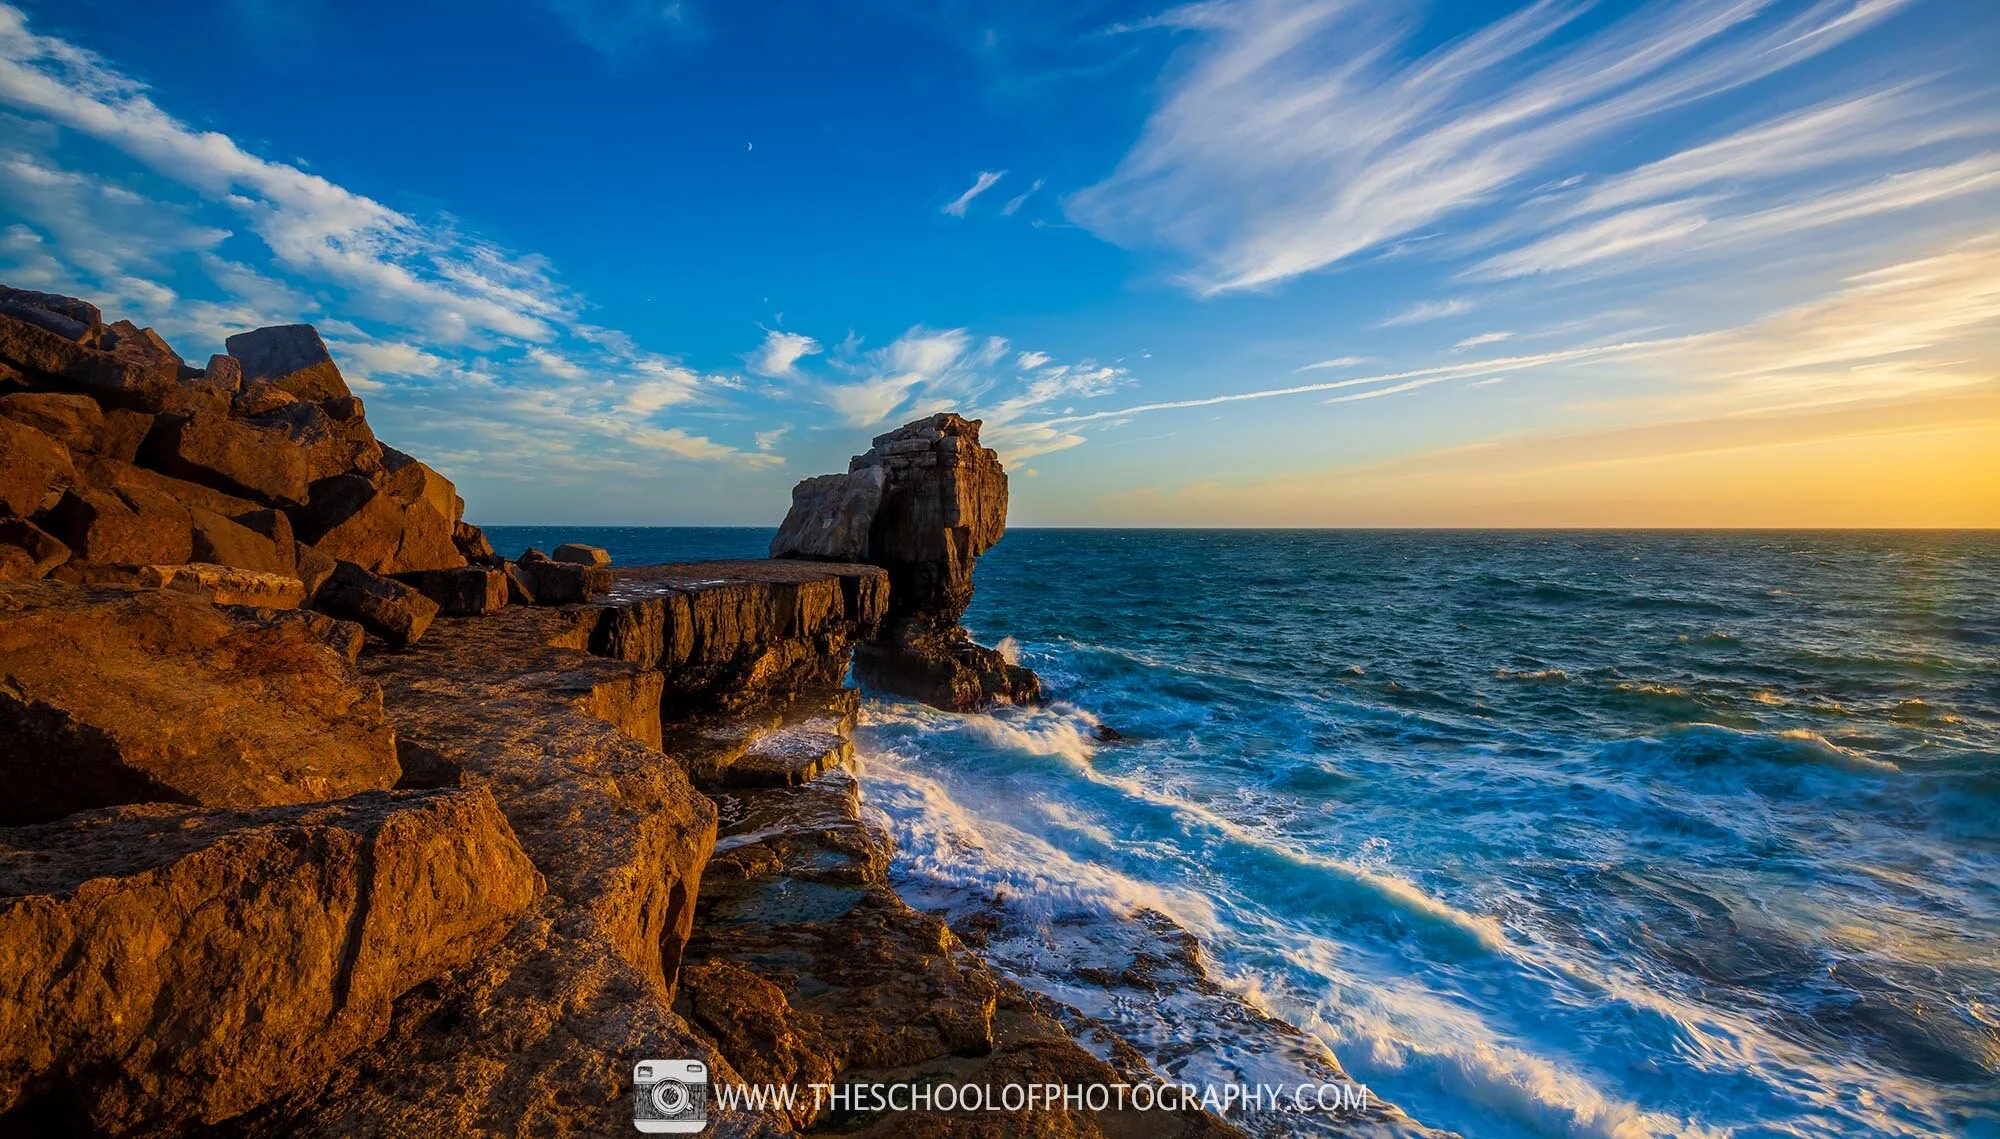
Processed Sunset Photograph using Lightroom
Like this? - Check out similar tutorials below

I hope you liked this sunset photography blog, please leave us a comment and support us by sharing it with your friends and subscribe to our newsletter at the bottom of this page for more.
We also have an excellent learning community on social media so please join us there as well.
Thanks for watching and remember – Learn more at The School of Photography.