Photograph the Moon
In this tutorial, we’re going to show you how to photograph the moon in all it’s glory. What settings, equipment and techniques do you need to get that crisp shot of the moon? Don’t worry my photography friends, we’ve got it all covered here and we’ll ensure your photograph of the moon will be pin-sharp and exposed perfectly. Plus, we’re giving you a downloadable guide that you can take with you on your shoot.
You can grab our downloadable guide to photographing the moon below.
Get access to ALL our online courses – 1000’s of videos, worksheets, critiques of student’s work, personalised support and much more with our monthly membership.
Common problems when photographing the moon
Photographing the moon can be a challenge, especially if you don’t know what equipment or settings to use. There are two common problems with moon photography. These are blurry pictures (camera shake) and the photographs being over exposed (too bright). Here we’ll look at why this happens and more importantly how to make sure it doesn’t.

1/5 Sec, F/11, ISO 160, Focal Length 800mm

1/60 Sec, F/11, ISO 80, Focal Length 800mm
Location
This part is simple. The darker the better. Although it’s possible to get a shot of the moon in built up areas, the less light pollution you have, the clearer the shot will be so try and find a location that is away from big towns and cities.
Best times to photograph the moon
It might surprise you to know that the best time to photography the moon is quite simply when the sky is clear. The reason for this is that the moon looks fantastic in any stage of its lunar cycle. Weather it is a full moon or a waning crescent, you’re sure to get a great shot.
In our example we take the shot two days before a full moon.

Moon photography equipment
The Camera
For photography like this you can’t just use a mobile phone I’m afraid. You will need a DSLR or mirrorless camera with manual settings. It doesn’t have to be the latest or most expensive, just make sure you can access manual settings and change the lens. To learn more about cameras for manual photography, click here.
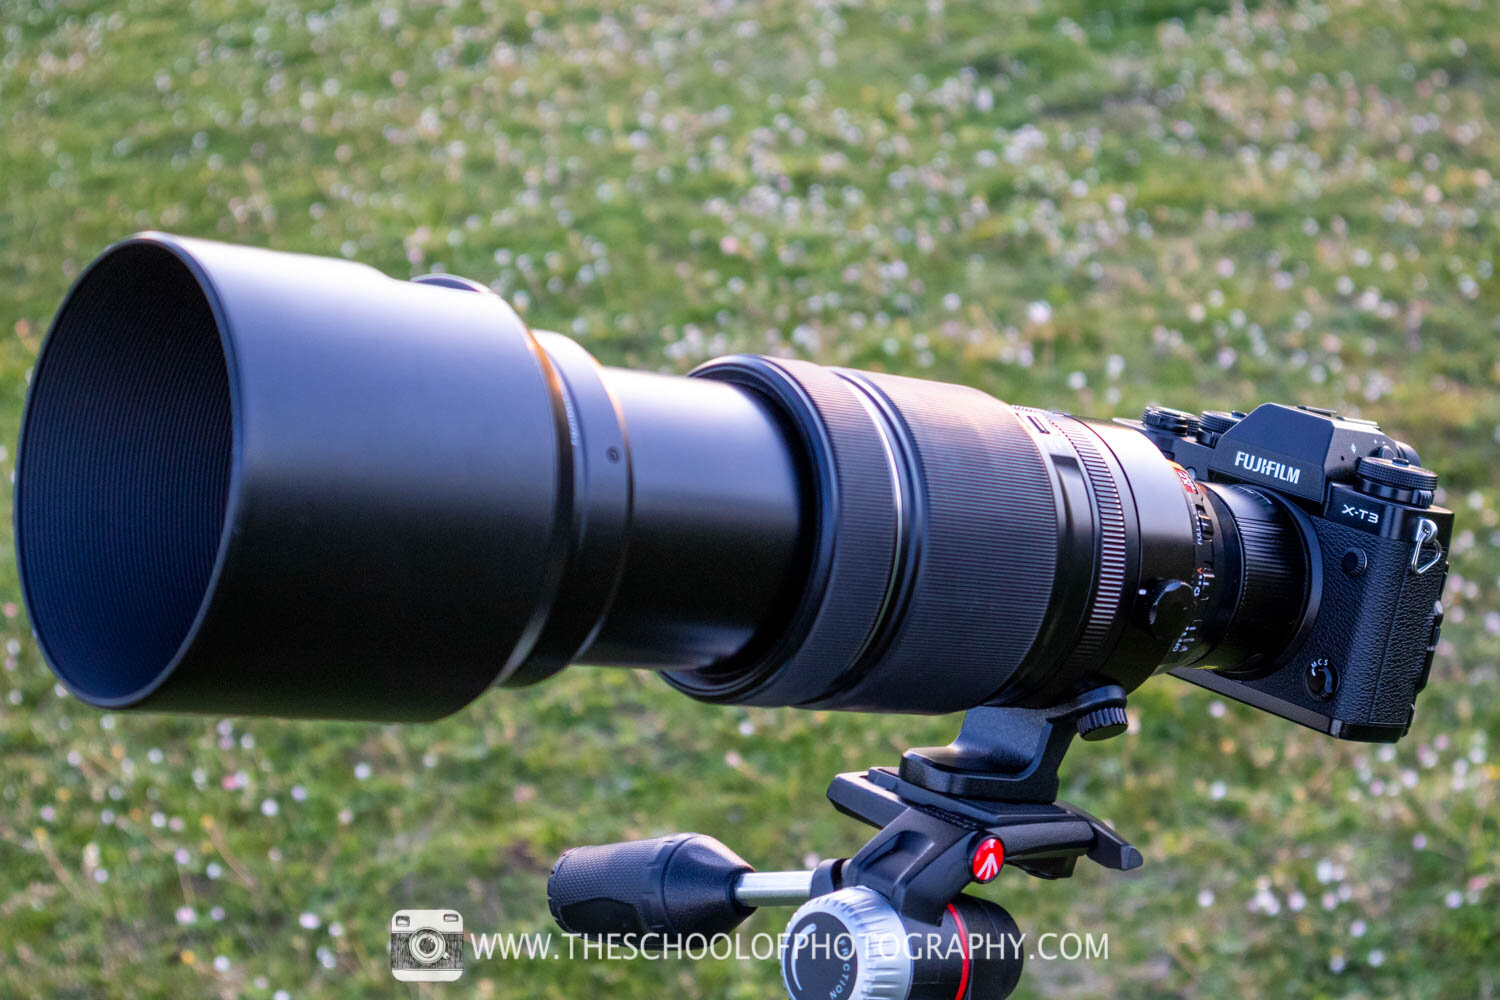
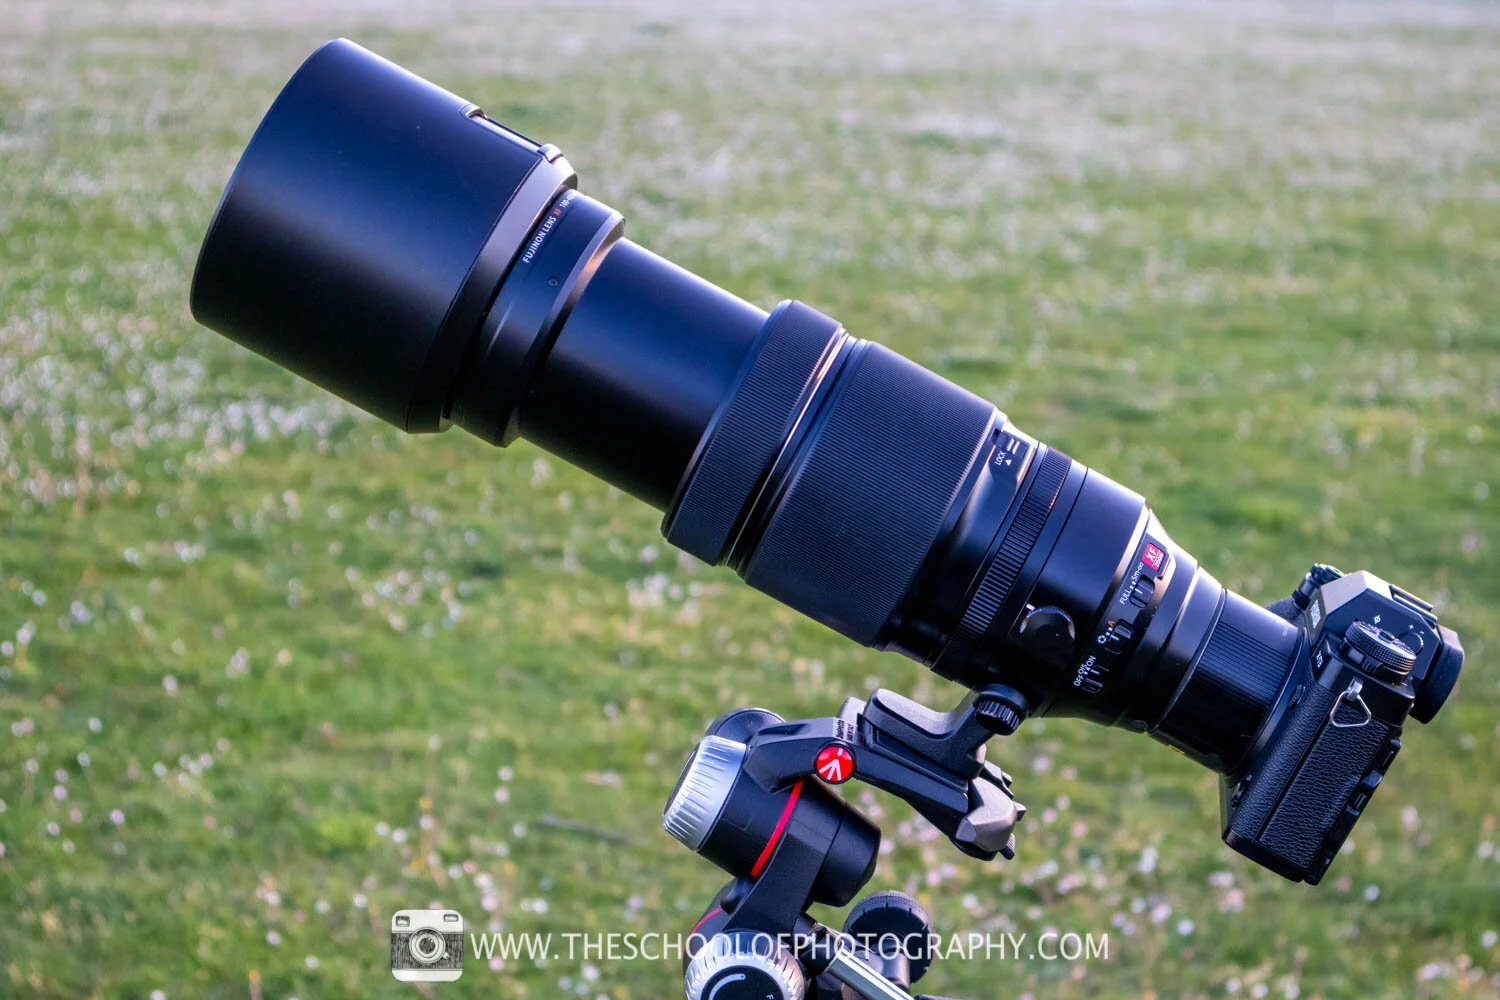

The Lens
Here’s where you start to burn a hole in your pocket! To get good photos of the moon you (or your camera) needs to get close to it and for that you need a telephoto lens. This is a lens that has a very narrow field of view. Commonly used for sports and wildlife photography.
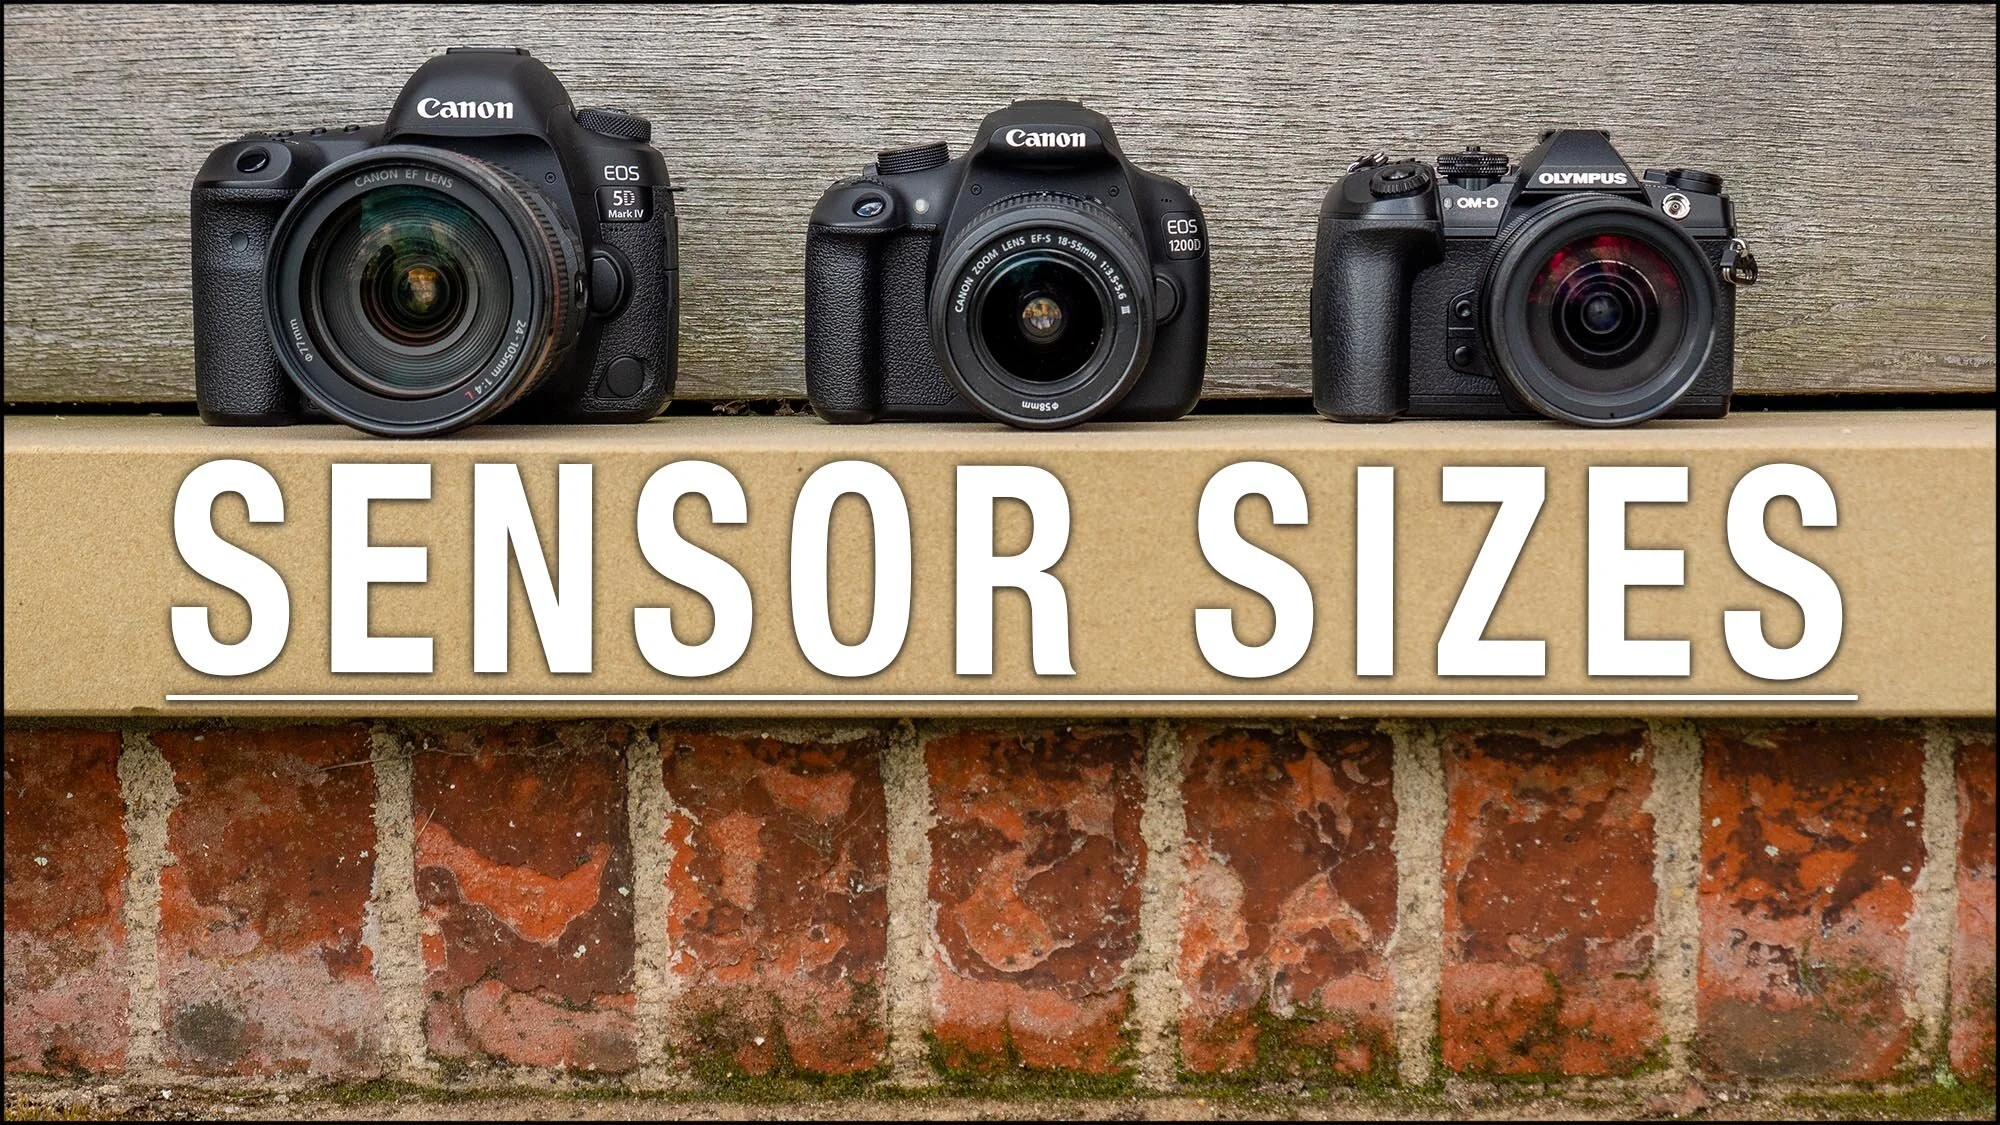
The minimum focal length you will need on different sensor sized cameras is as follows:
Micro 4:3 Sensor – 300mm
Crop Sensor – 400mm
Full Frame Sensor – 600mm
To learn more about camera sensor sizes, click here. To learn about Focal Lengths in photography, click here.

Tripod
You will need a good sturdy tripod for moon photography. This is because the lenses needed are big, heavy and will cause a small flimsy tripod to topple over.

Teleconverter (optional)
A teleconverter is a relatively low-cost way to increase the focal length of that lens. It’s a device that attaches in between the camera and the lens. In short, if you add a 2x teleconverter to your lens, you effectively double the focal length of that lens, e.g. a 400mm lens will now become an 800mm lens.
In our example we use a 400mm focal length with a 2x teleconverter thus making it 800mm.

Cable Release or Remote Trigger (optional)
Having a high focal length (zoomed in lens) really increases the chance of camera shake. It is important that the camera doesn’t move during the exposure and that it’s fully settled and still before the shot is taken. For this you will need a cable release or remote trigger which will allow you to take the picture without touching the camera.
If you don’t have one of these, you can use the ten second timer on your camera. The 2 second timer won’t allow enough time for the camera to settle. In our example we use the ten second timer built into the camera.
Moon Photography Settings
In our example we show you two ways to take pictures of the moon. One using modern technology and the other using good old fashion manual mode.
Camera settings 1 – Relies on your camera having Touch Screen Shooting mode
Set the camera to its Aperture Priority mode.
Set the Aperture to f11.
Set the ISO to 100 or as near to this as your camera allows. NB. We use ISO 160 in our example as the camera does not go to 100.
Set your metering to Spot Metering.
Turn on your camera’s 10 second timer.
Turn on Touch Screen Shooting mode.
Then you fame up the shot, make sure the camera is secure and touch the screen on the moon. The camera will then focus on the moon, take an exact exposure and trigger the 10 second timer giving the camera time to settle before taking the shot. Viola!
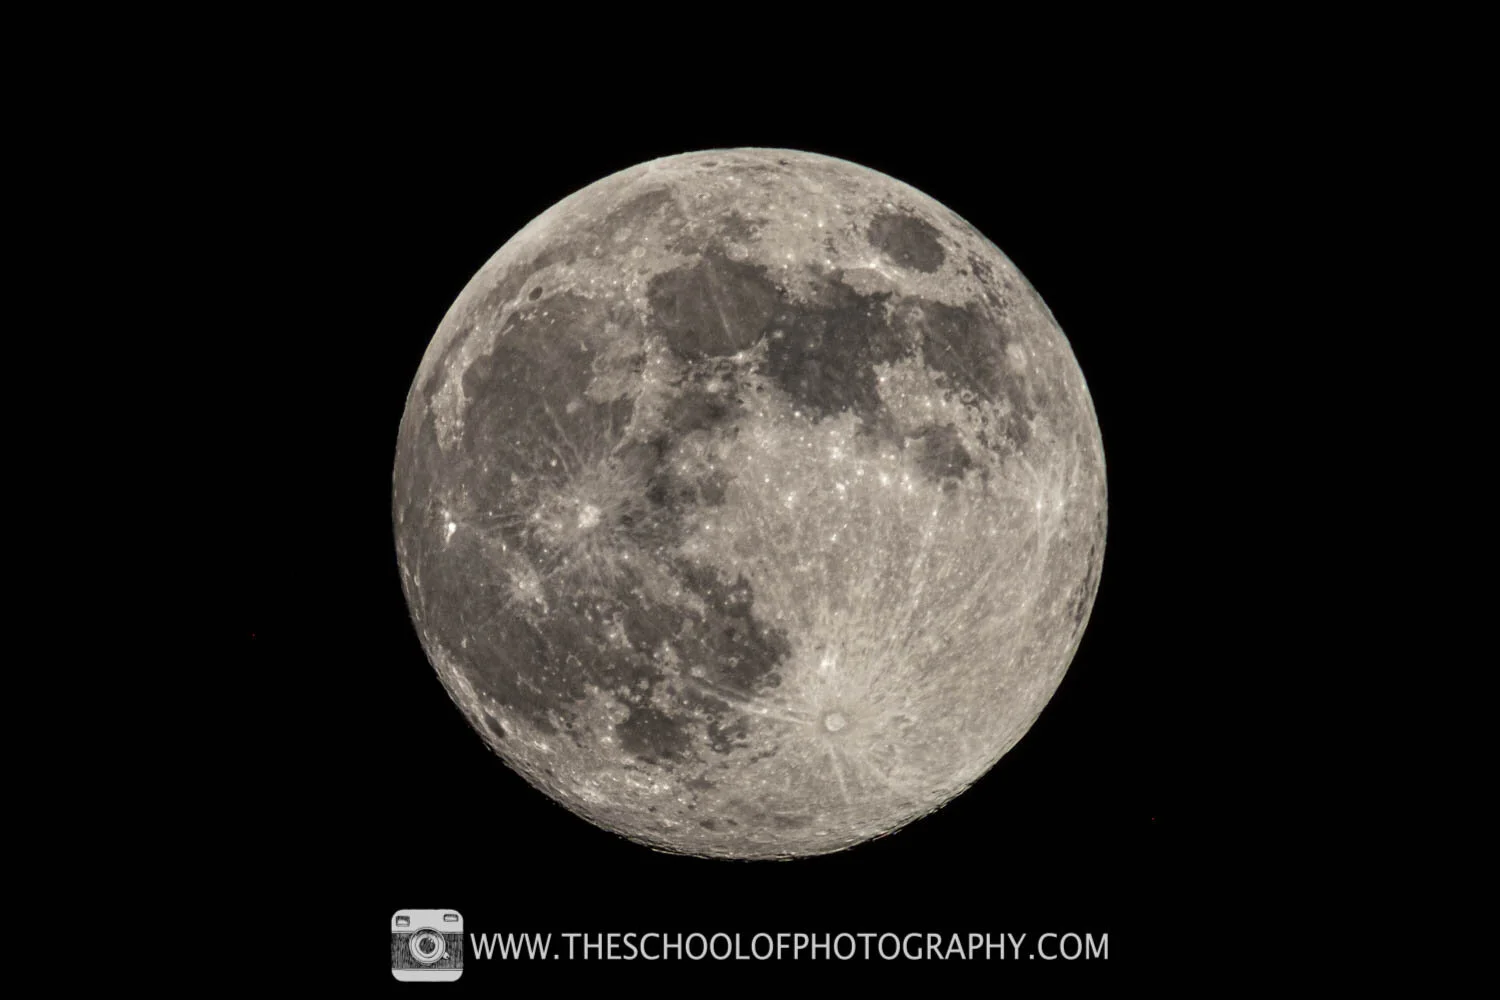
1/210 Sec, F/11, ISO 160, Focal Length 800mm
Camera settings 2 – Good old fashion manual mode which will work on any camera
Set the camera to its Manual mode.
Set the Aperture to f11.
Set the ISO to 100 or as near to this as your camera allows.
Set the shutter speed to 1/125th of a second.
Turn on your camera’s 10 second timer or use a cable release.
Take the shot!
You may have to adjust these settings slightly with different moon cycles, but this is a good starting point. Simply adjust your shutter speed to make the shot lighter or darker as needed.
To learn more about using your camera in manual, click here.

1/125 Sec, F/11, ISO 160, Focal Length 800mm
Don’t forget to download our guide to photographing the moon to help you while your out taking photos of the moon. You can get this at the top of this page.
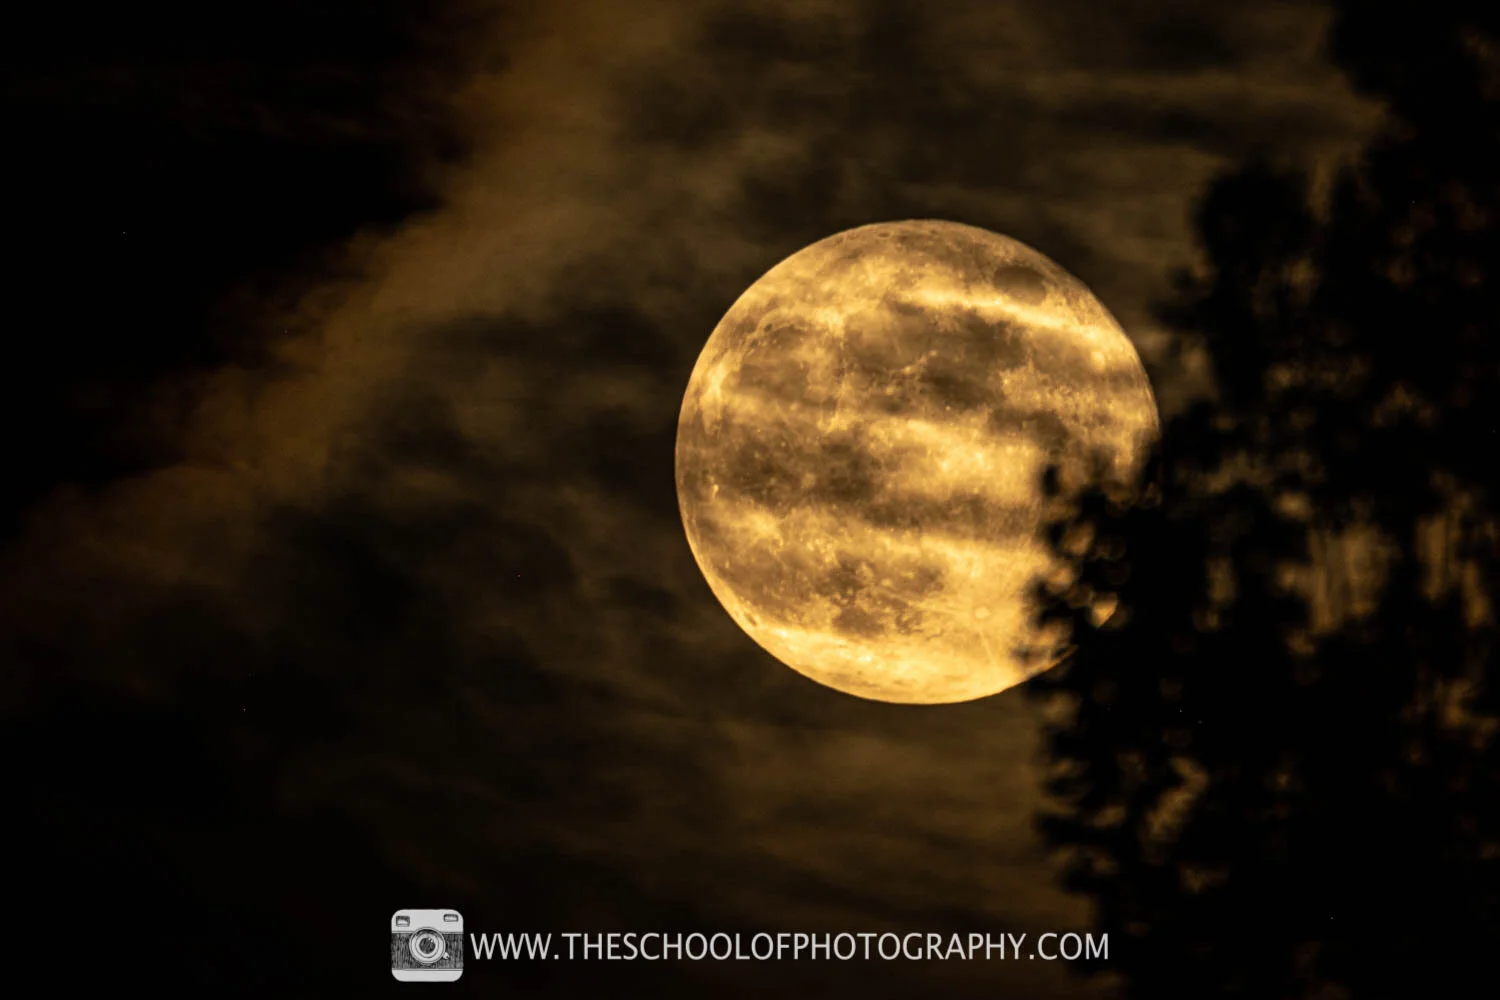
0.5 Sec, F/11, ISO 160, Focal Length 719mm

1/125 Sec, F/11, ISO 400, Focal Length 800mm
Like this? - Check out similar tutorials below

I hope you liked this video, please leave us a comment and support us by sharing it with your friends and subscribe to our newsletter at the bottom of this page for more.
We also have an excellent learning community on social media so please join us there as well.
Thanks for watching and remember – Learn more at The School of Photography.
